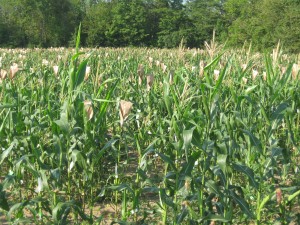
Did you know that corn is promiscuous? Don’t be too shocked. This monocot is very happy to out cross the very moment you fail to protect its innocence.
Corn, as most of you know, is a monocot. Corn can self pollinate or it can out cross, or get pollinated by another corn plant. It does this so readily in large cornfields that, uncontrolled, the seed that results will be widely different in both its agronomic and genetic traits. In cash grain fields this is not a problem, however, in research, we spend a large part of our time preventing out crosses.
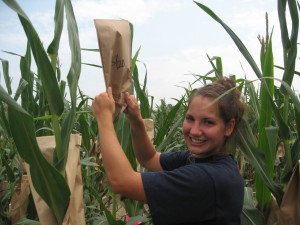
For the past month I have been protecting my corn’s innocence! I have been covering up little ears with shoot bags to keep invading pollen at bay. Then when the silks have grown out we are able to make the necessary crosses to bring out specific desirable traits.
Doing this is quite labor intensive and time consuming, hence the entire months work devoted to just this task! Despite the hard work, this is undoubtedly the most important aspect of our research project. If we mess this up, we don’t have corn to plant out for next years research.
The Process:
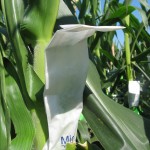
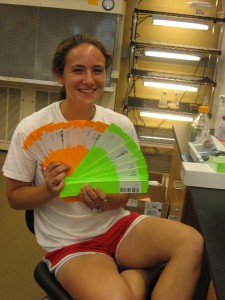
Shoot Bag
- Cover the ears with shoot bags before they have a chance to silk.
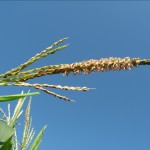
Shedding Tassel
- Wait for the tassel to begin shedding pollen.
Bag Tassel
- Once the tassel has begun to shed, place a tassel bag over the tassel to collect pollen for tomorrows pollination.
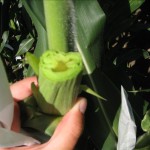
Cut Back Ear
- At the same time cut back the respective ear until you see silks. These will grow out over night to leave a little silk bush for you to dump your collected pollen on. Cover Up IMMEDIATELY!
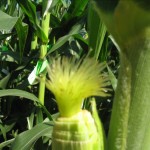
Silks Grown Out
- The following day you will wait until the temperature increases enough for pollen to begin to shed, around 11AM. (Yes, pollen is temperature sensitive
Collected Pollen
and needs warm weather to be viable!) You will then shake that bag of collected pollen out onto the silks of the ear you wish to pollinate. Once again, cover up that ear with the remaining tassel bag to prevent any stray pollen from sticking to your silks.
- Done! You now have a hand pollinated ear.
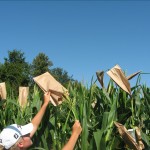
This may not seem like that big of a task, but imagine doing this to over 9 acres of corn plants. The sheer volume of work available during pollination is enough to make even the most hardy of us exhausted to the core. The work is often never ending, and as one of our grad students once said, “Corn Doesn’t Care What Day of the Week It Is!’