Upping your compost game

Few gardeners would say that they have all the compost they would like for their gardens. The good news is that you can increase the amount of compost you produce with a method developed by Helen and Scott Nearing that is described in their books, “Living the Good Life” and “Continuing the Good Life.” I’ve been composting for the last 44 years. What follows is a description of the Nearing methods that I have modified over time for the North Country.

Most home compost piles are approximately three feet by three feet which is small enough to allow oxygen in on all sides. In the metho I use, a “chimney” brings air to the center of the pile, allowing an increase in pile size and the production of far more compost.

The process starts with picking a location. It should be well drained and shaded. To contain the pile, use six foot long poles ranging from one to three inches in diameter. It’s good if they are straight, but they can be slightly crooked. I cut mine from my woods, but if you don’t have your own, you may have friends that will allow you to cut understory trees or trees on the margins of their woods. Don’t use pressure treated wood. 

Start the pile by placing two poles on the ground, parallel to each other, about six feet apart. Then add two more parallel to each other and perpendicular to the first two with the ends overlapping, making a square slightly less than six feet by six feet. Remove the sod and topsoil from within the square and set aside for later use in the pile. Use a fork to loosen the soil under the pile. Make a central chimney by bundling multiple poles approximately one inch in diameter and at least six feet long. They can be tied together with bailing twine and do not have to be perfectly straight. Make a hole in the center of the square with a digging bar and  or insert or pound the poles in to create a vertical bundle. These poles will create a chimney to supply oxygen into the center of the pile.
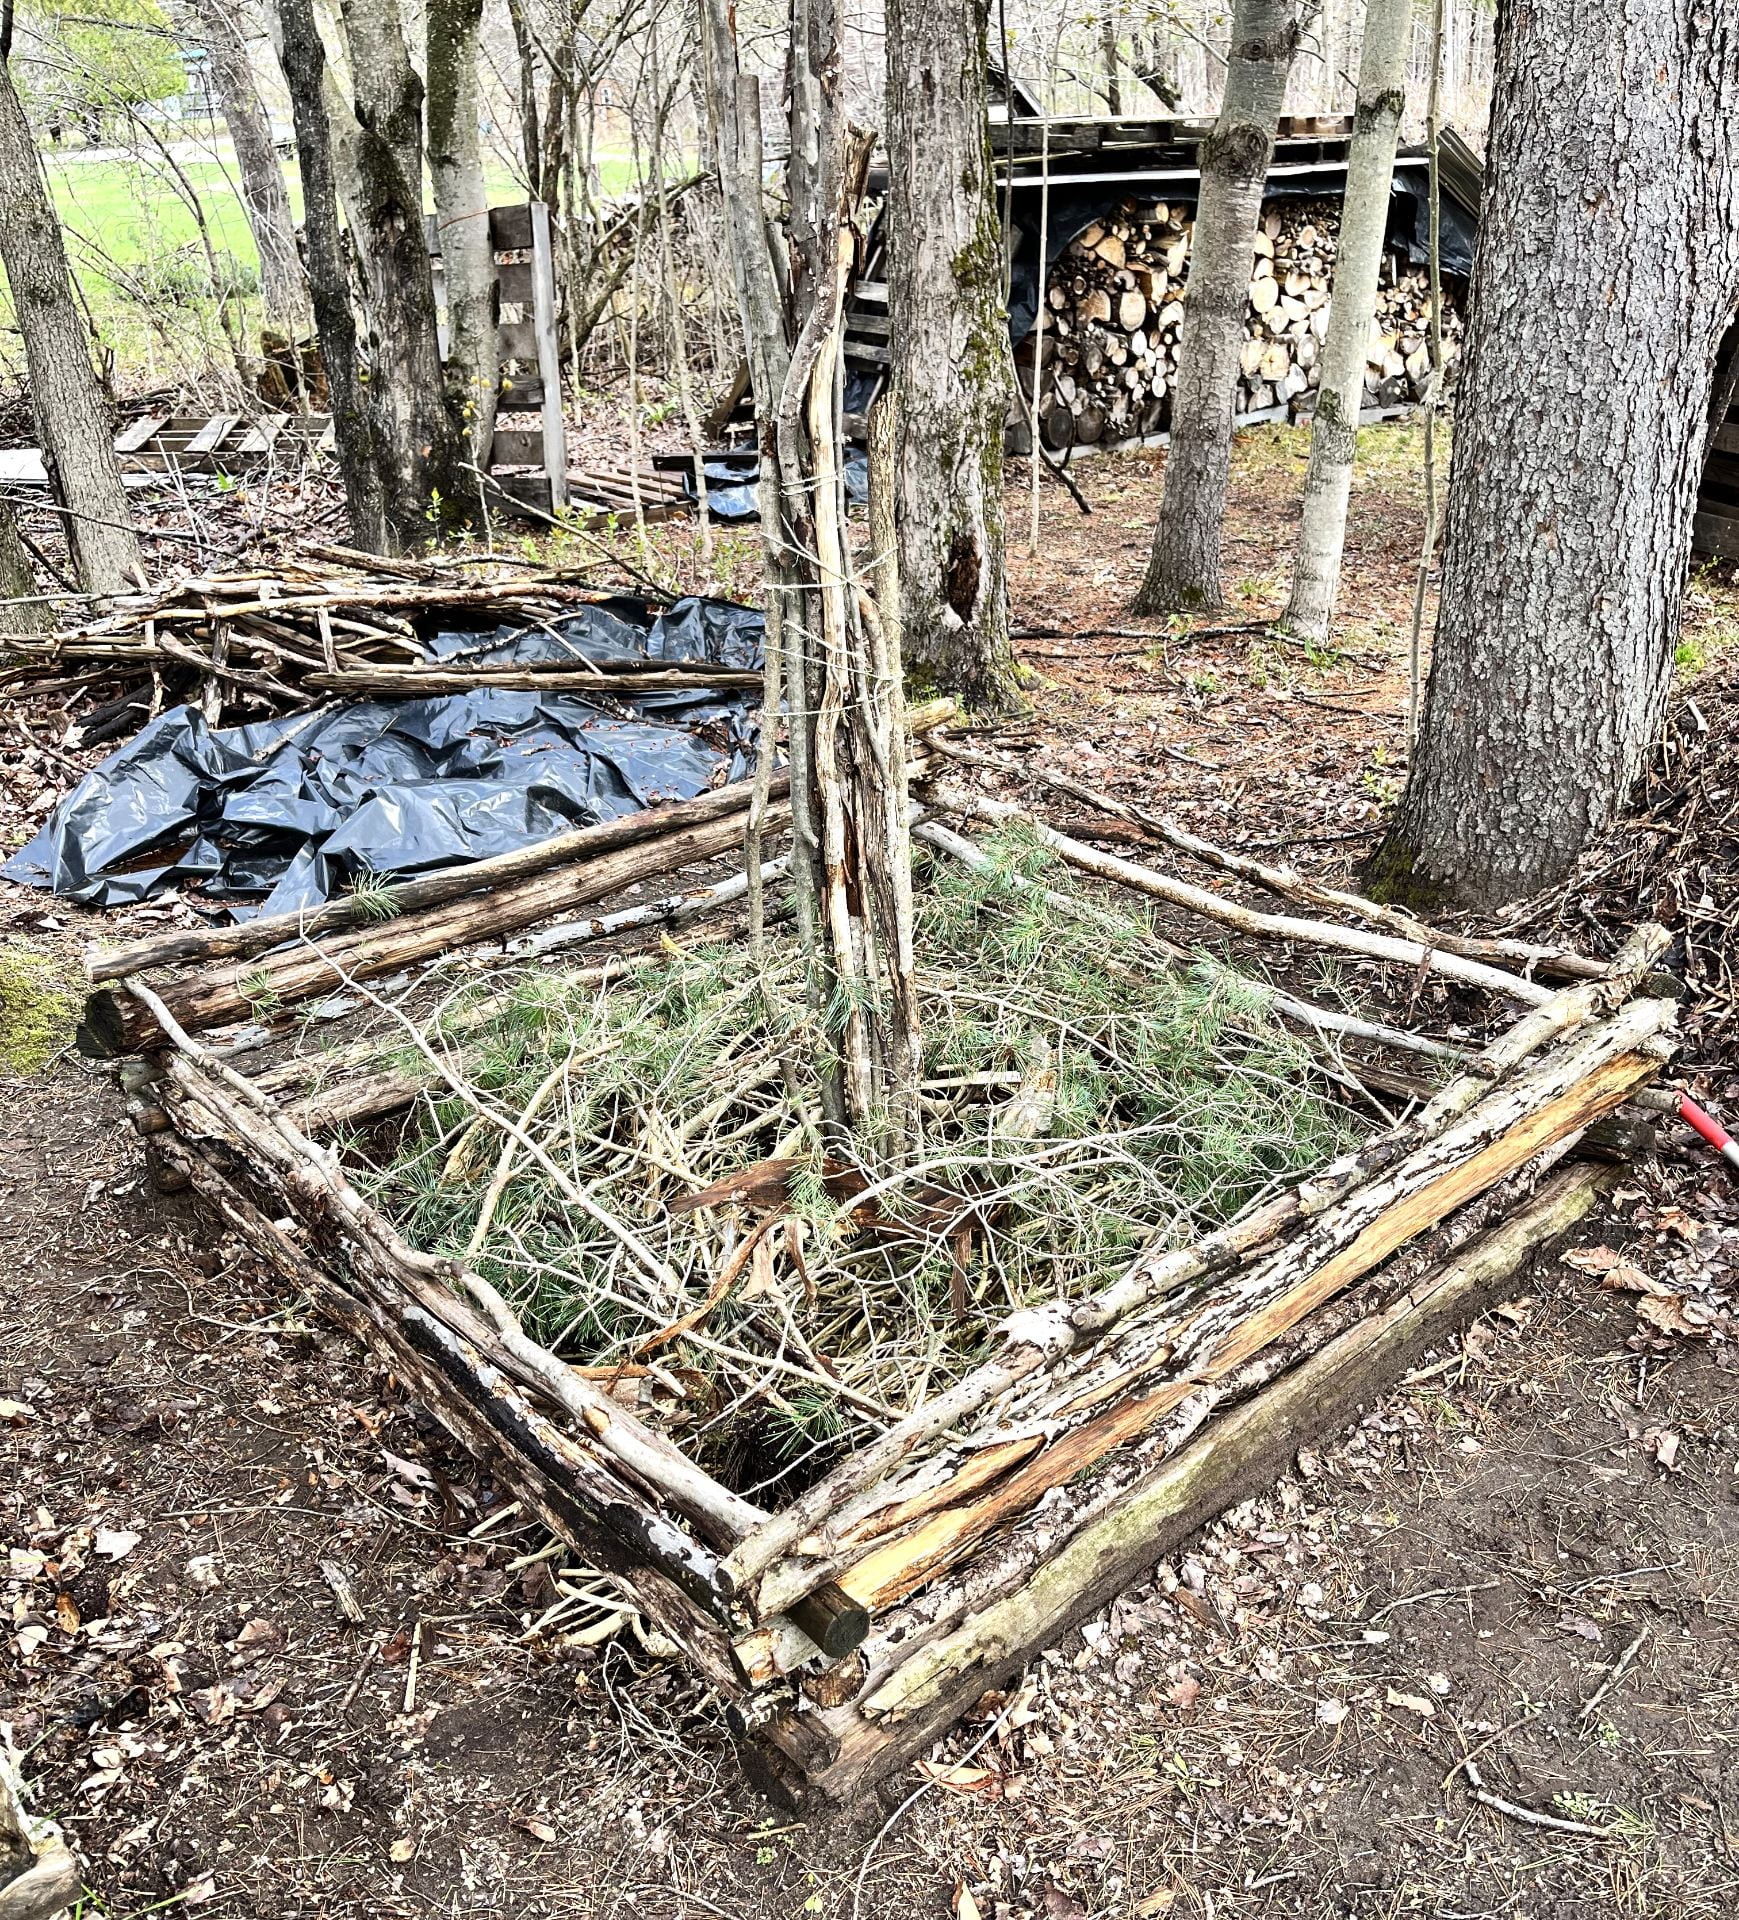
Shows the start of the compost frame with the chimney in the center
See how the poles are stacked with the chimney bundle in the center.

Read more Upping your compost game

Festivities at the Learning Farm

On Saturday May 6th, Extension’s Harvest Kitchen and high tunnel were filled with families and friends enjoying the beautiful sunny day during the Grow and Preserve Open House. Visitors learned about numerous food preservation and gardening resources available at Extension through an assortment of activities. We shot some photos of all the happenings, check them out below!

MFP
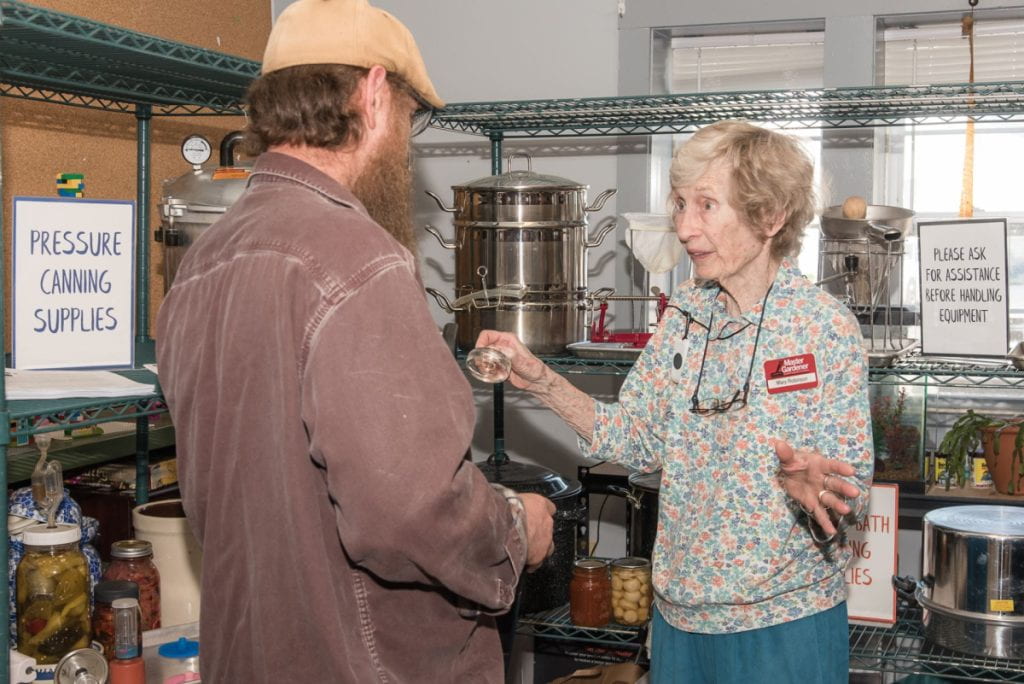
As a result of our many years of teaching food preservation classes, the Harvest Kitchen has a well-stocked kitchen. For the Open House, we assembled a Preservation Equipment Showcase so community members could wander through the shelves to compare tools. In 2022, after 50 years of putting up food for her own household, Mary Robinson went through the training to become a Master Food Preserver volunteer. She’s pictured here, sharing information about food preservation with a visitor. Other volunteers sharing their experiences in preserving the harvest include Kathryn Farr, Sasha Kocho-Williams, and John Youngblood.
MFP
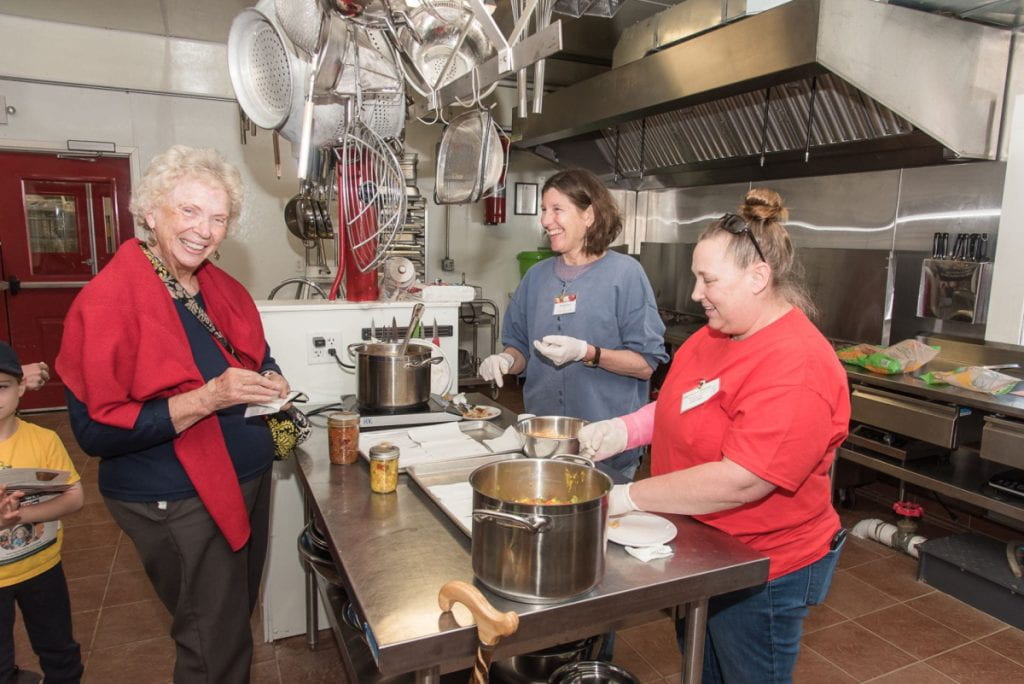
One thing our Master Food Preserver volunteers love is how canned foods pack a lot of flavor while simplifying future meals. Danielle Barse and Jan DeWaters gave out free samples of chili and corn relish in the Harvest Kitchen, along with the recipes to make these water bath canned and pressure canned recipes at home.

Read more Festivities at the Learning Farm

Using nature’s signs to time your planting

Ever wonder if those old sayings about gardening are useful or even true? For example, “Snow is the poor man’s fertilizer” (turns out, that one is true.) And many gardeners know the old planting rhyme: “One for the blackbird, One for the crow, One for the cutworm, and One to grow.” The saying has various origins, different constructions, and offers advice about HOW MANY seeds to plant, but just WHEN to plant those seeds in that fertile soil requires additional research.

Phenology, the study of plant and animal cycles and how they are affected by environmental and seasonal changes, can provide clues and answers to spring planting questions. According to phenology, events that would seem to be unrelated (lilac bloom and planting beans) can be linked and are indicators of when the local climate is suitable for planting certain seeds and transplants. Since phenology is based on local observations, it can apply regardless of what zone or local microclimate you’re gardening in. The Wisconsin Cooperative Extension and Cooperative Extension in Maine  offer additional information about phenology. 

The Old Farmer’s Almanac and others have long used these signs of nature as indicators for planting. Lilacs figure into many of these signs. For instance phenology indicates that beets, broccoli, Brussels sprouts, carrots, collards, lettuce and spinach can be planted when lilacs first begin to leaf out and the dandelions are in bloom. When lilacs are in full bloom, they say, it is time to plant beans, cucumber, squash, and tender annuals.  Plant potatoes when the dandelions bloom. Read more Using nature’s signs to time your planting