Meet Brad Pendergraft, Master Gardener Volunteer

Can you remember the moment you decided to become a gardener, or when you realized you had become one? 

When I was a young kid in the Texas panhandle my parents bought an extra strip of land beside the house we built for a garden. My Mom was the gardener and my dad did the rototilling; pretty traditional, but it was the 1950’s. Later we moved to Gunnison, Colorado where there had been a frost recorded on every day of the year, so as you can imagine gardening was difficult there, but my Mom did it. Seeing her perseverance over the years even in unpredictable conditions was motivating. I later decided I wanted to become a homesteader. 

What tool can’t you do without in the garden / what is a garden invention or plant variety you wish would be developed?  

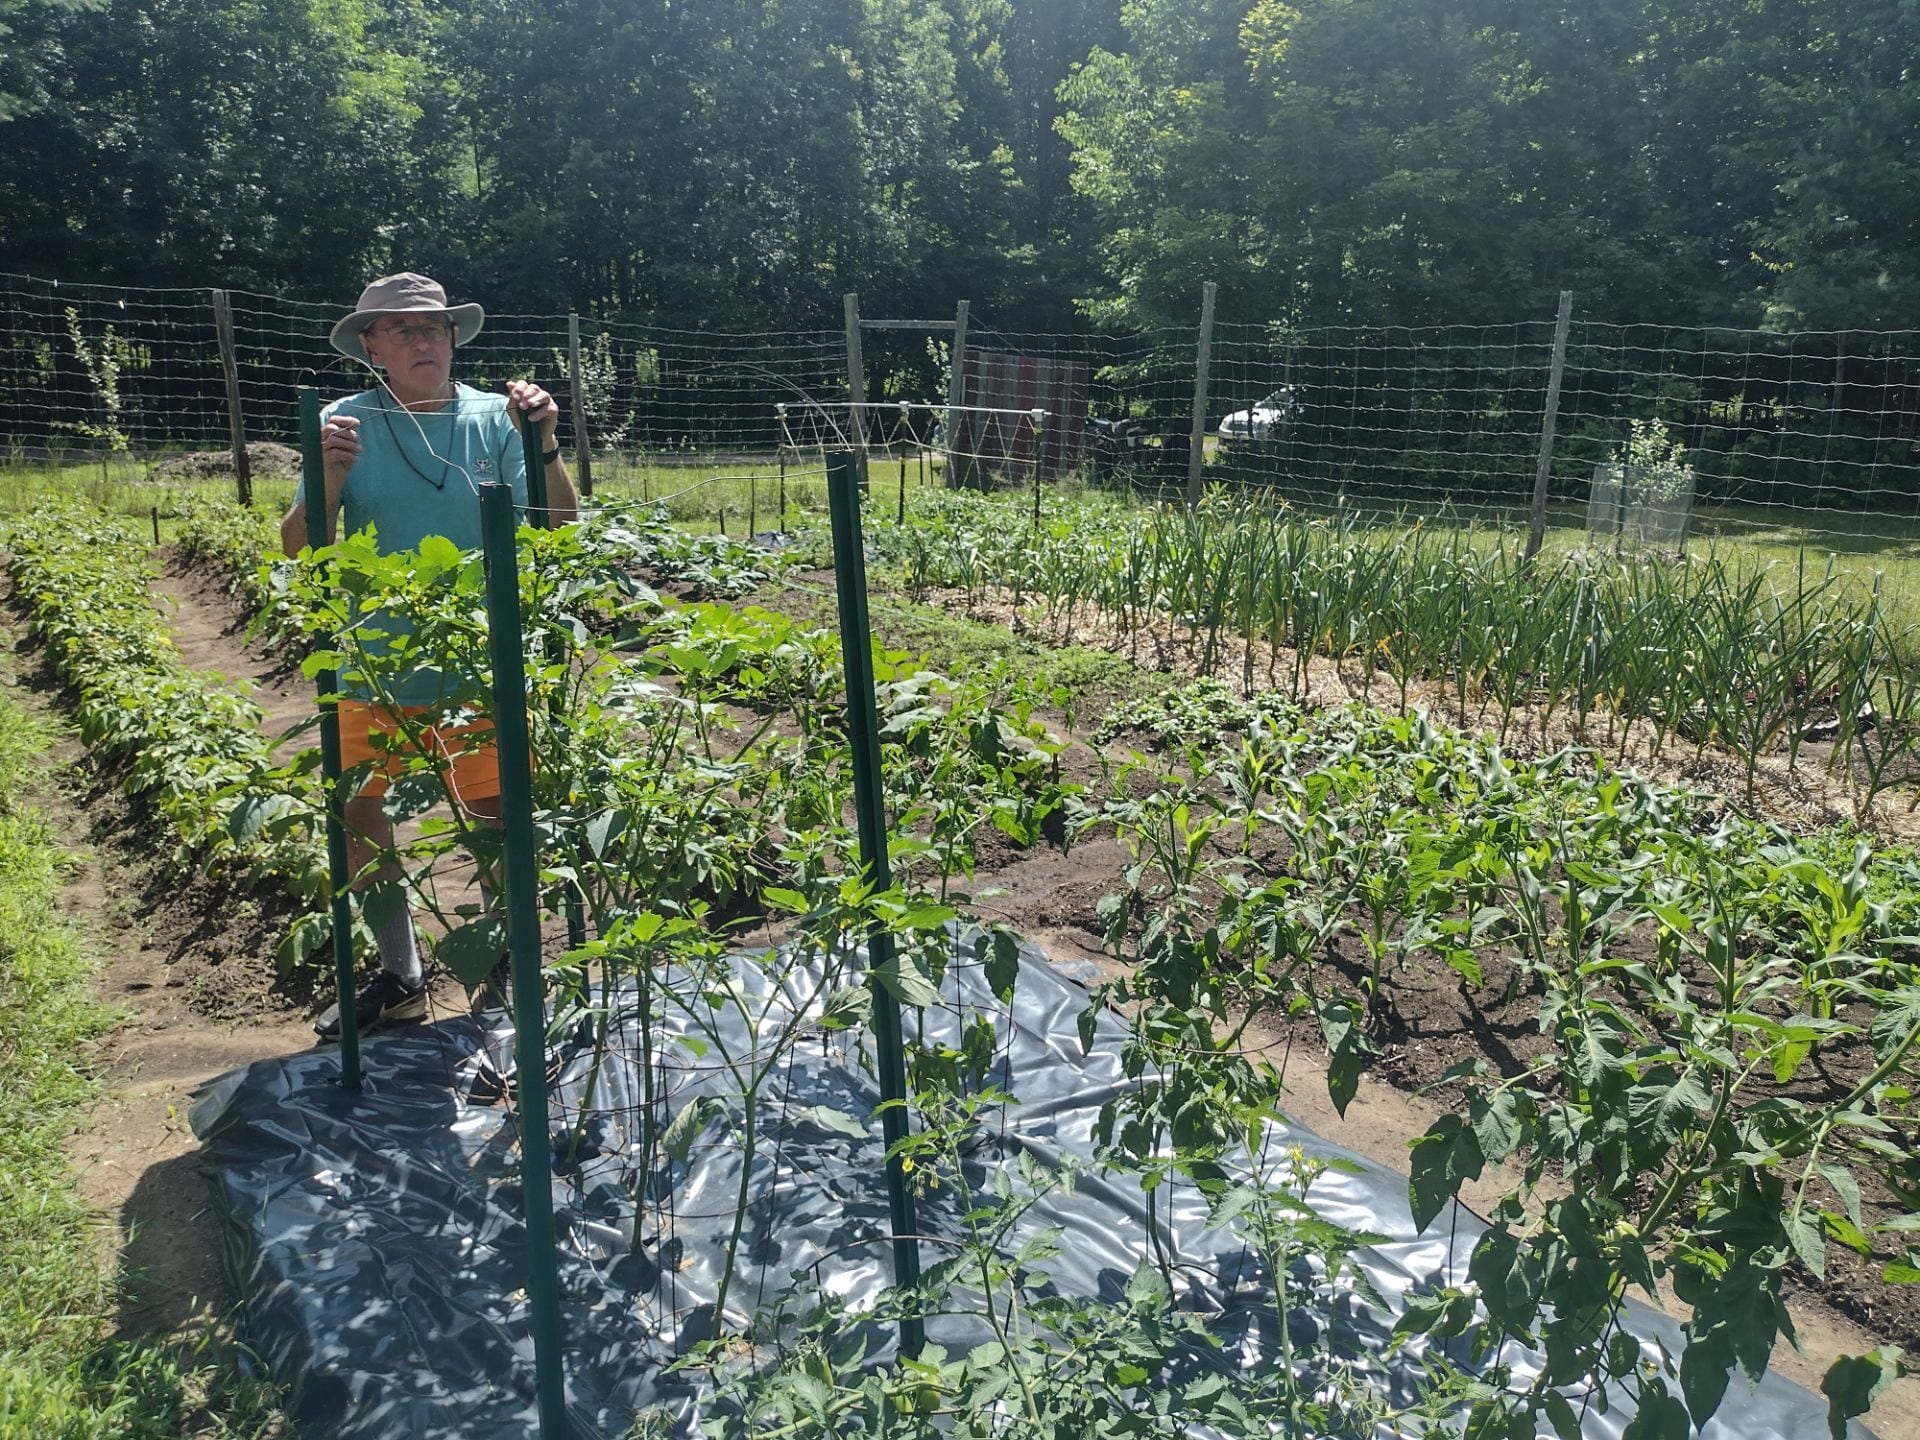
When I first started gardening I bought tools from a company called “Smith and Hawkens”.  They imported forged tools from England. I love them. I fork my entire 40’ by 60’ garden using the four-tine digging fork and their long-handle shovel is my favorite shovel.

What plant do you wish you’d never planted in your garden?

Tomatillos are a mixed bag as much of life is a mix of good and bad. I love serrano tomatillo salsa, but if you compost the fruits of the tomatillos you end up with baby tomatillo plants everywhere, coming up like a carpet covering the garden beds. On the plus side, the plants add organic matter to the compost. 

I tie my tomatillos with bailing wire and stay vigilant about where the seeds end up.

Read more Meet Brad Pendergraft, Master Gardener Volunteer

Upping your compost game

Few gardeners would say that they have all the compost they would like for their gardens. The good news is that you can increase the amount of compost you produce with a method developed by Helen and Scott Nearing that is described in their books, “Living the Good Life” and “Continuing the Good Life.” I’ve been composting for the last 44 years. What follows is a description of the Nearing methods that I have modified over time for the North Country.

Most home compost piles are approximately three feet by three feet which is small enough to allow oxygen in on all sides. In the metho I use, a “chimney” brings air to the center of the pile, allowing an increase in pile size and the production of far more compost.

The process starts with picking a location. It should be well drained and shaded. To contain the pile, use six foot long poles ranging from one to three inches in diameter. It’s good if they are straight, but they can be slightly crooked. I cut mine from my woods, but if you don’t have your own, you may have friends that will allow you to cut understory trees or trees on the margins of their woods. Don’t use pressure treated wood. 

Start the pile by placing two poles on the ground, parallel to each other, about six feet apart. Then add two more parallel to each other and perpendicular to the first two with the ends overlapping, making a square slightly less than six feet by six feet. Remove the sod and topsoil from within the square and set aside for later use in the pile. Use a fork to loosen the soil under the pile. Make a central chimney by bundling multiple poles approximately one inch in diameter and at least six feet long. They can be tied together with bailing twine and do not have to be perfectly straight. Make a hole in the center of the square with a digging bar and  or insert or pound the poles in to create a vertical bundle. These poles will create a chimney to supply oxygen into the center of the pile.

Shows the start of the compost frame with the chimney in the center
See how the poles are stacked with the chimney bundle in the center.

Read more Upping your compost game