The Food Preserver’s Garden

One of the great things about food preservation is the freedom to choose both foods and methods that suit our lifestyle. Over the years, I’ve enjoyed pickling vegetables, especially cucumbers, but then they sit on the shelf because I’m not excited about eating them. Nor do I usually eat the jams, jellies, or relishes I make and can. This year, I am focusing on choosing vegetables that I am confident I can preserve in ways that will appeal to me during the winter months. In this post, I’ll share some tricks I’ve learned over the years to grow and preserve foods I like. The Resources section at the end of this post includes links to get thinking about your garden.

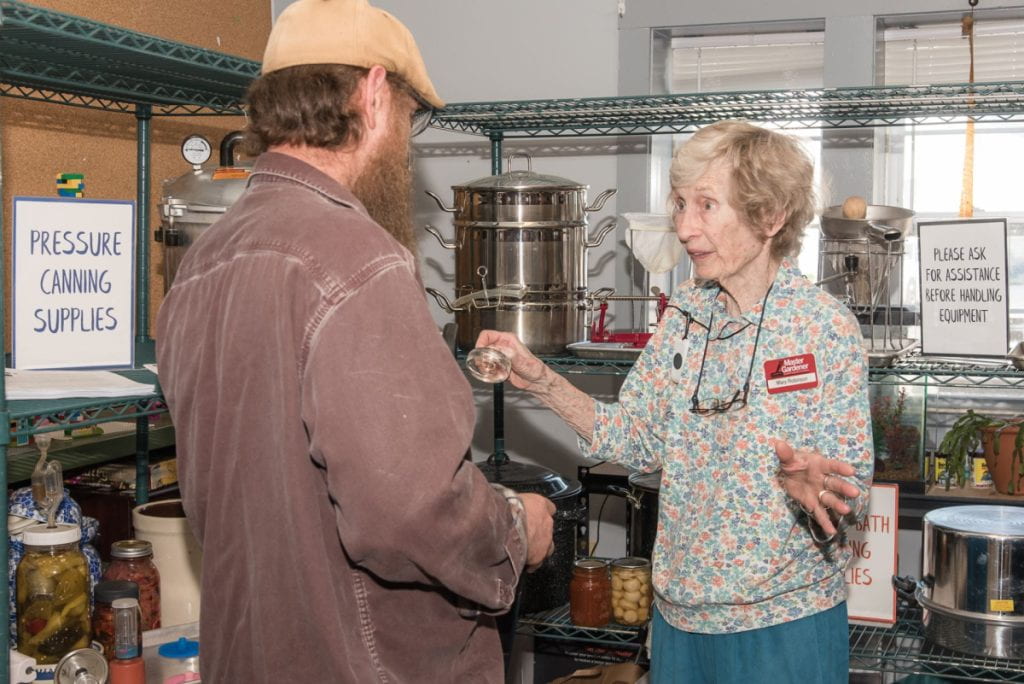
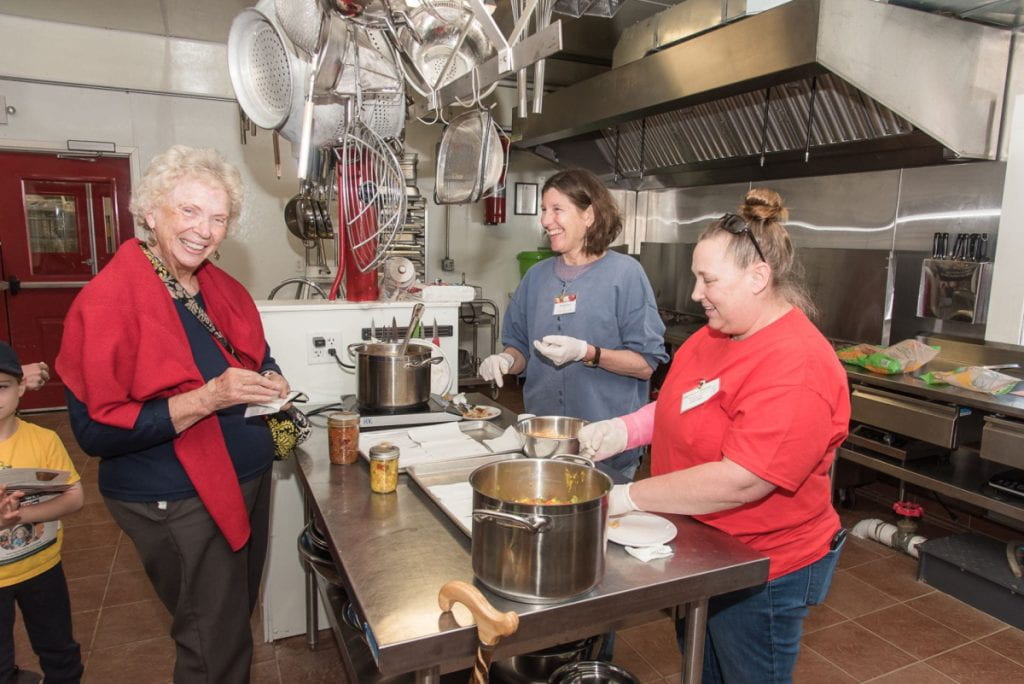
Some preserving methods I’ve used in the past include both boiling water bath and pressure canning, pickling, dehydrating, freezing, and fermenting. I know right away that I’ll skip fermenting this year. I know, I know—probiotics, gut health, etc. I’ll get with the program someday, but not someday this year. Pickling is a tad up in the air, too, but I know for sure I will freeze many vegetables, with some canning and dehydrating thrown in the mix.

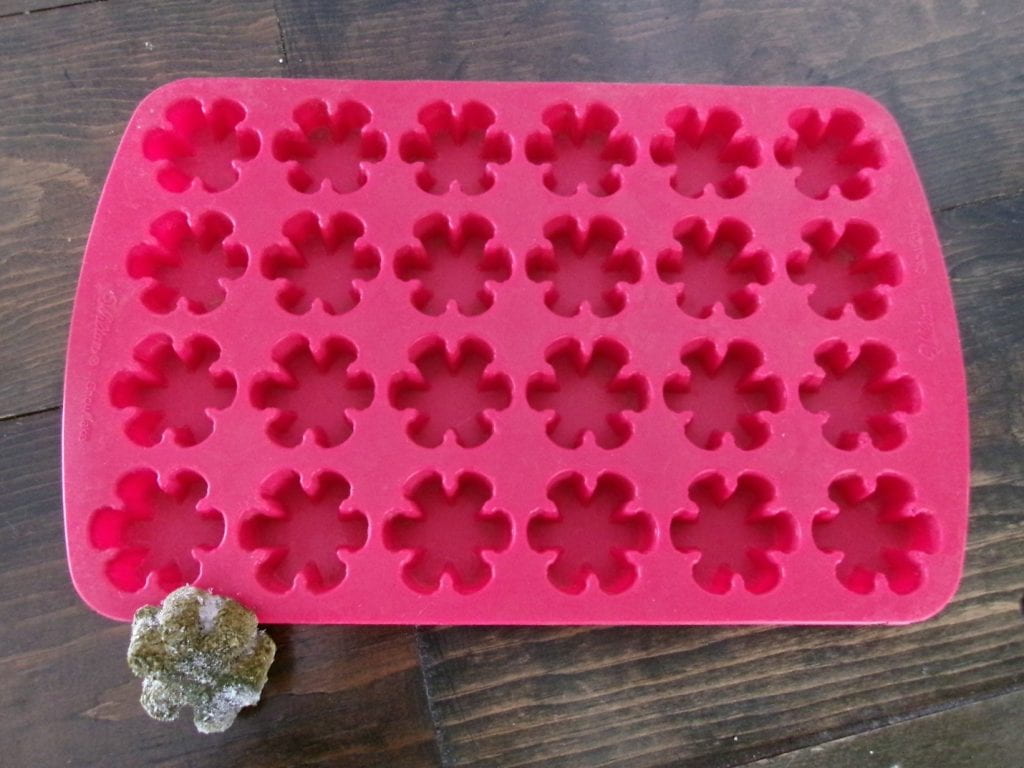
Last year I planted herbs for the first time in many years, and I was glad to freeze them to spice up winter meals. I prefer freezing herbs because they taste fresher than dried herbs, although I do have some dill and sage hanging around in the kitchen. I tried freezing herbs in a silicon mold and then storing them in baggies. I found I preferred these because they were not as messy as the loose herbs, which stick to my fingers when I use them. Plus, herbs frozen in molds [or ice cube trays] can be pre-measured.

silicon mold
These herb flowers are very convenient to drop into soups and sauces. And they’re cute.

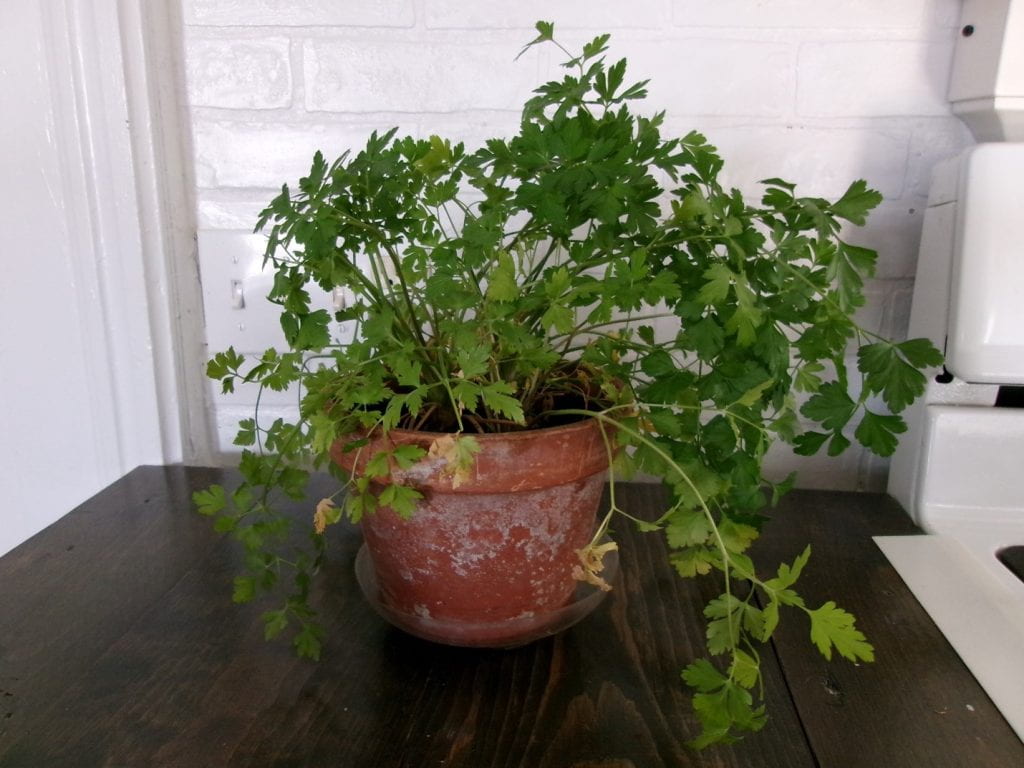
Although technically not a “preservation” method, I dug up and repotted basil and parsley plants, both of which did well in my kitchen window. Snipping fresh herbs for recipes and garnish feels very Martha-like. This year, I will plant basil, parsley, and probably oregano with the intention of repotting them to my windowsill.

potted parsley
This parsley plant has provided fresh flavor to many recipes over the winter.

I also like to freeze what I call “flavor packs”, usually for use in soups. I prepare one-pint portions of recipe ingredients, including the vegetables, and leave out anything that does not freeze well, such as potatoes, pasta, and beans. I add those along with any thickening sauce, roux, milk, or cream when making the actual soup. I grow vegetables to make flavor packs for soups such as:

Read more The Food Preserver’s Garden

Festivities at the Learning Farm

On Saturday May 6th, Extension’s Harvest Kitchen and high tunnel were filled with families and friends enjoying the beautiful sunny day during the Grow and Preserve Open House. Visitors learned about numerous food preservation and gardening resources available at Extension through an assortment of activities. We shot some photos of all the happenings, check them out below!

MFP
As a result of our many years of teaching food preservation classes, the Harvest Kitchen has a well-stocked kitchen. For the Open House, we assembled a Preservation Equipment Showcase so community members could wander through the shelves to compare tools. In 2022, after 50 years of putting up food for her own household, Mary Robinson went through the training to become a Master Food Preserver volunteer. She’s pictured here, sharing information about food preservation with a visitor. Other volunteers sharing their experiences in preserving the harvest include Kathryn Farr, Sasha Kocho-Williams, and John Youngblood.
MFP
One thing our Master Food Preserver volunteers love is how canned foods pack a lot of flavor while simplifying future meals. Danielle Barse and Jan DeWaters gave out free samples of chili and corn relish in the Harvest Kitchen, along with the recipes to make these water bath canned and pressure canned recipes at home.

Read more Festivities at the Learning Farm

Adventures in Dehydrating, Part 2

So, you’ve found your dream dehydrator and you are ready to get started. The dehydrating process is not especially complicated: Food is dehydrated by subjecting it to low heat and a steady airflow, evaporating enough moisture to inhibit the growth of bacteria, yeast, and mold—things that spoil precious food. You want food to be as dry as possible before storing it. Along with your dehydrator’s manual, the Internet has many reliable sources of dehydrating instructions (see resources below), so I won’t reinvent that wheel, but I will share some things I encountered during my first year of dehydrating.

Prepping Food
Ideally, all dehydrated food should end up at the same level of dryness, so chopping, cutting, or slicing food into uniform pieces makes sense, right? Imagine starting one thick and one thin burger on the grill at the same time: You know that the thin one will cook more quickly. Some obliging vegetables like corn and peas come uniformly sized. To cut up larger produce, many people use a mandolin. Since I typically shred my knuckles on a plain old cheese grater, a mandolin is probably not in my future. Seriously, mandolins are out for blood. An egg slicer works great for strawberries and mushrooms. Depending on the size and shape of the food, I either use sharp knives or my trusty Oster Kitchen Center.

Oster
If you still have one of these, you love it. Mine is 40 years old and still going strong.

Dehydrating Times

As shown in the chart below, dehydrating times vary, with juicier foods like peaches and pears taking longer to dry than, say, apples.

Dehydration chart
Chart from my dehydrator manual. Noting the desired texture of the food is helpful.

Some people ignore the recommended times altogether, leaving the dehydrator on for 24 hours no matter the food. Can you over dry food? Most sources say no. So how do you tell if the food is “dry enough”? The USDA says that dried vegetables should be hard and brittle, to the point that some will shatter when hit with a hammer. Before you pull out the ol’ ballpeen, take out a few pieces of food and let them cool before testing—warm food tends to seem moister and more pliable.

You may end up varying dehydrating times, but do not mess with the recommended temperatures. For example, if the initial temperature is too high, the food surface might dry, making it hard for moisture to escape. Instead of upping the temperature to speed up drying time, cut food into smaller or fewer pieces.

Read more Adventures in Dehydrating, Part 2