A Quick Guide to Starting Your Seeds Indoors

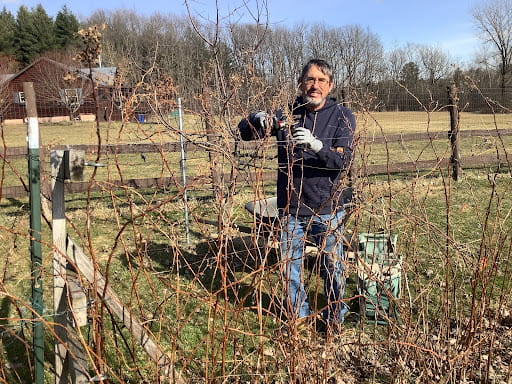
Late winter can be a tough time for gardeners. When the calendar turns to March, the days are getting longer, the snow is melting, and the itch to get outside and garden gets stronger every day. Those sunny days when temperatures soar into the 40s and 50s can seem especially cruel when followed by a sharp drop in temperatures and extended cold snaps. For many gardeners the cure for their itch to garden and for their impatience for spring to arrive is to seed vegetables and flowers indoors under artificial lighting for later transplanting into the garden.

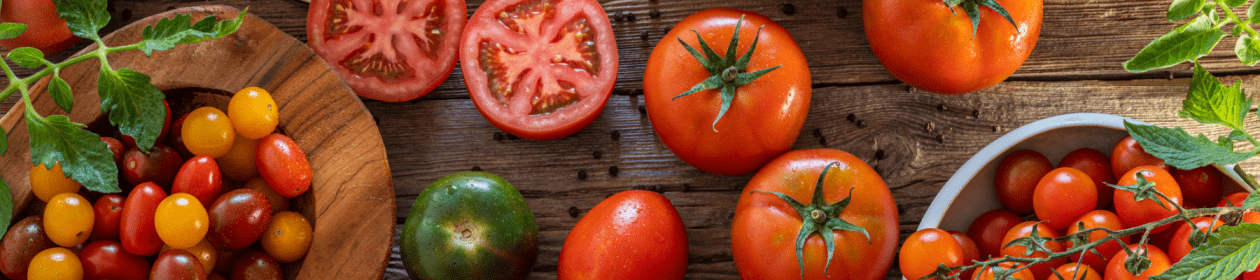
The benefits of starting your own seeds indoors are many. Starting my seeds indoors allows me to grow varieties that I would not find as seedlings at a gardening center or large retailer. This is critical when taking into consideration needs such as disease resistance and tolerance of soil type, but also a matter of preference – I do love the different heirloom varieties! Growing from seed also allows us to select varieties that are suitable to our shorter growing season. Plus you’ll control the timing, so your plants will more likely be the optimal size when the time comes to plant them outdoors.A person seeding a tray with seeds

Successfully growing quality transplants requires a good understanding of a number of parameters, so though you’re probably eager to start, take a moment to read this quick guide for a successful seedling indoors. I’ll cover when to start seeds, potting mixes, indoor growing setups, containers, watering and more. Read more A Quick Guide to Starting Your Seeds Indoors

Raspberry pruning time!

You’re probably aware of the importance of pruning fruit trees in the late winter/early spring, but did you know how important it is to prune your raspberry patch?

It’s best to start with a some clear priorities when pruning:

  1. Remove dead, dying and diseased canes, as well as any insect pests that may be overwintering.
  2. Reduce competition between your plants for sun, nutrients and water, resulting in a more vigorous plant and a more fruitful harvest.
  3. Allow for better airflow throughout the raspberry row, drying the plant leaves and  any fruit, thereby reducing fungus and mold growth.

Gardeners in northern NY generally plant two main types of raspberries. Summer-bearing raspberries fruit in July and early August, and fall-bearing raspberries fruit in September and October. Knowing whether you have summer or fall varieties of raspberry plants will dictate how they are pruned.

Summer-bearing raspberries produce fruit on canes that grew the previous summer, called floricanes. Floricanes will die immediately after fruiting, so once canes die back (i.e. appear dried and brown) they should be removed, leaving only new cane growth. These new canes will produce fruit next summer. If you missed this pruning step last year, pruning out  dead canes should be your first priority. Other steps to take during winter pruning will be to thin canes to 6 to 8 inches apart, removing the smallest and weakest canes first, and to also remove any canes spreading out to where you don’t want them to grow. Make sure that you don’t miss pruning out any diseased and winter-killed canes, or crown galls that you find. Remaining canes should be topped at 48 to 60 inches in height.

Some varieties of summer-bearing raspberries (like Prelude which I have in my garden) may produce a second smaller crop on that year’s new canes in the fall.  Make sure to prune off the dried flower stalks when doing your late winter pruning.  Read more Raspberry pruning time!

The Food Preserver’s Garden

One of the great things about food preservation is the freedom to choose both foods and methods that suit our lifestyle. Over the years, I’ve enjoyed pickling vegetables, especially cucumbers, but then they sit on the shelf because I’m not excited about eating them. Nor do I usually eat the jams, jellies, or relishes I make and can. This year, I am focusing on choosing vegetables that I am confident I can preserve in ways that will appeal to me during the winter months. In this post, I’ll share some tricks I’ve learned over the years to grow and preserve foods I like. The Resources section at the end of this post includes links to get thinking about your garden.

Some preserving methods I’ve used in the past include both boiling water bath and pressure canning, pickling, dehydrating, freezing, and fermenting. I know right away that I’ll skip fermenting this year. I know, I know—probiotics, gut health, etc. I’ll get with the program someday, but not someday this year. Pickling is a tad up in the air, too, but I know for sure I will freeze many vegetables, with some canning and dehydrating thrown in the mix.

Last year I planted herbs for the first time in many years, and I was glad to freeze them to spice up winter meals. I prefer freezing herbs because they taste fresher than dried herbs, although I do have some dill and sage hanging around in the kitchen. I tried freezing herbs in a silicon mold and then storing them in baggies. I found I preferred these because they were not as messy as the loose herbs, which stick to my fingers when I use them. Plus, herbs frozen in molds [or ice cube trays] can be pre-measured.

silicon mold
These herb flowers are very convenient to drop into soups and sauces. And they’re cute.

Although technically not a “preservation” method, I dug up and repotted basil and parsley plants, both of which did well in my kitchen window. Snipping fresh herbs for recipes and garnish feels very Martha-like. This year, I will plant basil, parsley, and probably oregano with the intention of repotting them to my windowsill.

potted parsley
This parsley plant has provided fresh flavor to many recipes over the winter.

I also like to freeze what I call “flavor packs”, usually for use in soups. I prepare one-pint portions of recipe ingredients, including the vegetables, and leave out anything that does not freeze well, such as potatoes, pasta, and beans. I add those along with any thickening sauce, roux, milk, or cream when making the actual soup. I grow vegetables to make flavor packs for soups such as:

Read more The Food Preserver’s Garden