Late winter can be a tough time for gardeners. When the calendar turns to March, the days are getting longer, the snow is melting, and the itch to get outside and garden gets stronger every day. Those sunny days when temperatures soar into the 40s and 50s can seem especially cruel when followed by a sharp drop in temperatures and extended cold snaps. For many gardeners the cure for their itch to garden and for their impatience for spring to arrive is to seed vegetables and flowers indoors under artificial lighting for later transplanting into the garden.
The benefits of starting your own seeds indoors are many. Starting my seeds indoors allows me to grow varieties that I would not find as seedlings at a gardening center or large retailer. This is critical when taking into consideration needs such as disease resistance and tolerance of soil type, but also a matter of preference – I do love the different heirloom varieties! Growing from seed also allows us to select varieties that are suitable to our shorter growing season. Plus you’ll control the timing, so your plants will more likely be the optimal size when the time comes to plant them outdoors.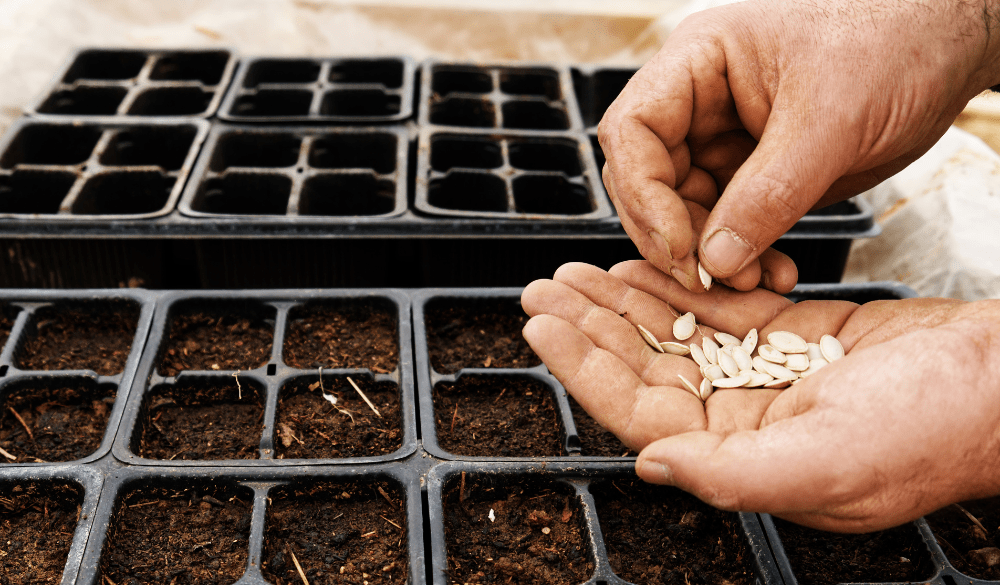
Successfully growing quality transplants requires a good understanding of a number of parameters, so though you’re probably eager to start, take a moment to read this quick guide for a successful seedling indoors. I’ll cover when to start seeds, potting mixes, indoor growing setups, containers, watering and more.
When to start seeds: how to determine your last frost date and how to use a planting calculator
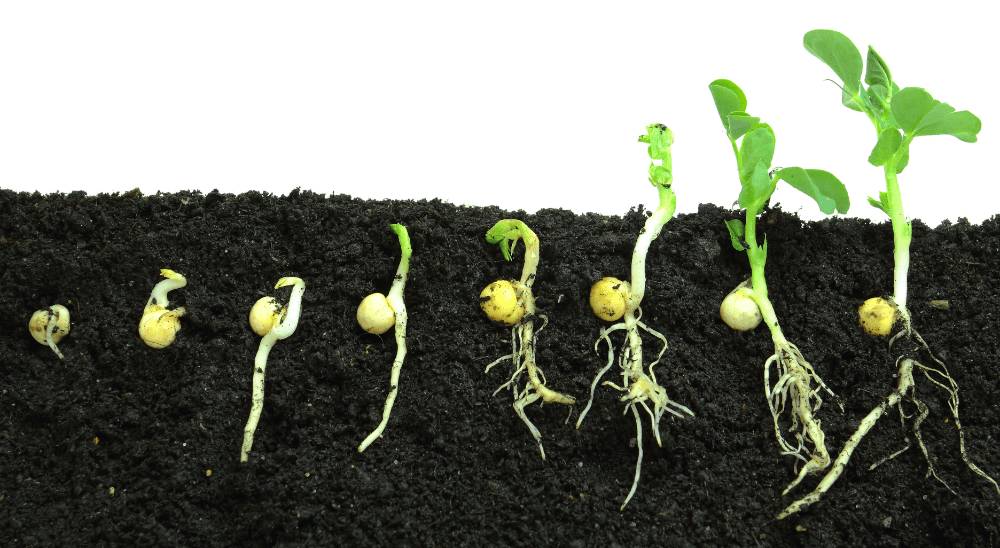
Home gardeners may think that the bigger the plant, the better it will be for transplanting. Generally this is not true. When vegetable and plant seedlings are started too early indoors, the plants can become too tall and “leggy,” and their roots can become “root-bound” in the small pots they are grown in. Oversized plants also tend to be more difficult to harden off and establish in your garden.
In order to determine the proper time to start each variety of vegetable or flower seed, the first step for the gardener is to determine their average last frost date in the spring. This is easily accomplished by going to a site such as the Old Farmer’s Almanac and typing in your zip code. Typing in my zip code for the Town of Potsdam gives a date of May 20th.
After this date there is a 90 percent chance that there will be no more frosts (note that there is still a 10 percent chance!). I usually select this date to plant my frost sensitive transplants into the garden, however to be safe I first check the 10 day weather forecast – no reason to roll the dice after working so hard to grow seedlings. I am always prepared to cover transplants if a late frost is in the forecast. If you live along the St. Lawrence River in Ogdensburg, Waddington, Massena, etc. your last frost date will be earlier in May. If you live in Colton, Parishville or in the Adirondacks it may be a week or two later.
Now that you know your average last frost date, plug that date into a spring garden calculator. I really like Margaret Roach’s Planting Calculator, which provides a plethora of information relating to both when a particular seed should be started indoors, and when to sow seeds directly into the garden. The calculator will also give you the proper date to transplant your new seedlings. Some frost hardy seedlings will be ready to transplant weeks before the last frost, while other sensitive seedlings will need to wait until after the last frost.
Using tomatoes as an example, the garden calculator directs me to start seeds indoors 6 to 8 weeks before the last frost date, and transplant into the garden 1 to 2 weeks after danger of frost. This means starting my tomatoes around March 27th and transplanting the seedlings into the garden around May 27th (after checking the weather forecast of course; tomatoes are very frost sensitive). 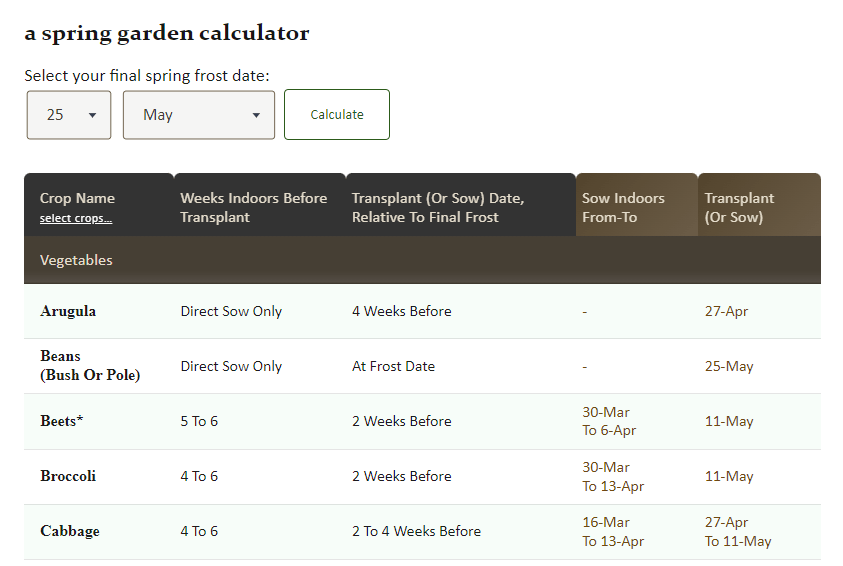
Where in your home you should start your seeds
Although germinating your seeds will require only warmth and moisture, it’s important to plan ahead for the needs of your growing plants: light, seed starting mix, containers, water, fertilizer, and warm temperatures, all of which I’ll address below.
Some gardeners use a germination mat to ensure that their soil and seeds are held at the ideal germination temperature for a given seed type. While the heat mat will accelerate germination and perhaps give your seedlings an early boost in growth, a heat mat is probably not needed if your home is kept in the 68 to 72 degree range, a tolerable temperature for germinating most seeds.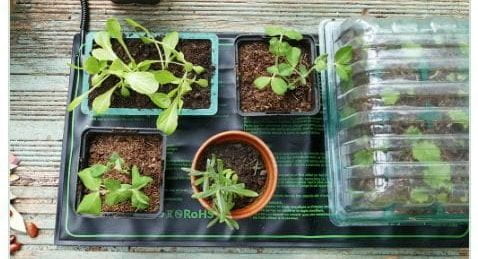
Once young plants emerge from the soil, they will require light to harness energy for growth. While south-facing windows are better than north, the length of time the sun shines on your seedlings will probably be limiting, will certainly be one-sided, and may still result in long leggy plants. Windows sills are also typically colder than the rest of the house. Plants will do best with 14 to 16 hours of direct light, something nearly impossible to get from a window location.
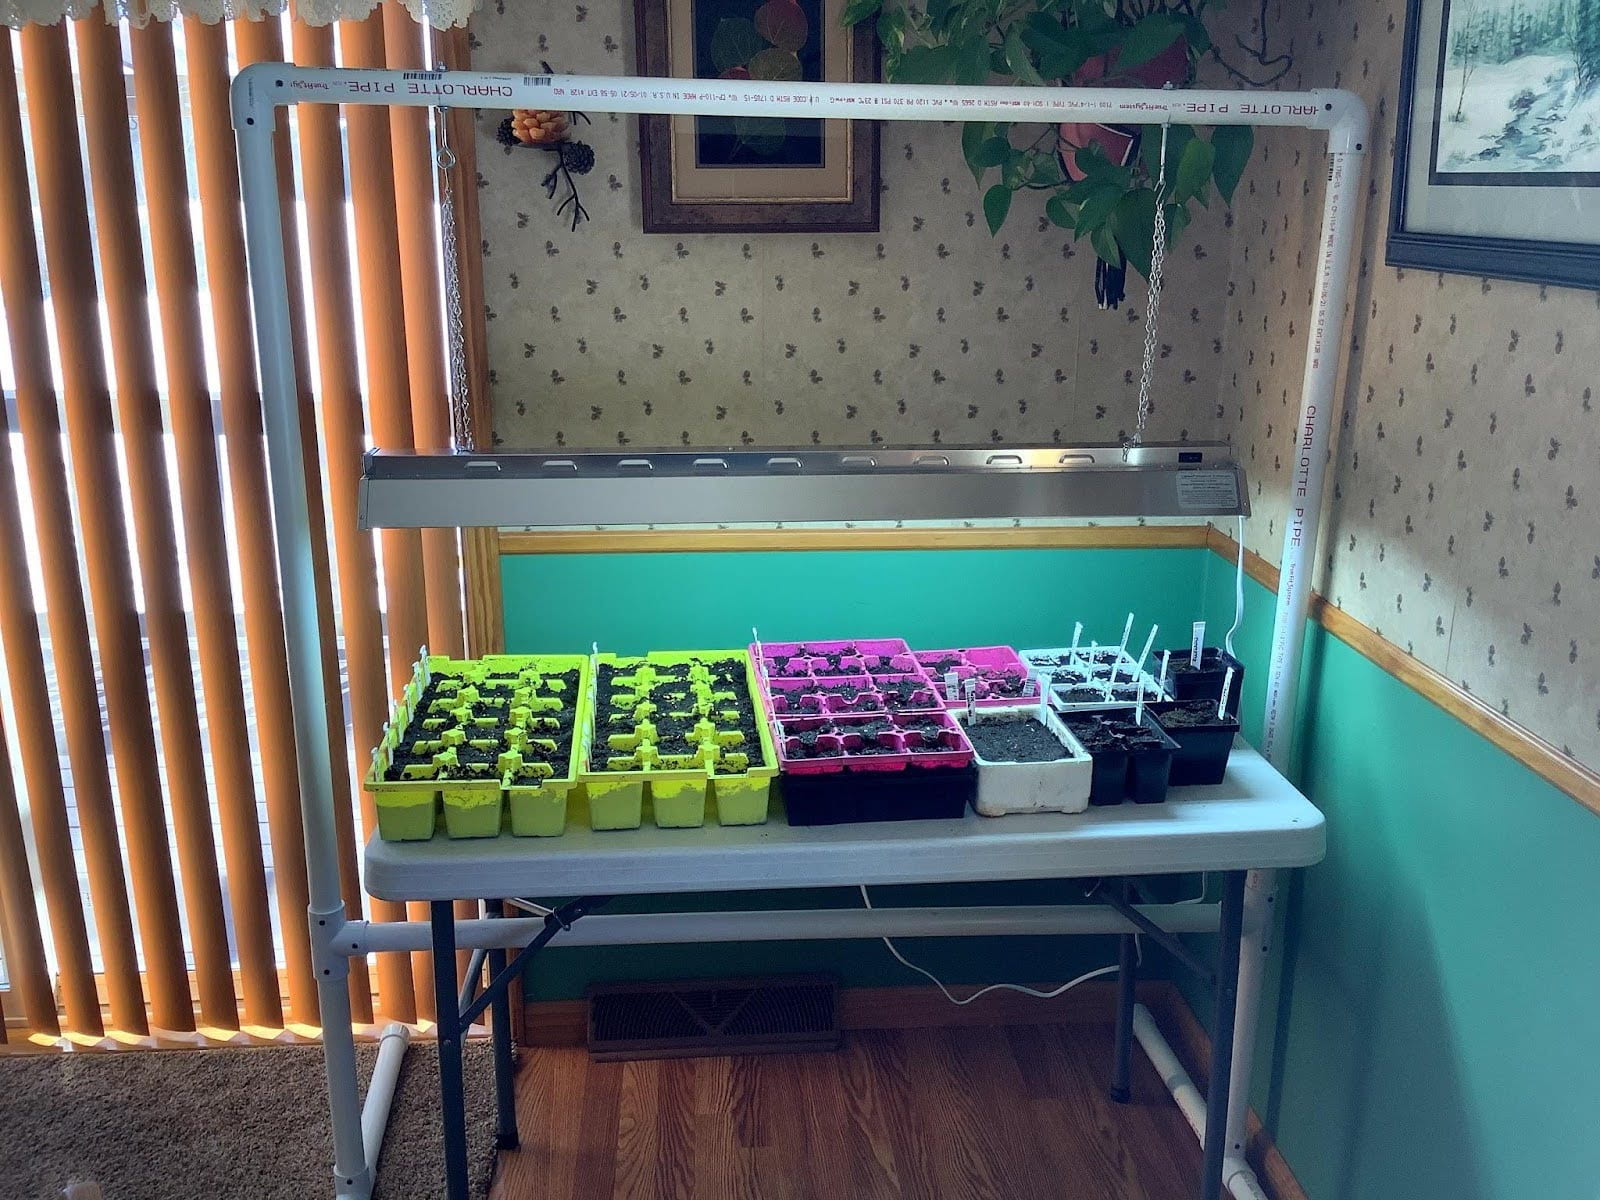
If you plan on regularly starting your own seeds, then you may eventually choose to invest in an indoor lighting set-up. There are many types of grow lights available for purchase and all should meet your needs. Cost will likely determine which type of system you choose as some can be very pricey.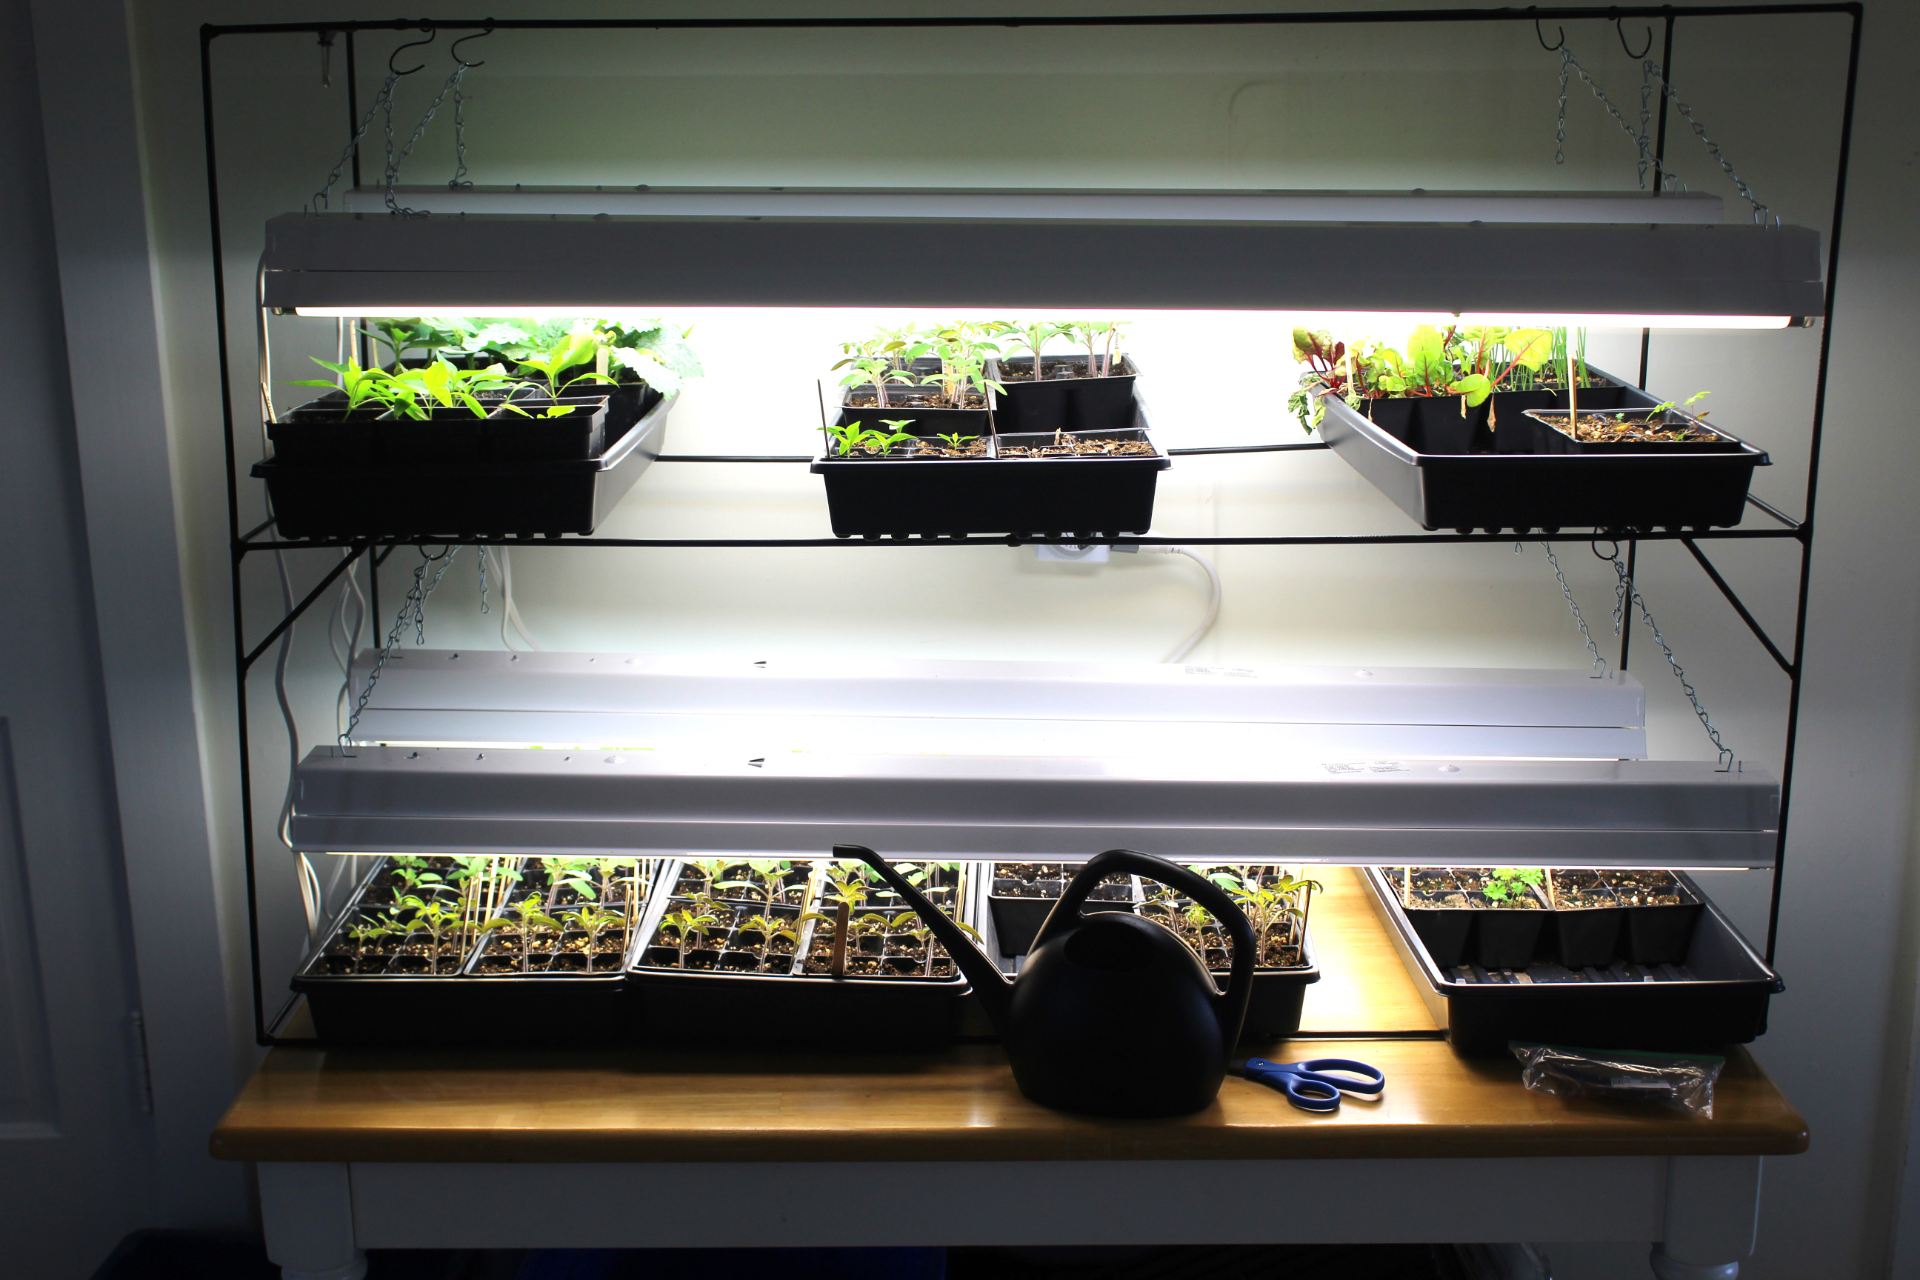
The system above utilizes standard 4 ft shop lights. Each light fixture takes two bulbs: a T-8 warm, and a T-8 cool fluorescent bulb. My newer system (below) is a 4 ft two-bulb T-5 fluorescent grow light system. I built my own hanging system with a 2 inch plastic PVC pipe and hung the light over a folding table. T-5 bulbs are much more intense than T-8 or T-12 bulbs. Be sure to adjust grow lights as your seedlings grow, maintaining a distance of 3 or 4” between the plant tops and the light bulbs.
How to select a starter mix
To get the best germination and growth in your seedlings, use a light, airy, growing medium called a “starter” mix. Starter mixes contain a combination of peat, lime (to adjust the pH), perlite and vermiculite. They are designed to hold moisture and provide a disease-free and insect-free growing environment. Some mixes include fertilizer while others do not, so read the label carefully to know whether you’ll need to fertilize later or not. There are many options to choose from. I have had great success in the past starting my seeds using “Pro-Mix”, but have also used Miracle Grow and other brands. This year I am trying an organic starter soil mix called Fort-Vee from the Vermont Compost Company. I purchased this locally and though it is pricier, I have been told the fertility of the soil will last until transplant time.
Soil mixes labeled as “potting soil” or “raised bed soil” may be too heavy and dense to use as a starter. We don’t recommend ever using soil from your garden as a starter. Garden soil contains bacteria, fungi, insects, and other critters that could quickly weaken, or even kill, your young plants. With all the time you’ll invest in starting your seedlings, cutting corners to save a few dollars is a decision that isn’t likely to pay off.
What containers to Use
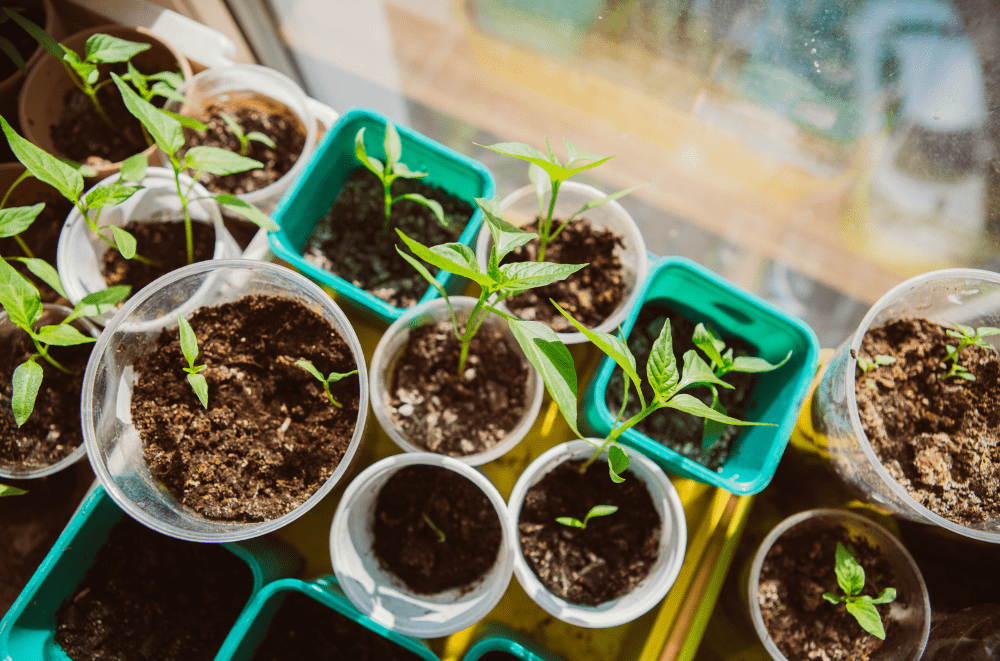
Gardeners use many varieties of container to start their seeds. A quick walk through a garden center will present many commercial options ranging from peat pots in various sizes, to small pods that will expand when watered, to the black seed trays used by commercial growers. At home, you likely have more options, like yogurt containers.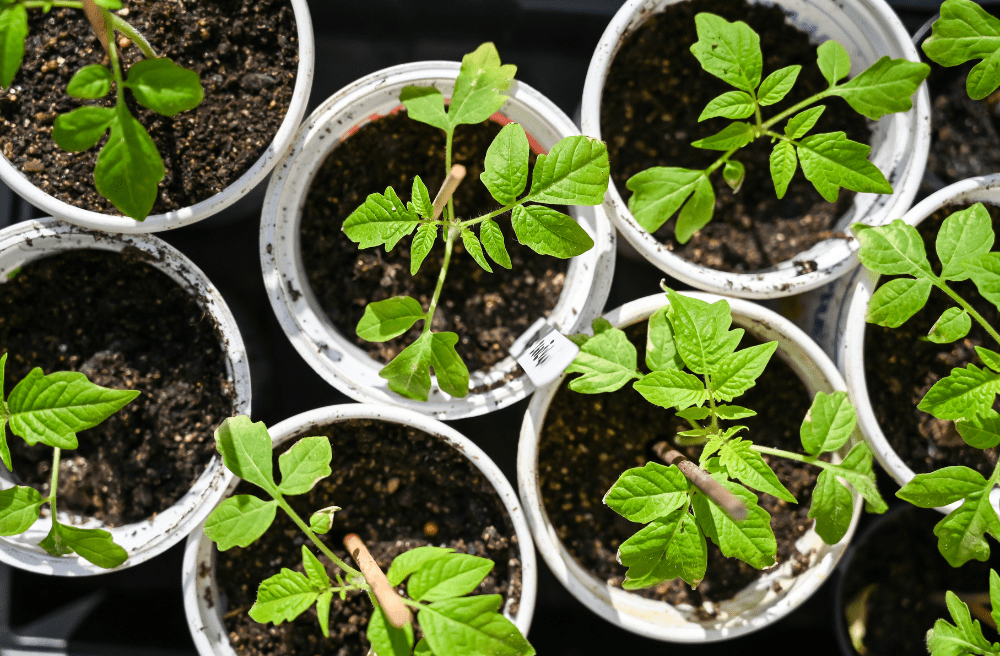
I’ve used all these gardening containers with varying degrees of success. I have found that peat containers dried out quickly and were prone to falling apart when saturated with water. Directions may say that the peat container can be planted directly into the soil and will biodegrade on its own, but at times I’ve found that the peat cube was still visible at the end of the growing season.
The expandable pods are quite amazing and work well. I did find that the roots of seedlings from one pod sometimes grow into adjacent pods and that the netting surrounding each pod wasn’t as biodegradable as advertised. The pods are small, however, and gardeners using them will have to take careful note of the planting calculator to ensure that the plants grown aren’t too large and overgrown before transplanting.
The multi-cell black or green plastic trays are my preferred method of seed starting. They are inexpensive, easy, and can be cleaned with soapy water and reused year after year. These trays also often come with a clear plastic cover for early seed starting, and a bottom tray without holes that will allow bottom-up watering.
How to water and fertilize your seedlings
Watering effectively can be tricky – too much water and your seedlings will drown, too little water and they will dry up and wither away. If your soil has algae, fungi, and a bacterial slime on its surface, then you are watering too much. If your plants are wilting and soil is pulling in from the sides of the container, the soil is drying out. The weight of the container can give you an idea if the plants need watering or not. Check your pots each day to assess if watering is necessary.
Once your plants are placed outdoors they will need to be watered daily, or even twice a day depending on conditions until they are established (for about a week).
If your potting mix does not include fertilizer, you will need to fertilize your seedlings after the first two “true leaves” appear (the very first leaves you see, which don’t resemble the adult leaves, are called “seed leaves”; the next set to appear are the first true leaves). You will then need to fertilize your seedlings with a soluble fertilizer at half strength twice a week or full strength once a week, following label directions. Many organic growers use seaweed/fish based fertilizers, which are effective, but can be quite smelly if it drains out of the soil and accumulates (trust me!) so you may want to try to find one that is labeled odor-free.
Lastly, how to harden off your seedlings
Hardening off is the process of acclimating your seedling to being outdoors. This is an important step to take before transplanting them into the garden. The direct sun, wind, and variable temperatures can be tough on pampered seedlings at first, potentially causing plants to sunburn and/or wind damage. Start with a few hours outdoors the first day, increasing to 6 hours the second day, then out all day. When overnight temperatures allow, leave your seedlings out for the night as well.
Got a question about gardening? Send an email to SLCGrowline@gmail.com and a Master Gardener Volunteer will get back to you. In the meantime, check out the gardening resources on our CCE website. Best of luck this growing season!
Ken Kogut has been a Master Gardener Volunteer since 2014. A retired NY DEC Natural Resource Supervisor and Wildlife Biologist, Ken now spends his time maintaining his garden, berry patches, and small orchard with a goal of living sustainably off his property. He particularly enjoys helping county residents solve their gardening issues, writing short articles for gardeners, and teaching new gardeners in Seed to Supper classes.