Raspberry pruning time!

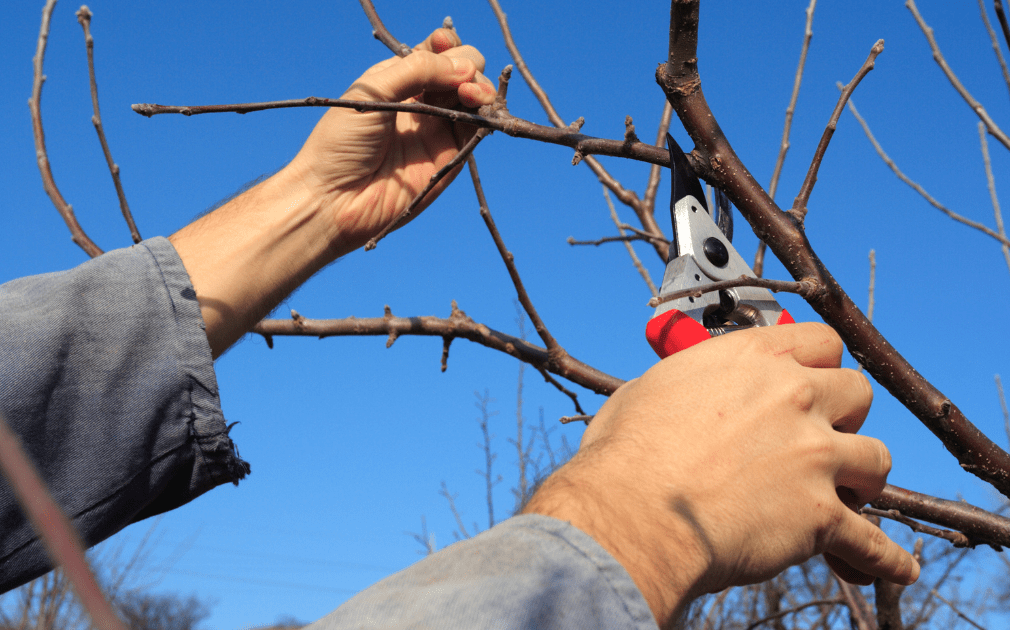
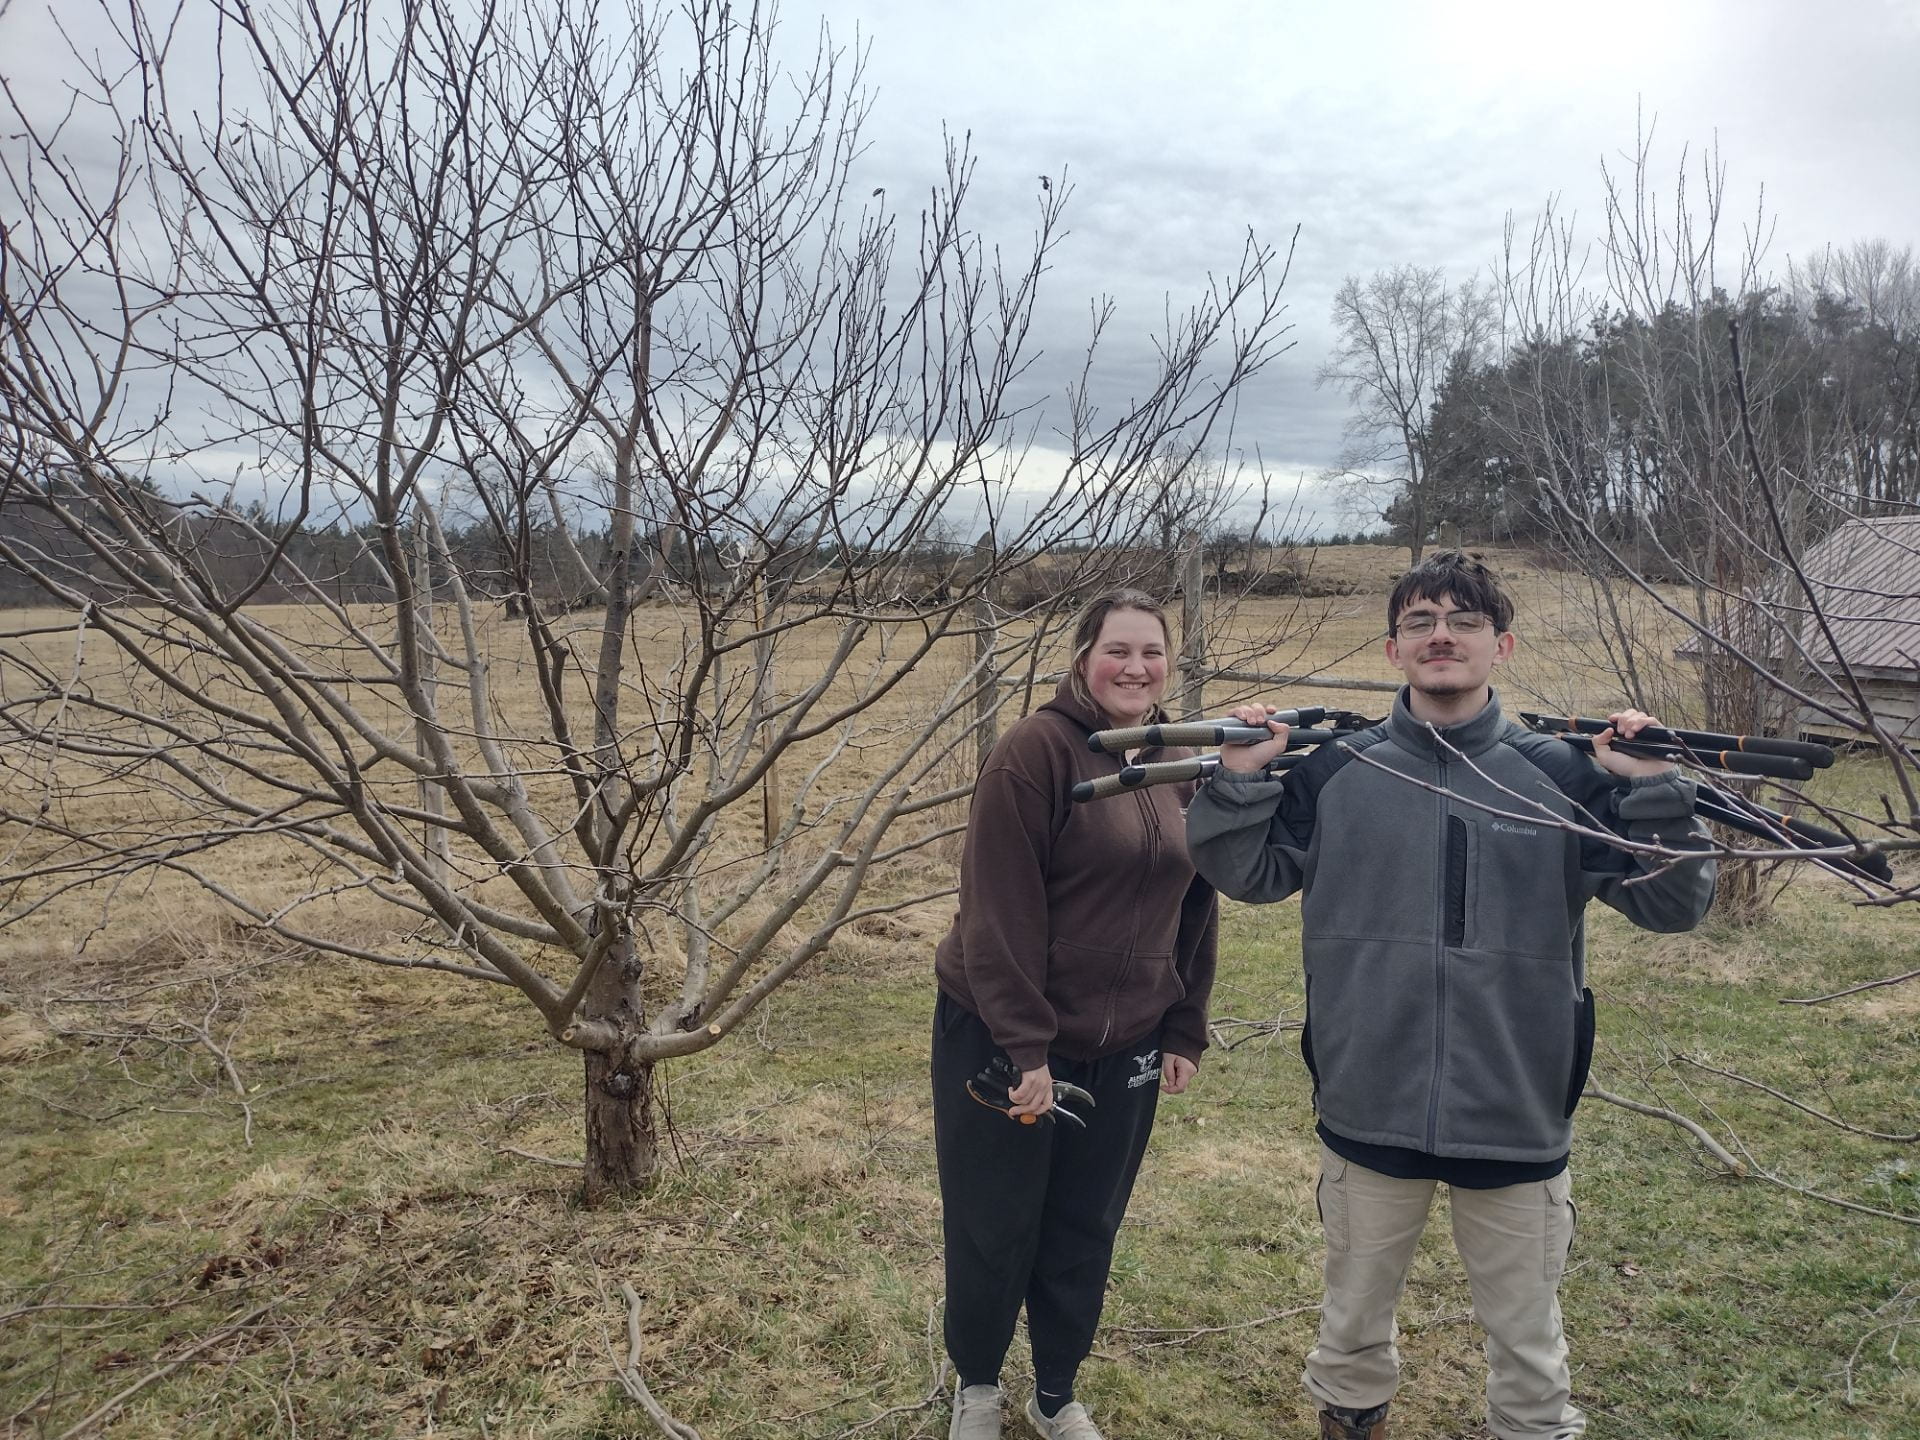
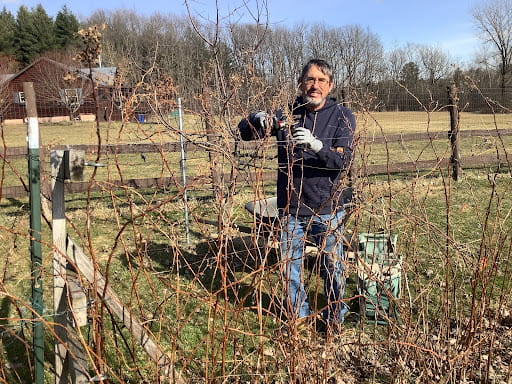
You’re probably aware of the importance of pruning fruit trees in the late winter/early spring, but did you know how important it is to prune your raspberry patch?

It’s best to start with a some clear priorities when pruning:

  1. Remove dead, dying and diseased canes, as well as any insect pests that may be overwintering.
  2. Reduce competition between your plants for sun, nutrients and water, resulting in a more vigorous plant and a more fruitful harvest.
  3. Allow for better airflow throughout the raspberry row, drying the plant leaves and  any fruit, thereby reducing fungus and mold growth.

Gardeners in northern NY generally plant two main types of raspberries. Summer-bearing raspberries fruit in July and early August, and fall-bearing raspberries fruit in September and October. Knowing whether you have summer or fall varieties of raspberry plants will dictate how they are pruned.

Summer-bearing raspberries produce fruit on canes that grew the previous summer, called floricanes. Floricanes will die immediately after fruiting, so once canes die back (i.e. appear dried and brown) they should be removed, leaving only new cane growth. These new canes will produce fruit next summer. If you missed this pruning step last year, pruning out  dead canes should be your first priority. Other steps to take during winter pruning will be to thin canes to 6 to 8 inches apart, removing the smallest and weakest canes first, and to also remove any canes spreading out to where you don’t want them to grow. Make sure that you don’t miss pruning out any diseased and winter-killed canes, or crown galls that you find. Remaining canes should be topped at 48 to 60 inches in height.

Some varieties of summer-bearing raspberries (like Prelude which I have in my garden) may produce a second smaller crop on that year’s new canes in the fall.  Make sure to prune off the dried flower stalks when doing your late winter pruning.  Read more Raspberry pruning time!

A Basic Guide to Pruning your Apple Trees

We’re getting to the end of pruning season… but there’s still time! If you’ve ever wondered why late winter / early spring is the ideal time to do most apple pruning, it’s because the tree is dormant, and there aren’t airborne pathogens around. As a bonus, the branch structure is easier to see without the leaves. Pruning is necessary to shape your tree, prevent disease, and encourage the productive fruiting wood, which is 2-3 years old. It is best done annually, as mature trees that are left unpruned can become unproductive. 

So… where should you begin?

Stand back and look over your tree from a slight distance. If there’s anything glaring – say a branch that is dead, diseased, or damaged, remove that first, back to a healthy joint (see advice below on where and how to cut). After removing any diseased branches, and after pruning each tree, clean your tools with rubbing alcohol or other disinfectant to avoid spreading pathogens to other branches or other trees. Crossed branches can result in rubbing and injury particularly in high winds or when weighed down by fruit so eliminate one of them. Any branches that are growing toward the center of the tree will not serve the tree’s need for sunlight and airflow. Also remove drooping branches, which are often shaded, reach too close to the ground when laden, and create mowing challenges.

And when should you stop?

Whether you’re working on a young tree or a mature, neglected one, it’s important to remember that you should never remove more than ⅓ of the tree. Exceeding this can cause excessive vegetative growth. So if it’s clear from the start that there’s a large branch that needs to go (because it’s dead, diseased, damaged, or interfering with the shape of the tree), then cut only that one and call it a day, no matter how tempting it may be to continue pruning. You can get to the minor cuts next year. Keep in mind, you can easily reach that ⅓ rule even by cutting a few smaller branches, especially on a young tree. Stepping back occasionally can keep your pruning in perspective and is essential for maintaining an overall balance of the tree.

High school students pose in front of an apple tree after pruning this spring
Agriculture Studies Academy helped prune the orchard at CCE this spring

Read more A Basic Guide to Pruning your Apple Trees

Why and how to Prune Your Tomatoes

If you haven’t pruned your tomatoes before, now is a great time to start! This simple process has many advantages including improved air circulation and better light penetration, both of which can prevent disease. It also yields good-sized fruit and more manageable plants that take up less space and are easier to trellis.

The only tool you will need is clean pruners. You can play it safe by keeping some disinfectant handy to sterilize your pruners between plants, or between garden beds if you’re concerned about spreading disease. If you have a lot of plants to prune, wear gloves to keep your hands from turning dark green by the end.

  1. The first step is to identify the parts of your tomato plant. Find the main stem and look for the places where suckers and leaves branch off. The leaf has leaflets and points straight out or slightly down, whereas the sucker points slightly up and is located above the leaf. Together they make a “K” shape with the main stem (see photo). Suckers can be tiny or large and have their own leaves, suckers, and even fruit clusters!
  2. Photo showing suckers and leaves on a tomato plantNow identify the fruit clusters, which can have buds, yellow flowers, or even small green tomatoes.
  3. Experts advise pruning indeterminate tomatoes to two vigorous stems: the main stem and one sucker. This will give the plant a “Y” shape.
  4. To determine which sucker to leave, locate the lowest fruit cluster and leave the sucker immediately below that. Remove all other suckers from the plant. Small suckers can be snapped by pulling to the side with your fingers, but use your clean pruners for larger suckers, particularly the ones at the bottom of the plant.
  5. With determinate tomatoes (check the seed packet, label, or look up the variety if you’re not sure) remove all suckers below the lowest fruit cluster.
  6. Lastly, remove the lower leaves that touch the ground or are yellowing. This reduces the chance for soil-borne diseases to reach the plant leaves and fruit.  If you have powdered cinnamon at home, apply a little bit on the exposed part of the stem after the cut. Cinnamon is a fungicide and can help prevent diseases from reaching your plant after pruning

Yields will increase and the chance of disease will decrease with regular pruning.

If you’re in St. Lawrence County, contact our Growline for gardening advice at SLCGrowline@gmail.com. Our Master Gardener Volunteers will happily answer your questions.

Erica LaFountain is Community Horticulture Educator and Master Gardener Coordinator for St. Lawrence County. She has a background in organic vegetable farming, gardening, and orcharding and has a homestead in Potsdam, NY.