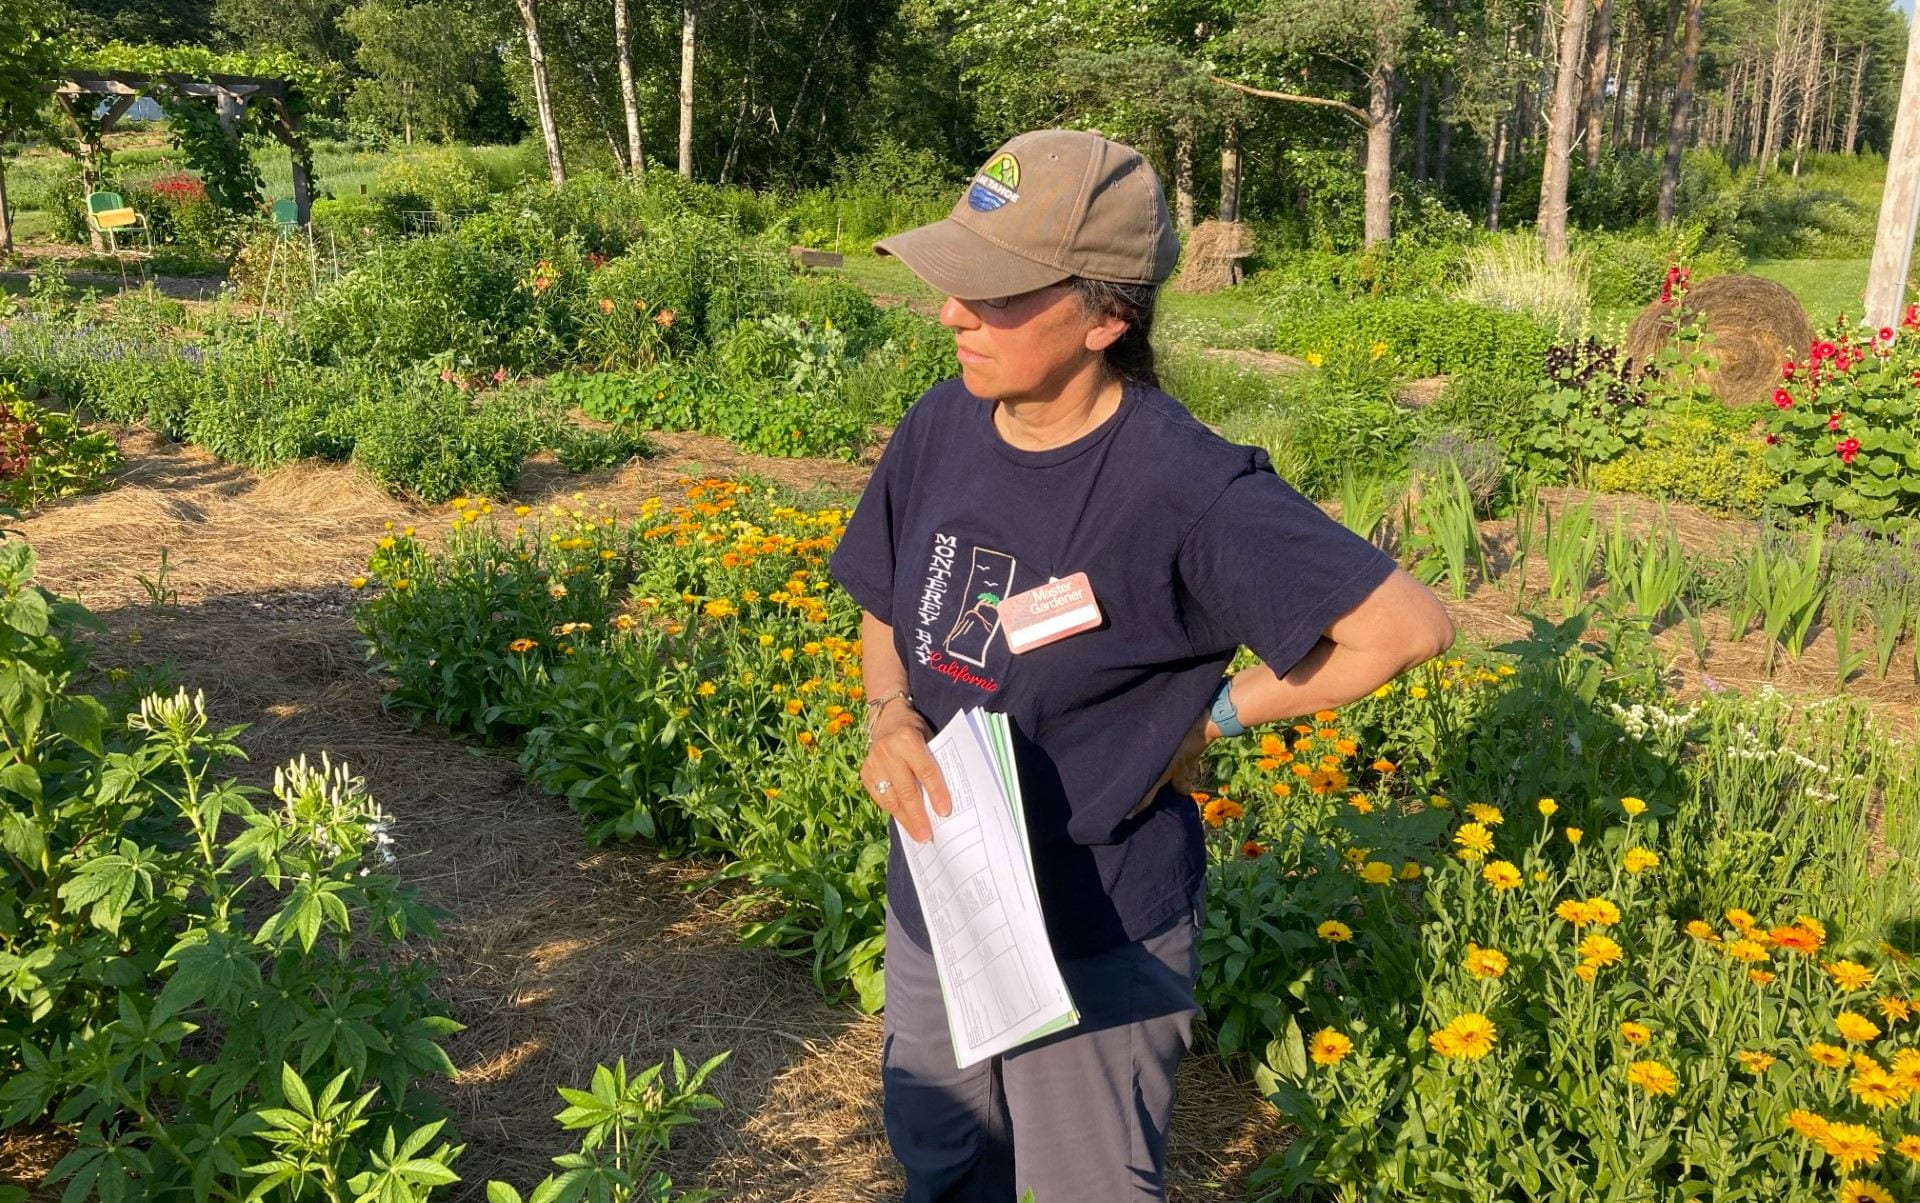
Meet Laurie Gilbert-Smiley, Master Gardener Volunteer

How did you come to be a gardener?

I had the privilege of being raised on a working dairy farm. My father raised most of the forage and also had a large vegetable garden. My mother devised many creative incentives to entice us to help in the garden, but they were never quite worth it… to this day, I deeply abhor a long handled hoe! My brother Joe threatened to turn my dad in for “transporting toxic waste” (garden produce). I wanted to call in an airstrike to vaporize the plot! Then, somewhere in my 30’s, a miracle occurred! I found I loved working the dirt and growing plants.
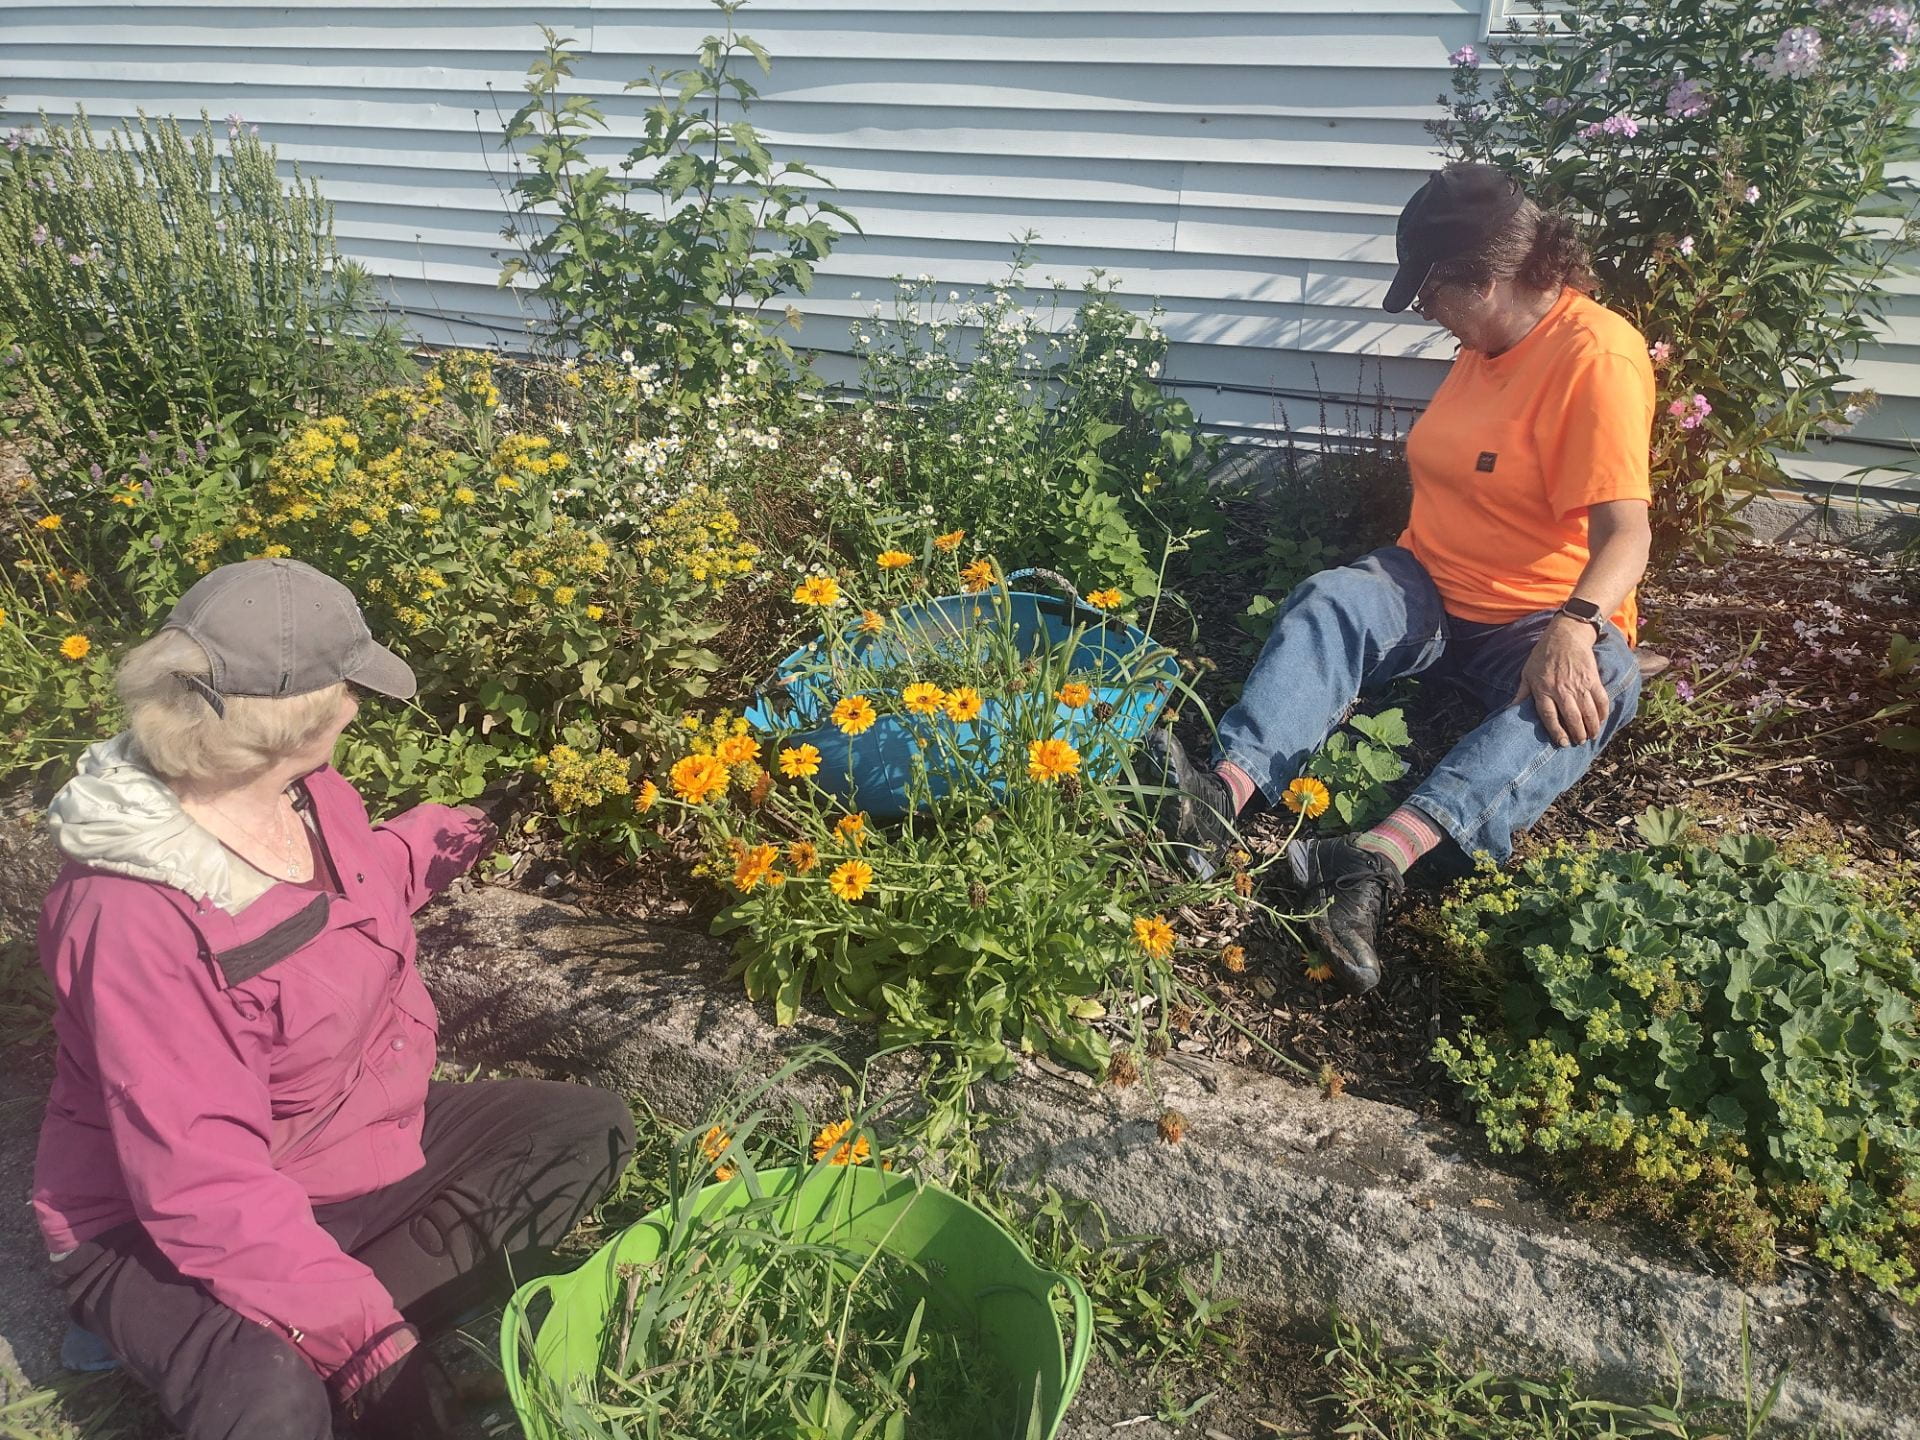
Nancy (left) and Laurie (right) weeding the pollinator garden
Nancy (left) and Laurie (right) weeding the Daun Martin-Poole Memorial Pollinator Garden at CCE

What is a unique project or endeavor you’ve taken on in your garden?

My gardening friends like to tease me about my love for heavy equipment. When I was learning to run the mini excavator, I started in the garden. It was a nice big “safe” space to learn to handle the controls! My joke is that I weeded the garden with an excavator! 

What benefits do you gain from gardening?

Dr. Chris Lowry, from Bristol University in the UK, has published interesting research on a non pathogenic soil bacterium called Mycobacterium vaccae. Gardeners encounter it while working with the soil, and it triggers an immune response. This response increases serotonin production, which elevates mood, and decreases stress and anxiety. To put it simply: working in the dirt makes you happy. Read more Meet Laurie Gilbert-Smiley, Master Gardener Volunteer
Master Gardener Volunteer Program year in review

The Master Gardener Volunteer (MGV) program has accomplished so much in the past year, bolstered by the addition of a newly trained cohort last fall. Together with the veteran MGVs, they devoted over 1,000 hours to serving their community, strengthening the program, and increasing their knowledge. 570 of these hours were in direct service – teaching classes, writing articles, tabling, and answering questions from gardeners across the county. This group is tearing it up!

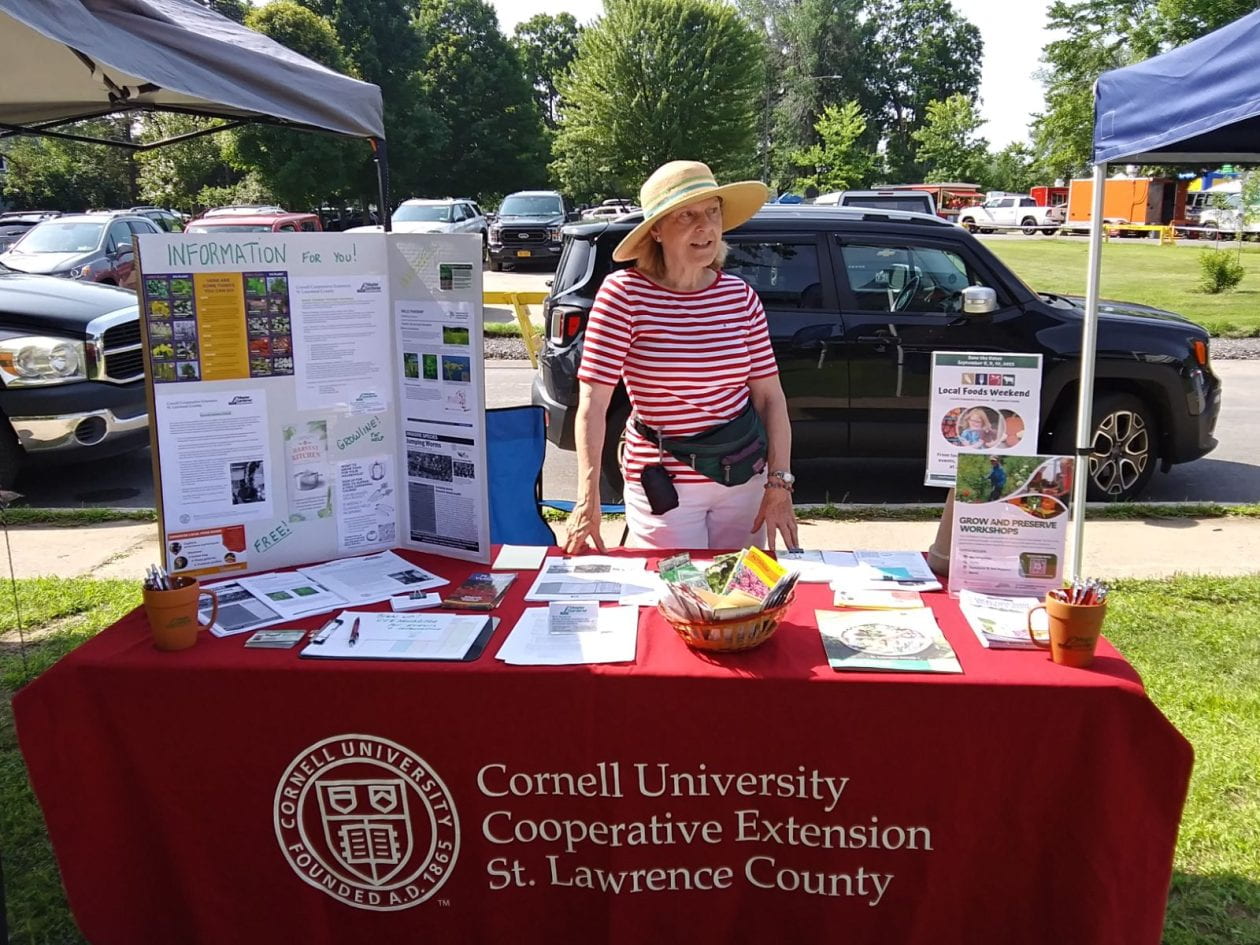
In May CCE held a Grow and Preserve Open House at the Extension Learning Farm to kick off the growing season and highlight the MGV and Master Food Preserver programs. Dozens came out to the high tunnel to plant seeds to take home and consult with Master Gardener Volunteers.

Classes
Two new MGVs jumped right in to facilitate the Seed to Supper course for beginning gardeners, which we offered in Morristown this year. In addition to these 5 classes, MGVs taught or assisted at nine other classes throughout the year, including several in our Grow and Preserve Series where we paired growing classes with preservation classes in the Harvest Kitchen. New MGV Brad and Linda led classes on Tree Identification, and Annie taught about Planning for Year Round Blooms. Loni brought samples to a high school session on Edible Wild Plants, and several MGV co-presented about growing their favorite fresh herbs.

Linda C teaches about growing fresh herbs
Linda C teaches about growing fresh herbs at littleGrasse Community Farm.

Blog posts
Master Gardener Volunteers wrote a total of 15 Fruition posts, plus another five that I contributed. From testing garden soil to growing tomatoes to getting great blooms on indoor plants, these posts cover a lot of ground. In case you missed any,  click the Gardening and Homesteading topic under “Posts” to find them all.

Growline
The moderators of our garden hotline ”the Growline” spent 80 hours answering 135 inquiries, often undertaking research on a new topic and occasionally visiting a site to gather more information. Though this is likely an undercount, it’s valuable to have a record of so many of the topics of interest to area gardeners and homeowners.

Field trips
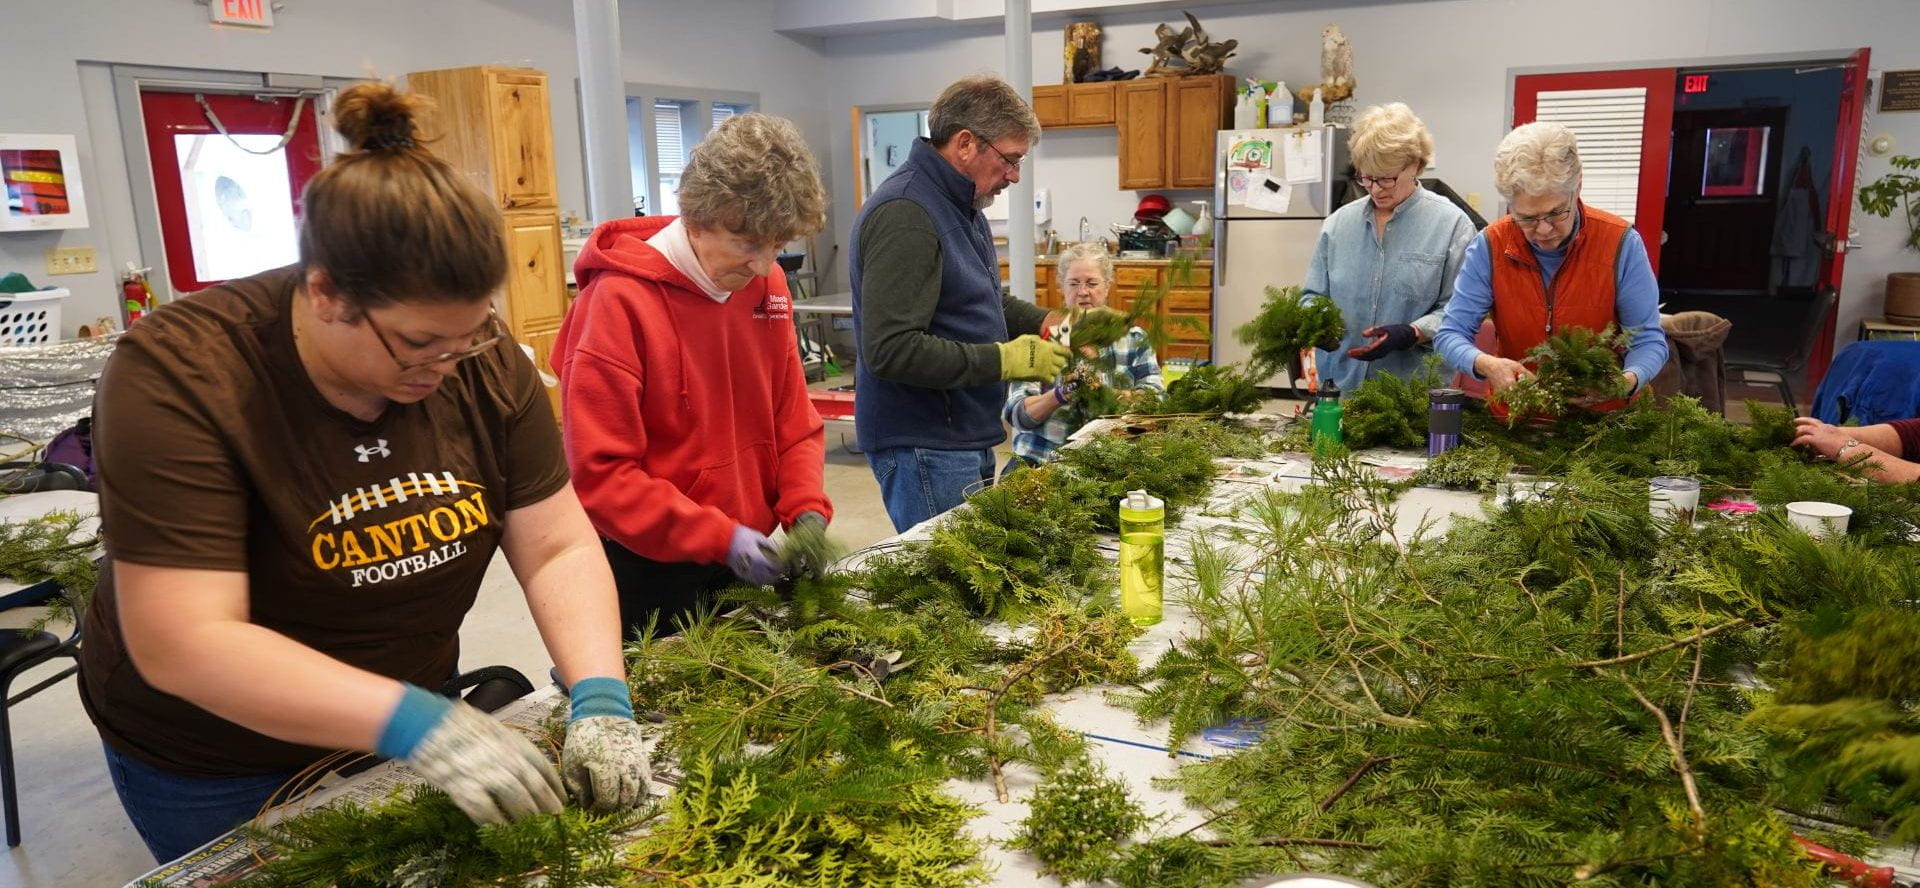
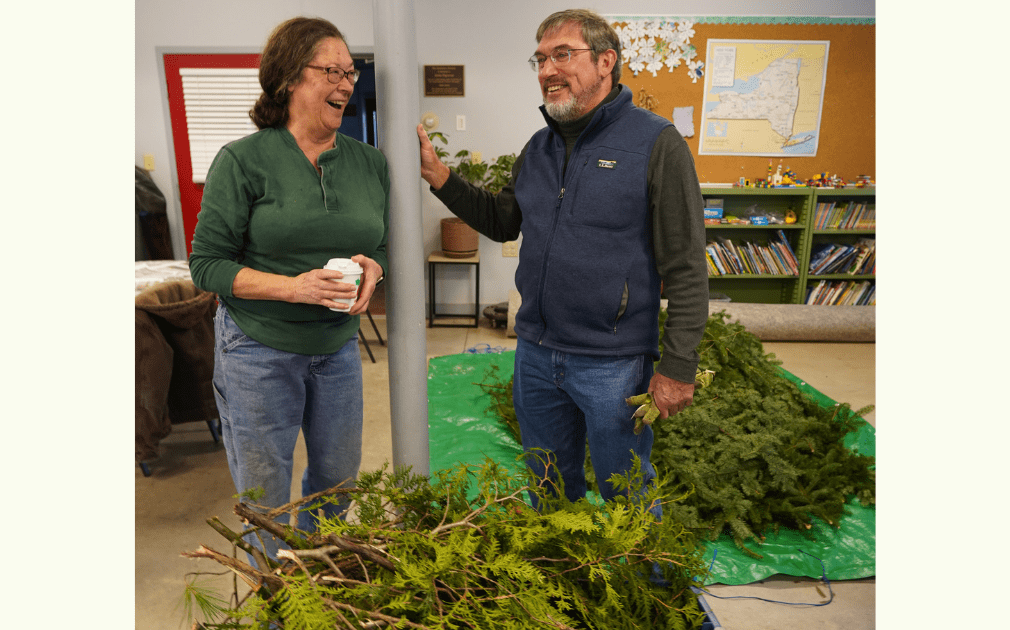
The Master gardeners loves to learn and really enjoys visiting farms and gardens as a group in addition to our monthly planning meetings. The veteran MGVs met the new cohort in December for a wreath making session at the Extension Learning Farm where the group also helped with maintaining the ornamental beds in the spring and Nick Hamilton-Honey guided us through an enlightening Diversity training. MGV make wreaths together in December 2022

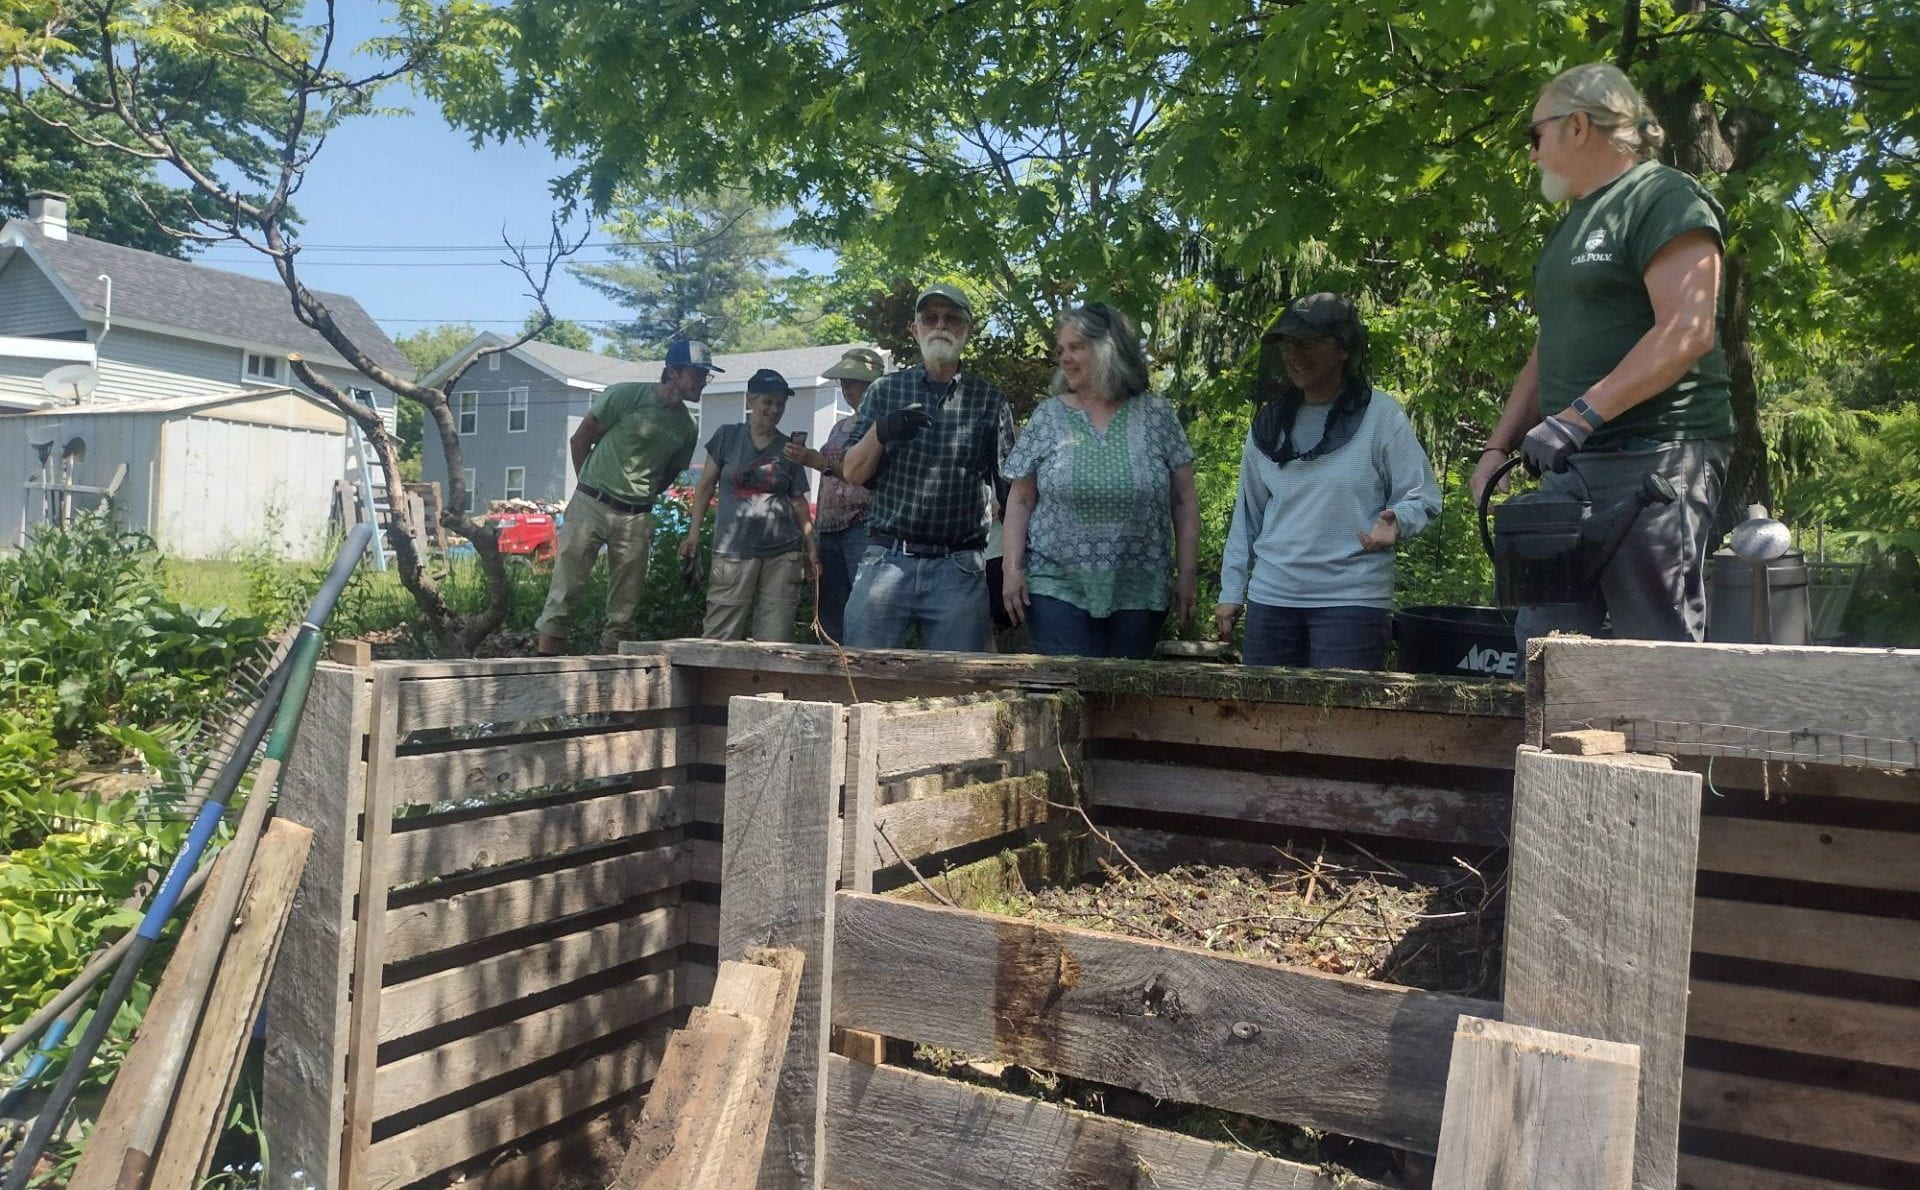
In May, Janet Lomastro led a hands-on small-batch composting workshop in Potsdam, a technique many in the group are now experimenting with at home. Master Gardener Volunteers learn about Janet's composting technique Read more Master Gardener Volunteer Program year in review

Soil Testing Primer

On the Growline we get a lot of questions about how to take or submit soil samples, so we’ve put together some frequently asked questions and answers to make it easier. After the why, where, when, what and how of this process, read on to find out who can help you interpret the test results.

Why should I test my soil?

The health of your soil will determine the health of the plants you grow, whether it be a lawn, a field of flowers, vegetables, berries or trees. A thoughtful approach considering the physical, chemical and biological factors that play a role in the total health of your soil will help you get the best results.

So where do you start?

Have a clear idea of what you want to know about your soil and what you want to learn from getting your soil tested. What will you plant? Where is it located? What was planted there before? What are the “neighbors” – plants or trees surrounding the area? Do you know your soil type – sandy, clay, loamy? Each unique area will need to be sampled separately.

  • Web Soil Survey use to get description and identify type of soil (sandy, clay, loamy)

When should I test my soil?

Fall is generally considered to be the best time to collect a sample for testing, especially when considering the pH of your soil, however it can be done in the spring or anytime during the growing season. 

What do I need?

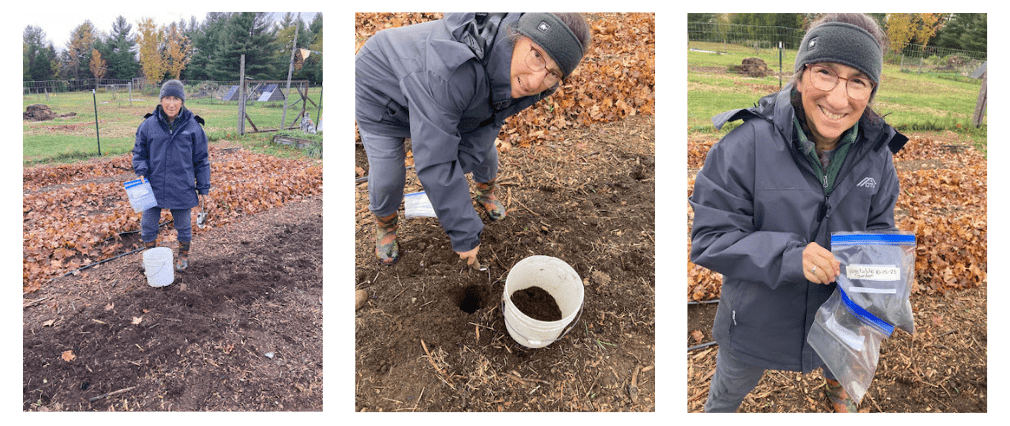
Gather a few clean tools without rust. Avoid brass or galvanized tools or containers as they will skew your results. A stainless steel probe or soil auger is ideal, but a clean plastic bucket and a rust free trowel or shovel will work for any home gardener. You will also need to double bag your sample in 2 quart-sized sealed zip-lock baggies for each sample area.

How do I take a soil sample?

Walk across and around your garden area in a random, zigzag manner and make about 10 different 4-6 inch deep holes. From each hole, carefully slice a thin vertical section that represents all depths of the soil. Put each slice in your bucket and mix thoroughly. Remove large roots and stones, crush any large lumps or clods, and place about 2 cups of the well mixed soil in a double zip-lock bag. Avoid sampling in wet conditions and in areas where lime or fertilizer has been recently applied. 

Read more Soil Testing Primer