Adventures in Dehydrating, Part 2

So, you’ve found your dream dehydrator and you are ready to get started. The dehydrating process is not especially complicated: Food is dehydrated by subjecting it to low heat and a steady airflow, evaporating enough moisture to inhibit the growth of bacteria, yeast, and mold—things that spoil precious food. You want food to be as dry as possible before storing it. Along with your dehydrator’s manual, the Internet has many reliable sources of dehydrating instructions (see resources below), so I won’t reinvent that wheel, but I will share some things I encountered during my first year of dehydrating.

Prepping Food
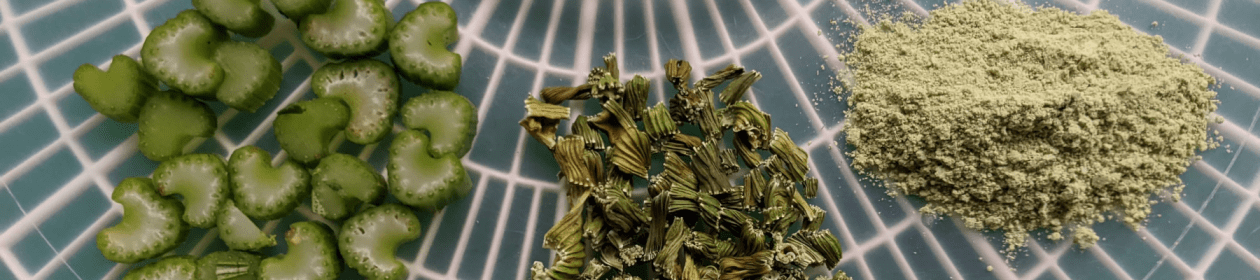
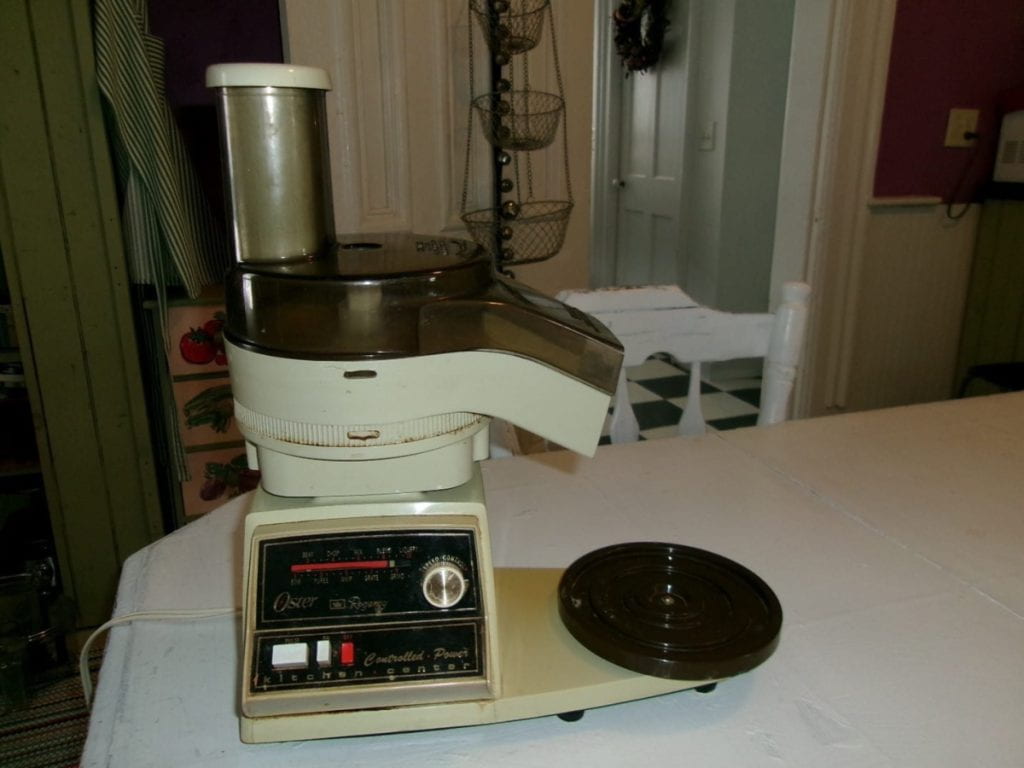
Ideally, all dehydrated food should end up at the same level of dryness, so chopping, cutting, or slicing food into uniform pieces makes sense, right? Imagine starting one thick and one thin burger on the grill at the same time: You know that the thin one will cook more quickly. Some obliging vegetables like corn and peas come uniformly sized. To cut up larger produce, many people use a mandolin. Since I typically shred my knuckles on a plain old cheese grater, a mandolin is probably not in my future. Seriously, mandolins are out for blood. An egg slicer works great for strawberries and mushrooms. Depending on the size and shape of the food, I either use sharp knives or my trusty Oster Kitchen Center.

Oster
If you still have one of these, you love it. Mine is 40 years old and still going strong.

Dehydrating Times

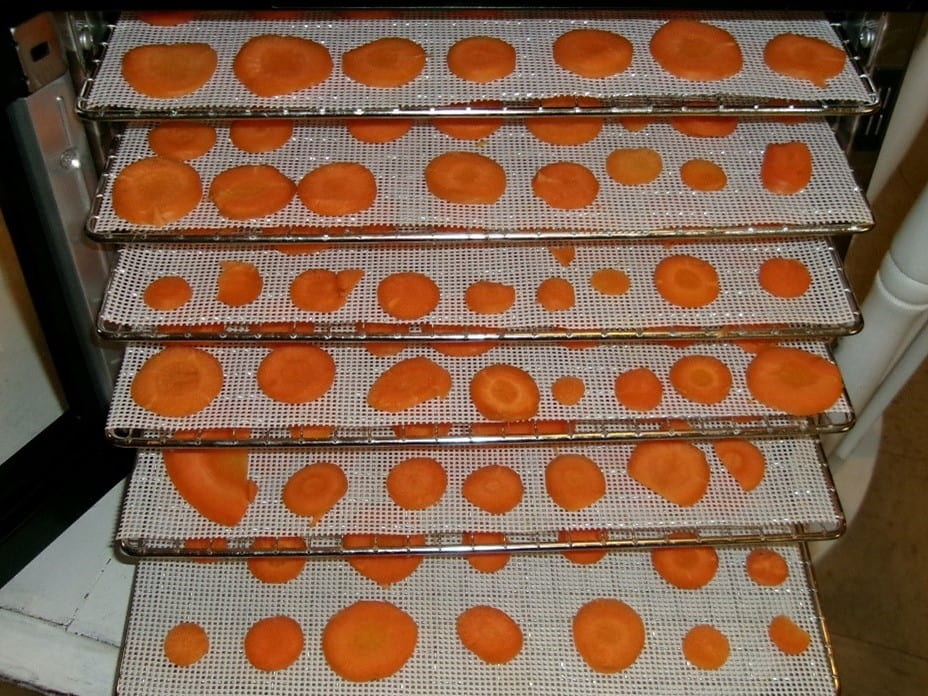
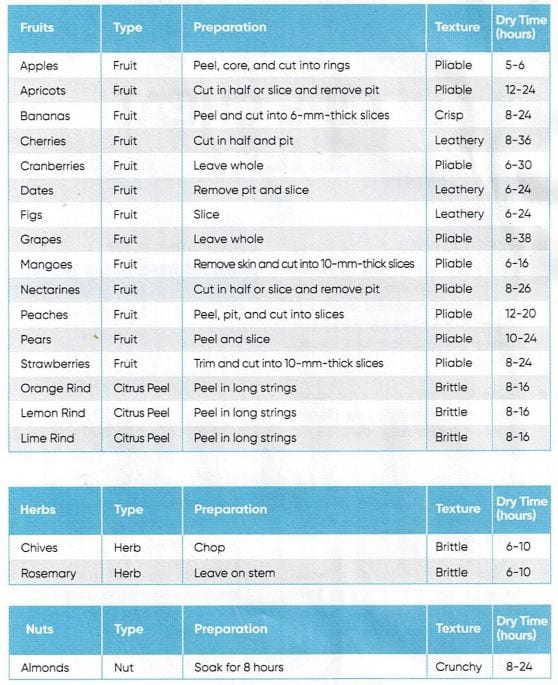
As shown in the chart below, dehydrating times vary, with juicier foods like peaches and pears taking longer to dry than, say, apples.

Dehydration chart
Chart from my dehydrator manual. Noting the desired texture of the food is helpful.

Some people ignore the recommended times altogether, leaving the dehydrator on for 24 hours no matter the food. Can you over dry food? Most sources say no. So how do you tell if the food is “dry enough”? The USDA says that dried vegetables should be hard and brittle, to the point that some will shatter when hit with a hammer. Before you pull out the ol’ ballpeen, take out a few pieces of food and let them cool before testing—warm food tends to seem moister and more pliable.

You may end up varying dehydrating times, but do not mess with the recommended temperatures. For example, if the initial temperature is too high, the food surface might dry, making it hard for moisture to escape. Instead of upping the temperature to speed up drying time, cut food into smaller or fewer pieces.

Read more Adventures in Dehydrating, Part 2

Adventures in Dehydrating, Part 1

Throughout my years of researching and studying food preservation methods—canning, freezing, pickling—I was always lured by dehydrating. I envisioned my pantry shelves filled with jars of efficient, shrunken vegetables just waiting to be resurrected. And seeing photos of stacked trays, all loaded with Martha-Stewart-neat rows of bright fruits and vegetables? Absolutely. And in reality? That IS the reality!

In the first of this two-part blog, I will share my experience in buying a dehydrator; in part two, I will talk about the dehydrating process.

Carrots in dehydrator
A batch of carrots is ready to be dehydrated.

The most important features to me were ease of use, size of the unit, and noise. Both price and capacity were somewhat secondary. Your prioritization of these characteristics may be completely different.

I was convinced from the start that I would buy a top-of-the-line Excalibur dehydrator. I usually buy the best tool I can afford because I don’t want a substandard tool to interfere with my ability to do a job. The more I researched, the more I realized that I probably did not need such a large dehydrator, and it turns out I was right.

Cosori dehydrator
This six-tray Cosori dehydrator meets my needs perfectly.

Before I bought one, I spent many hours researching dehydrators. I mostly read articles about what to look for in a dehydrator. I recommend you do the same to figure out what you want/prefer. For example, dehydrators come in different shapes and configurations: Basically, they are either rectangular and look kind of like a microwave with multiple shelves, or they are comprised of a stack of round trays. Most of the round ones have plastic trays but I wanted sturdy stainless-steel trays. Plus, I just didn’t like the round shape—hardly a scientific justification. Read more Adventures in Dehydrating, Part 1

Time To Order Your Seeds!

Winter is a quiet time for most gardeners. Time to review the past year’s garden successes (and failures), and to begin planning for next year’s garden… and of course to order new seeds. Many gardeners eagerly anticipate getting the first garden seed catalogs, and by now many have arrived in my mailbox. 

Seed catalogs are much more than just pretty pictures of great fruits and vegetables or a source of garden tools and supplies. Within their pages can be found a whole host of information on each plant variety. The descriptions cover many useful topics, from disease resistance, to how to match particular vegetables to the soils of your garden, to the size of the fruit and the plant’s growth habit, and much, much more. A couple of examples from my own garden will explain what I mean.  

I love winter squash, particularly butternut squash, but for years my success with it was hit-and-miss. What I observed from years of gardening is that if powdery mildew got into my squash and pumpkins early, I would go on to have a very poor crop, whereas if the powdery mildew showed up later in the summer, I ended up with a much better crop. Looking through a Johnny’s Selected Seeds catalog, I noticed they were offering a hybrid butternut squash called Metro PMR (F1) Butternut Squash – PMR standing for Powdery Mildew Resistant. Since switching to this seed three years ago, I’ve had consistently good crops. This past growing season my pumpkins and acorn squash were hit hard by powdery mildew, but my PMR butternut squash plants growing right next to the pumpkins continued to flourish and produced a nice crop.

Carrots are also a mainstay in my garden. Gardeners with clay-ey soils like mine will have a hard time growing most carrots, but reviewing seed catalog information helped me match varieties to the particular soil type in my garden – in this case Chantenays and Nantes, which do well in heavy soils.  

If you don’t like to grow carrots because of the small seed size and the need to thin them during the summer, seed producers have made a simple innovation that you should try. Pelleted carrot seed, is covered with a clay like substance that dissolves when planted. The little round seed pellets are easier to handle and space accurately, even by children, eliminating the need to thin the carrots later. Read more Time To Order Your Seeds!