
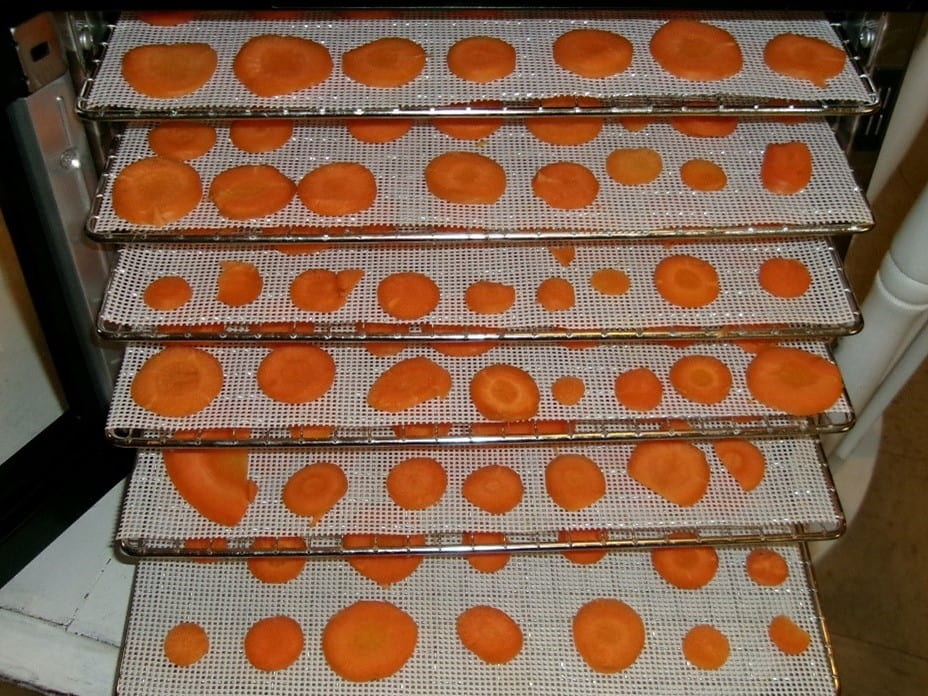
Throughout my years of researching and studying food preservation methods—canning, freezing, pickling—I was always lured by dehydrating. I envisioned my pantry shelves filled with jars of efficient, shrunken vegetables just waiting to be resurrected. And seeing photos of stacked trays, all loaded with Martha-Stewart-neat rows of bright fruits and vegetables? Absolutely. And in reality? That IS the reality!
In the first of this two-part blog, I will share my experience in buying a dehydrator; in part two, I will talk about the dehydrating process.
The most important features to me were ease of use, size of the unit, and noise. Both price and capacity were somewhat secondary. Your prioritization of these characteristics may be completely different.
I was convinced from the start that I would buy a top-of-the-line Excalibur dehydrator. I usually buy the best tool I can afford because I don’t want a substandard tool to interfere with my ability to do a job. The more I researched, the more I realized that I probably did not need such a large dehydrator, and it turns out I was right.
Before I bought one, I spent many hours researching dehydrators. I mostly read articles about what to look for in a dehydrator. I recommend you do the same to figure out what you want/prefer. For example, dehydrators come in different shapes and configurations: Basically, they are either rectangular and look kind of like a microwave with multiple shelves, or they are comprised of a stack of round trays. Most of the round ones have plastic trays but I wanted sturdy stainless-steel trays. Plus, I just didn’t like the round shape—hardly a scientific justification.
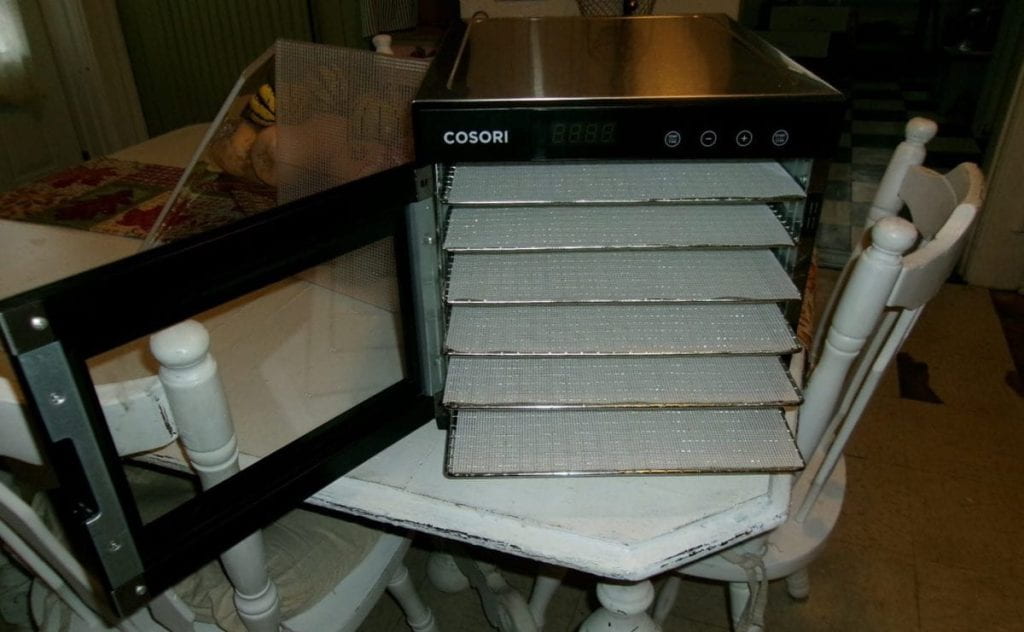
My dehydrator does, in fact, look a lot like a microwave. It has a stainless-steel body and a hinged door that swings open. Some dehydrator bodies are made of plastic and have doors that hang on top of the dehydrator—you have to lift off the doors and set them aside to get to the trays. That’s not for me.
Food preservation equipment in general is rarely small (think: canners). While I don’t need the dehydrator to sit out year-round on my kitchen counter, I also did not want to have to store it in another room or the basement. This model fits in the bottom of my cupboard. Its dimensions are 17.8 x 13.5 x 12.2 inches (and yes, I measured my cabinet before I bought it!) and I can stack stuff on top of it if I need to.
This model came with 6 stainless steel trays, each 12 x 13 inches, along with a fruit roll sheet (which I will never use) and one mesh screen.
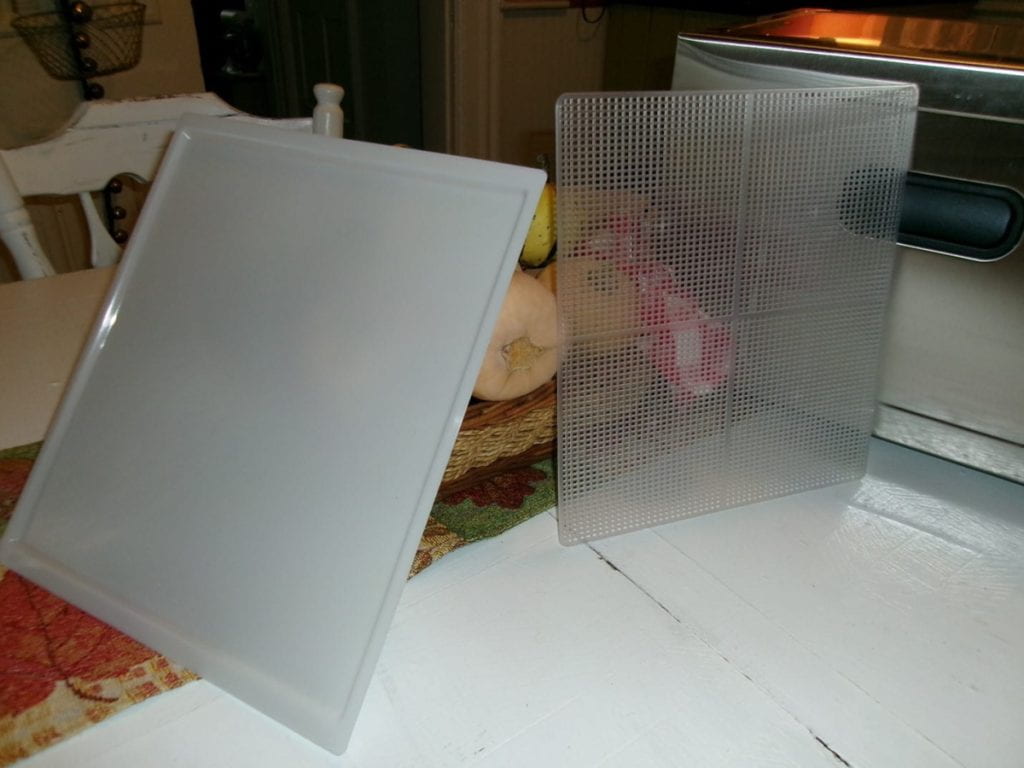
I knew that I would always use a mesh screen, that I would probably never put food directly on the stainless-steel trays because it would surely stick. I don’t know if the food sticks because I’ve always used the screens. I bought six 14×14-inch silicone mesh screens and cut them to size.
Something that did not occur to me until I read about it was the noise factor. My dehydrator is notably quiet. Perhaps a noisier model would have prevented me from, over the course of one particular day, trying to find the source of the little humming noise I kept hearing: Is my refrigerator running? Is it the furnace? Where is that noise coming from??!!
I knew I wanted a model with an adjustable, easy to use(!) thermostat and timer. Not all dehydrators have adjustable timers and thermostats. The last thing I needed in my life is another “helpful” electronic device that required me to continually refer to a user manual, written in 9-point font, to get the thing going. Using my dehydrator, I simply press one button to set the temperature and then press another button to set the time. Easy peezy. Most thermostats have a range of 95 to 155 degrees F, a range that will work for most foods.
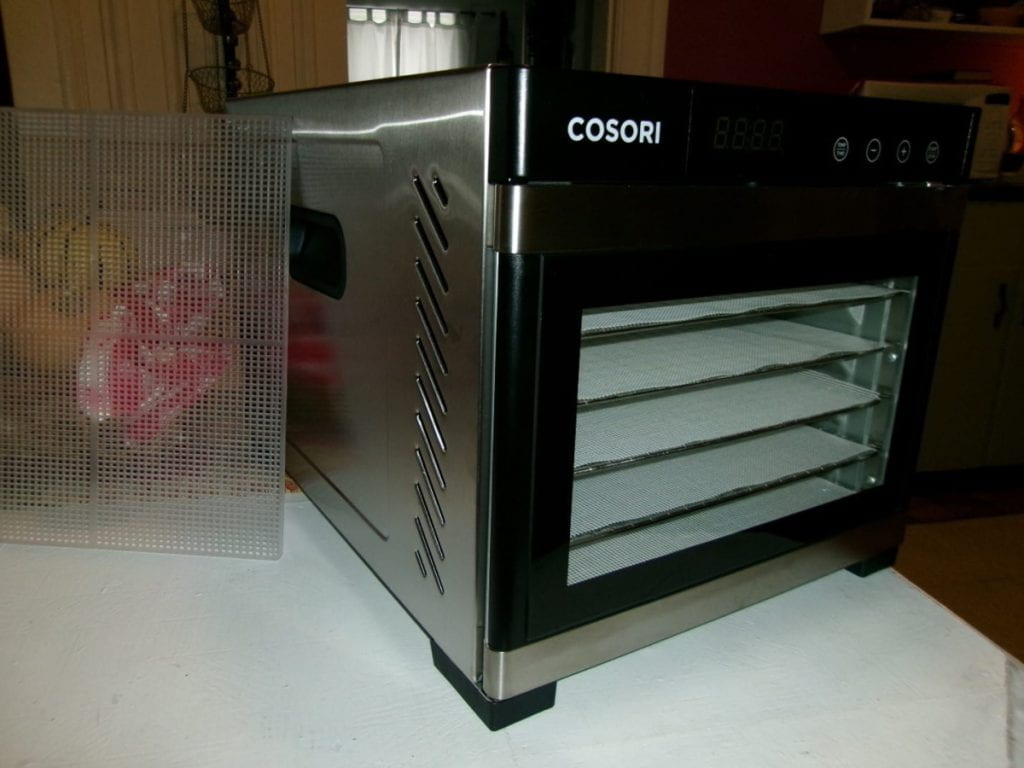
The fan and heating element for stackable dehydrators are on the top or bottom, so air blows vertically through the trays. When using some stackable dehydrators, you have to rotate the trays during the drying process so that everything dries consistently (again, not for me). Since mine is a front-loading dehydrator, its fan and heating element are in the back. Hot air blows across the trays, which tends to be more efficient, resulting in more consistent drying and no rotating of trays.
As with any appliance or tool, you pay more for convenience and options. I bought my dehydrator for $159.99, and the silicone sheets were about nine bucks. According to Darcy at the Purposeful Pantry, dehydrators go on sale regularly. I subscribed to Darcy’s blog so that I could get a heads up on dehydrating tips, but I didn’t wait to buy the dehydrator when it was on sale.
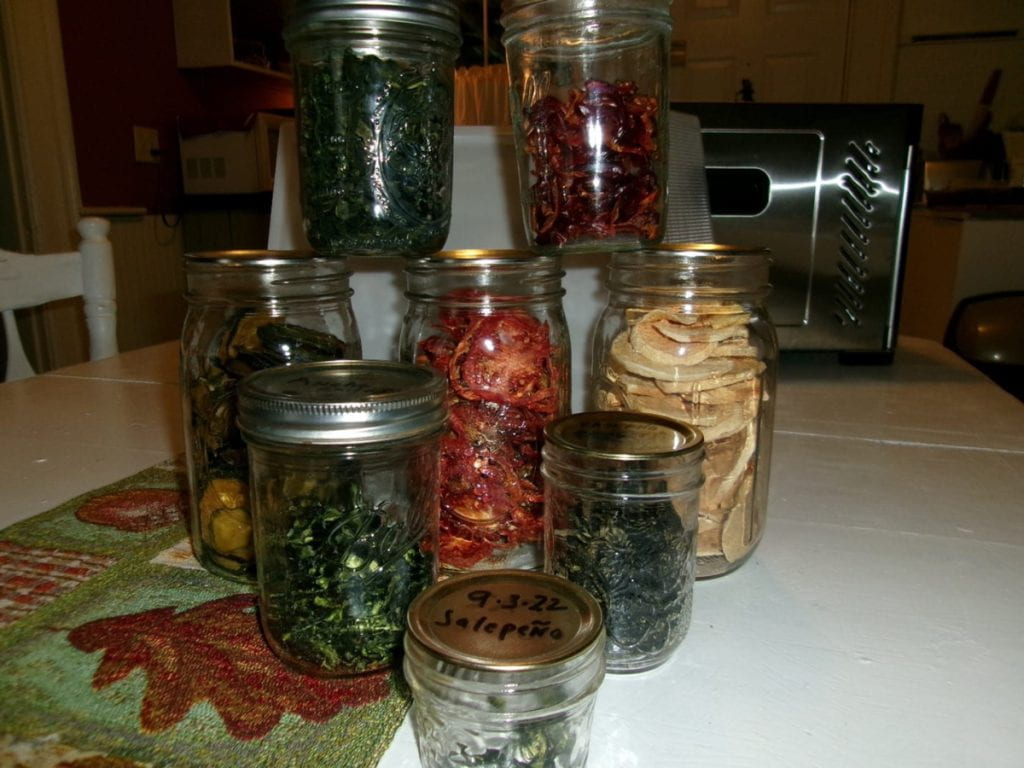
The results? My fellow Master Food Preserver volunteers have heard me say that, during this past year, I dehydrated everything but the cat.
Suffice it to say that I am very happy with my choice of dehydrators, probably because I invested some serious time researching them. As with so many products today, there seem to be countless models, options, and features. Ask friends which, if any, dehydrator they use. Or search for articles about “what to look for in a food dehydrator” and consider the source (Is the author compensated for pushing that dehydrator?), but don’t drive yourself crazy.
Stay tuned! In next week’s blog I’ll share dehydrating tips from my own experience along with favorite goodies that my fellow Master Food Preserver volunteers make.
Resources
Cosori dehydrator
https://www.amazon.com/gp/product/B07PY5M579/ref=ppx_yo_dt_b_search_asin_title?ie=UTF8&th=1
Mesh screens
https://www.amazon.com/gp/product/B08GZK3CHS/ref=ppx_yo_dt_b_search_asin_title?ie=UTF8&psc=1
The Purposeful Pantry blog
I highly recommend her site: https://www.thepurposefulpantry.com/
Kathryn Farr has been growing and preserving vegetables and fruit for many years. She completed the Extension’s Master Food Preserver Volunteer training in 2022 and was recently certified as a Cornell Cooperative Extension Master Food Preserver.