For those new to gardening it can be hard to know where to begin. You may see a picture of a beautiful garden with all the different vegetables and wonder how you’ll learn to grow them all when they have different nutrient needs, spacing, diseases, etc. My recommendation is to focus your energy on growing one or two staple crops – a more achievable goal – and adding more once you feel more confident. This fact sheet will cover how to grow tomatoes, a popular and versatile crop you can enjoy fresh, processed into salsa or sauce, or canned for winter use. Here’s what you’ll need to know to successfully grow tomatoes in the North Country, starting with site prep and ending with frost protection.
Site and layout
First consider the garden site and whether it is suitable for growing tomatoes.
- Does it receive enough light? Tomato plants need at least six to eight hours of direct sunlight each day – the more the better.
- Is the pH of the soil in the ideal range of 6.0-6.8? Contact CCE about soil testing services and interpretation of test results and recommendations at SLCGrowline@gmail.com.
- Is there water at the site? Adequate water is essential, particularly when seedlings are young, and when the plant is fruiting.
A rule of thumb for estimating the number of plants needed is three to five tomato plants per family member. For a family of four, two dozen tomato plants would provide some extra tomatoes for canning and making sauce. When planning the layout of a tomato planting, allow two to three feet between each plant within the row and three to four feet between rows. For example, two rows of twelve tomato plants spaced two feet apart with three feet between rows would be about eight feet by twenty-six feet, or 208 square feet. This includes a two-foot perimeter on all sides of the tomato plants for paths. Drawing up a sketch of the tomato patch will be helpful.

Culture
Timing: Tomatoes are in the “very tender” category of vegetables, which means they like warm weather and can be damaged or killed by frost. For this reason, tomatoes are generally planted in late May here in Northern New York, as transplants which were started from seed five to eight weeks earlier.
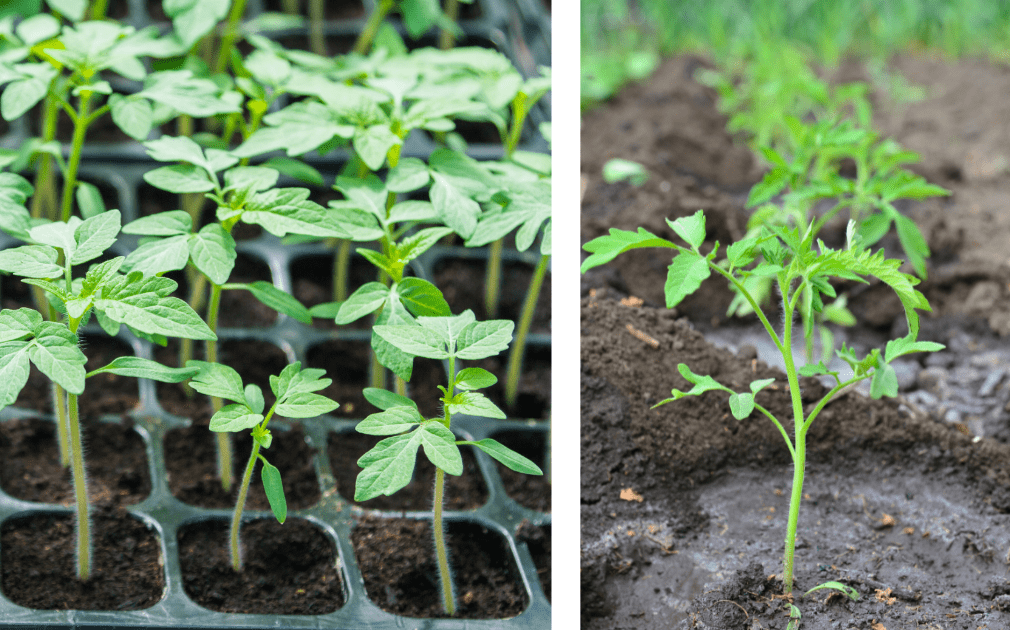
Transplants: Ideal for the beginner, transplants are readily available from greenhouses or farm and garden supply outlets. Buying plants that are local is a good idea since plants from outside of the region have on occasion introduced plant diseases from other parts of the country. When selecting transplants, look for healthy, stocky plants with dark green leaves, healthy roots, and thick stems. Be sure to check the plants carefully for insects. Ideally, plants will be six to eight inches tall. Bigger is not necessarily better in tomato plants; tall, spindly tomato seedlings may be set back when transplanted.
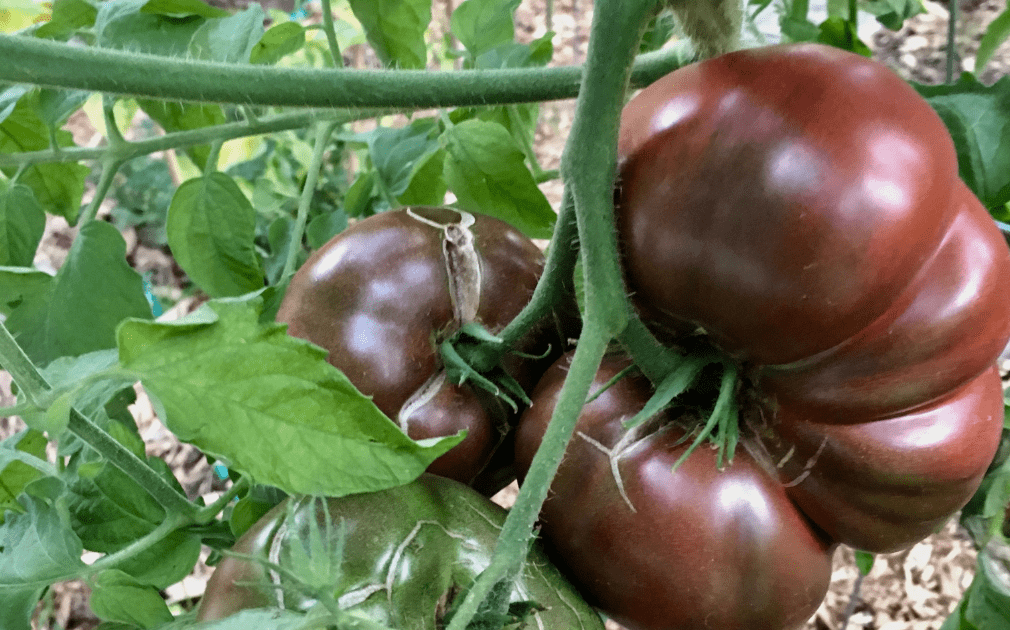
Varieties: While there are hundreds of tomato varieties, most retailers will have a far more limited selection divided into three categories: standard (or “slicers”), paste, or cherry. Standard varieties are meant for eating and canning; paste tomato varieties such as Roma or Amish paste are best for making tomato sauce; cherry tomatoes have small bite-size fruits that are great to eat fresh, enjoy in salads or dehydrate as halves. Ask the sales staff for assistance if it is not clear which varieties they have.
Note: The term “indeterminate” refers to tomatoes that continue to grow and produce fruit until they are killed by frost, whereas “determinate” tomatoes are varieties that reach a more modest height (though they still benefit from trellising) and have a much smaller harvest window.