For those new to gardening it can be hard to know where to begin. You may see a picture of a beautiful garden with all the different vegetables and wonder how you’ll learn to grow them all when they have different nutrient needs, spacing, diseases, etc. My recommendation is to focus your energy on growing one or two staple crops – a more achievable goal – and adding more once you feel more confident. This fact sheet will cover how to grow tomatoes, a popular and versatile crop you can enjoy fresh, processed into salsa or sauce, or canned for winter use. Here’s what you’ll need to know to successfully grow tomatoes in the North Country, starting with site prep and ending with frost protection.
Site and layout
First consider the garden site and whether it is suitable for growing tomatoes.
- Does it receive enough light? Tomato plants need at least six to eight hours of direct sunlight each day – the more the better.
- Is the pH of the soil in the ideal range of 6.0-6.8? Contact CCE about soil testing services and interpretation of test results and recommendations at SLCGrowline@gmail.com.
- Is there water at the site? Adequate water is essential, particularly when seedlings are young, and when the plant is fruiting.
A rule of thumb for estimating the number of plants needed is three to five tomato plants per family member. For a family of four, two dozen tomato plants would provide some extra tomatoes for canning and making sauce. When planning the layout of a tomato planting, allow two to three feet between each plant within the row and three to four feet between rows. For example, two rows of twelve tomato plants spaced two feet apart with three feet between rows would be about eight feet by twenty-six feet, or 208 square feet. This includes a two-foot perimeter on all sides of the tomato plants for paths. Drawing up a sketch of the tomato patch will be helpful.

Culture
Timing: Tomatoes are in the “very tender” category of vegetables, which means they like warm weather and can be damaged or killed by frost. For this reason, tomatoes are generally planted in late May here in Northern New York, as transplants which were started from seed five to eight weeks earlier.
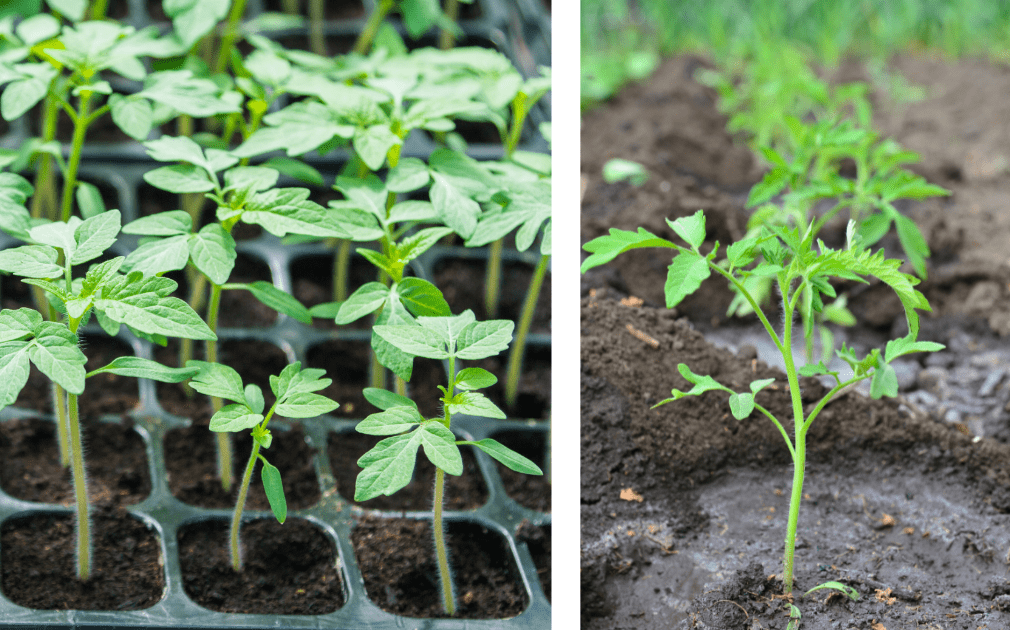
Transplants: Ideal for the beginner, transplants are readily available from greenhouses or farm and garden supply outlets. Buying plants that are local is a good idea since plants from outside of the region have on occasion introduced plant diseases from other parts of the country. When selecting transplants, look for healthy, stocky plants with dark green leaves, healthy roots, and thick stems. Be sure to check the plants carefully for insects. Ideally, plants will be six to eight inches tall. Bigger is not necessarily better in tomato plants; tall, spindly tomato seedlings may be set back when transplanted.
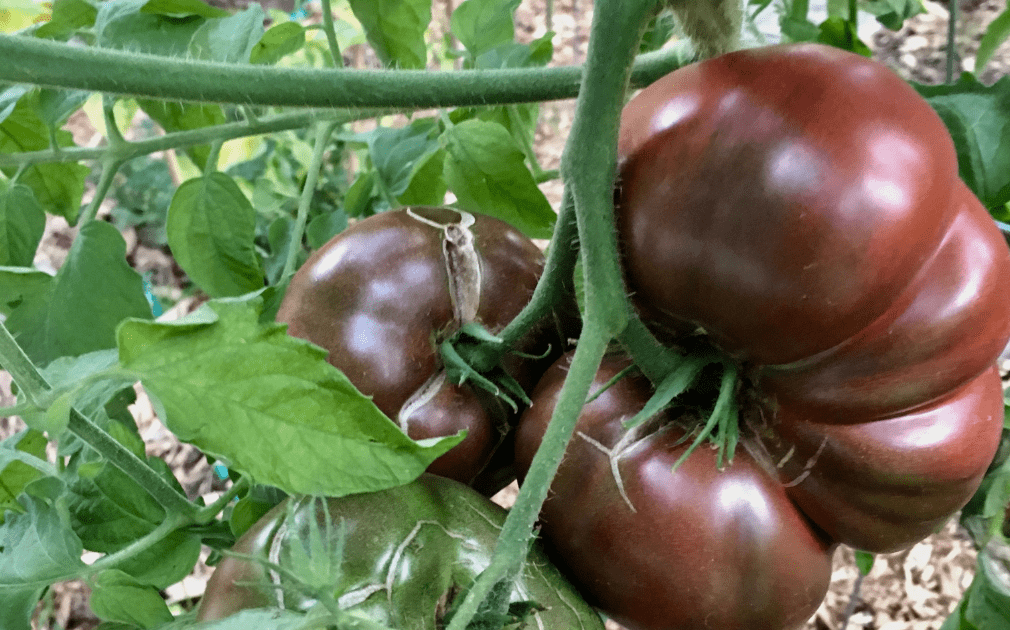
Varieties: While there are hundreds of tomato varieties, most retailers will have a far more limited selection divided into three categories: standard (or “slicers”), paste, or cherry. Standard varieties are meant for eating and canning; paste tomato varieties such as Roma or Amish paste are best for making tomato sauce; cherry tomatoes have small bite-size fruits that are great to eat fresh, enjoy in salads or dehydrate as halves. Ask the sales staff for assistance if it is not clear which varieties they have.
Note: The term “indeterminate” refers to tomatoes that continue to grow and produce fruit until they are killed by frost, whereas “determinate” tomatoes are varieties that reach a more modest height (though they still benefit from trellising) and have a much smaller harvest window.
Pre-Planting
“Hardening off”: A few days before planting, bring plants outside for part of the day to allow them to get used to outdoor conditions (sun and wind) and reduce the shock of transplanting. Be sure to keep them watered, and bring them inside at night if there is a chance of lingering frost. Limit their time in intense sun.
Staking: Before planting, make a plan for how you’ll support your plants as they grow. Usually, tomato plants are supported either by a wooden stake or a metal wire tomato cage. Both items can be purchased commercially or can be homemade. Stakes can be metal or wood. Cages can be made out of a two-foot tall wire fence; a six-foot length can be curled into a cylinder about two-feet in diameter. While you won’t need a trellis right away, it’s good to plan ahead.

Planting
Pick an overcast day for planting to reduce transplant shock.
Have the following tools and supplies ready at transplanting time:
- Shovel
- Bucket of water or hose
- Two short stakes and some strong, heavy string for creating a straight row
- Rotted manure, compost or other fertilizer
- A measuring tape or homemade measuring stick
- Well-watered tomato seedlings.
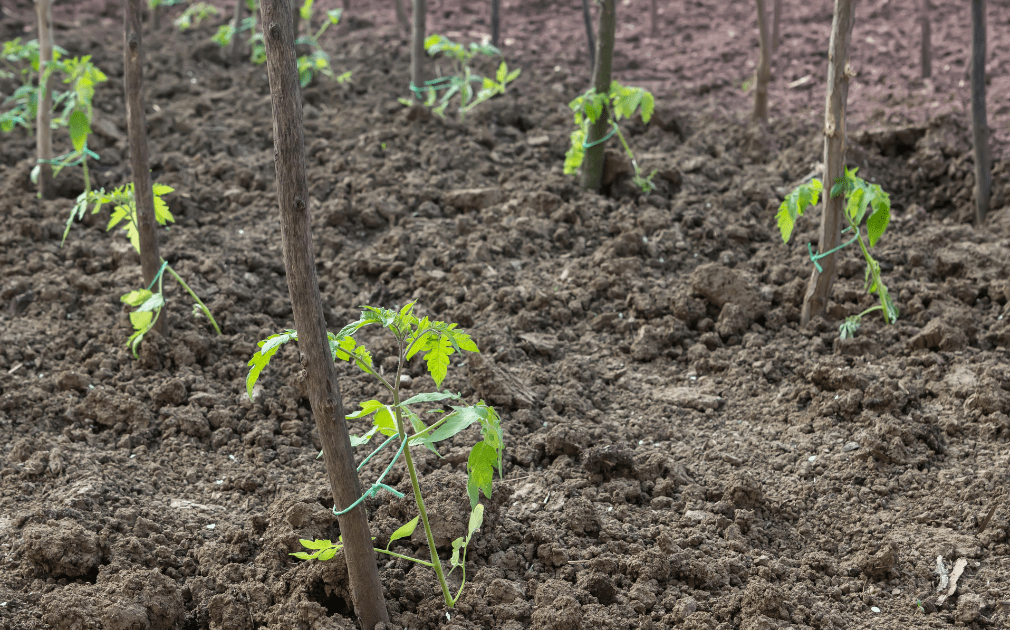
To align the plants, cut a piece of twine the length of the tomato patch and tie the ends to the short stakes, then stretch it taut above the ground and set the stakes. Mark the distance between plants (2-3 ft), and scoop out a planting hole about six inches deep every mark. The move the stakes three feet over from the first row, and repeat the process for the second one.
Put your fertilizer of choice in each hole. Push some of the soil that was scooped out back into the hole and mix the soil and fertilizer thoroughly before adding water. Place a tomato plant in the hole, push soil back in the hole and gently firm the soil around the plant. Water again, letting the water pool around the plant. At this point, you can add a cage or stake, though you can also wait until the plants have grown a bit more before supporting them. When attaching tomato plants to stakes, loosely tie with a strip of cloth wide enough to not cut into the stem.
Whether to mulch tomatoes is an open question, and the answer may depend on the specific situation. Advantages to mulching include less weeding, retaining water, and preventing soil-borne early blight. Keep in mind, mulch will keep the soil cooler and initially slow the growth of the tomato plants which could justify waiting for warmer weather to mulch.
JUST THE START
And so it begins. Getting a crop planted is just the start of the growing season. There are more steps to take to reach a successful harvest. Regular watering to complement the rainfall is important especially in the first week or two after planting. Regular hoeing and weeding is part of a gardening routine as well. Removing dead or yellow leaves regularly can prevent disease, and scouting often can help you spot insect or disease damage in time to take action. In the early fall, watch for frost in the forecast and cover your plants with tarps, old sheets, tablecloths, etc. the night before to extend your harvest window.
Overall, simply taking time to notice changes and potential problems can keep your plants healthy. Enjoying the rewards of your work with fresh garden tomatoes makes it all worthwhile! Once the crop matures, plan to harvest at least twice a week to remove the ripe fruit and so that the energy of the plant is directed towards the immature fruit.
Connect with local Master Gardener Volunteers at our Growline if you have any questions about growing tomatoes or any other plants: SLCgrowline@gmail.com
Doug is a trained volunteer in three of CCE’s programs; he serves as a Master Gardener Volunteer, a Master Food Preserver, and an Energy Navigator. He has homesteaded for decades in Pierrepont, maintaining a 60′ x 60′ garden. He helps out regularly in the high tunnel and the Harvest Kitchen classes at the Extension Learning Farm. Doug believes home gardening plays an important but largely unrecognized role in our local food system.
