For most gardeners, things have quieted down in the garden. It’s a time to clean and to review our successes and failures from the past growing season… but don’t put up your spade forks, shovels, and trowels just yet! It’s time to plant one of the easiest, healthiest, and tastiest of all garden vegetables: Garlic.
Garlic is grown on a different schedule from other vegetables. Late summer is the time to source seed garlic, choose a site and start preparing a garden bed. Mid-late October provides the window to divide bulbs, plant cloves, and mulch heavily before the cold weather sets in for good. Spring will see garlic emerging early along with spring flower bulbs. Some watering and side dressing will ensure a good harvest in July.
What makes garlic so easy to grow? Heavy mulching at planting time greatly reduces weed growth the following spring and summer, so weeding is usually not a problem. Not only are garlic pests and diseases uncommon, but they can actually deter garden pests. A well-balanced soil high in organic matter and some occasional watering provide all your garlic will need. Let’s dig into the details of growing garlic successfully.
Finding a seed garlic source and selecting a variety that suits your needs
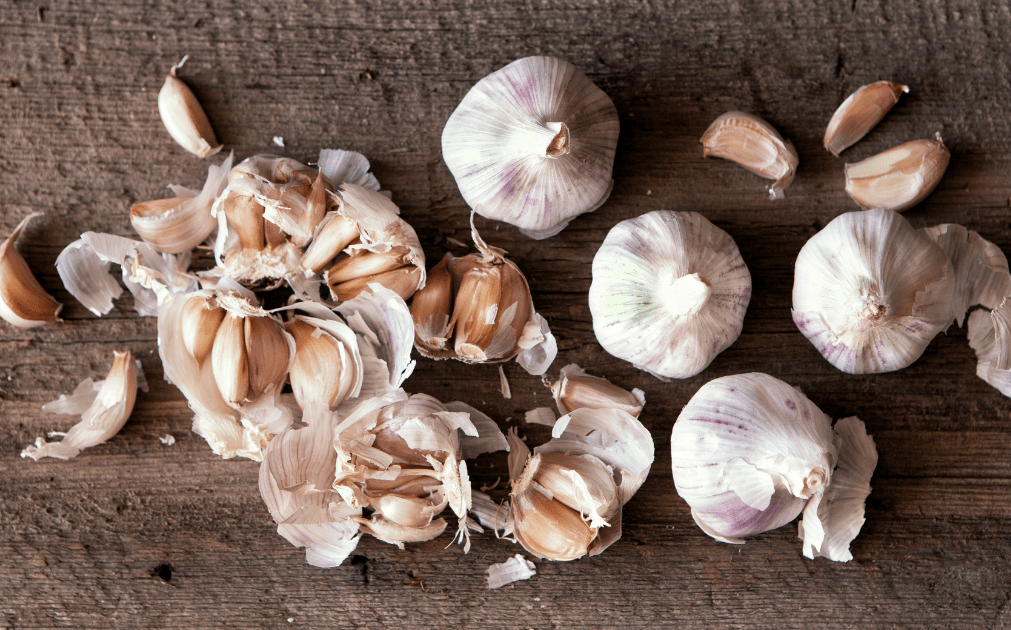
“Seed garlic” is high quality pest and disease-free garlic with good genetics adapted to your region. Seed garlic is sold as cured bulbs which you’ll divide into cloves just before planting time.
If you’ve grown garlic before and it was disease-free after your garlic has cured, you can sort through your own bulbs, selecting the best, healthiest ones for planting your next crop. If you had pest problems, however, or if you’re growing garlic for the first time, seek out either a local or regional farm that sells seed garlic, or order certified pest and disease-free seed garlic from a regional seed company like Johnny’s Selected Seeds, High Mowing Organic Seeds, or Fruition Seeds.
If you order early, you’ll have dozens of varieties to choose from. Consider your preferences and how you plan to use your garlic. Some are better for roasting or raw use. Other traits to consider are storage life, flavor, spiciness, ease of peeling, and clove size. If you’d like to braid your garlic, choose a soft-neck variety. Some popular varieties include German, Music and Siberian. Store your seed garlic at room temperature with good airflow and out of direct sunlight until planting time.
Note: Don’t purchase garlic from the grocery store for planting, as it may have been grown thousands of miles away and isn’t necessarily suitable for our climate.
Select the right garden spot
Garlic likes lots of sunshine (6-8+ hours per day) and loose, well-drained soil. If your soil is heavy (clay) and wet, consider planting in a raised bed, which allows you to modify your soil with compost to improve drainage. Raised beds also will warm more quickly in the spring giving your plants a jump on the growing season, however, they may require more watering during dry periods.
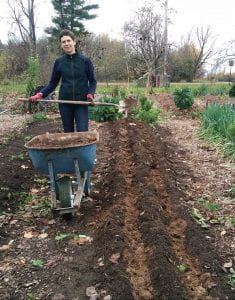
Prepare your soil just like you would in the spring, loosening, weeding, and adding compost or aged manure either throughout the bed or in trenches where your garlic rows will be.
Part of preventing pests and diseases is rotating your crops. Garlic is in the Allium family, which includes scallions, onions, chives, and leeks. If possible, only plant alliums in a bed where no alliums have been planted for three years.
Divide your garlic for planting

Just before planting, break up your garlic bulbs into individual cloves, each of which will yield a full bulb next summer. Sort the cloves by size, setting aside the larger cloves for planting and the rest for eating, keeping in mind how many bulbs your family will need for the year. 50-100 is a good starting point for a household.
Get Planting!
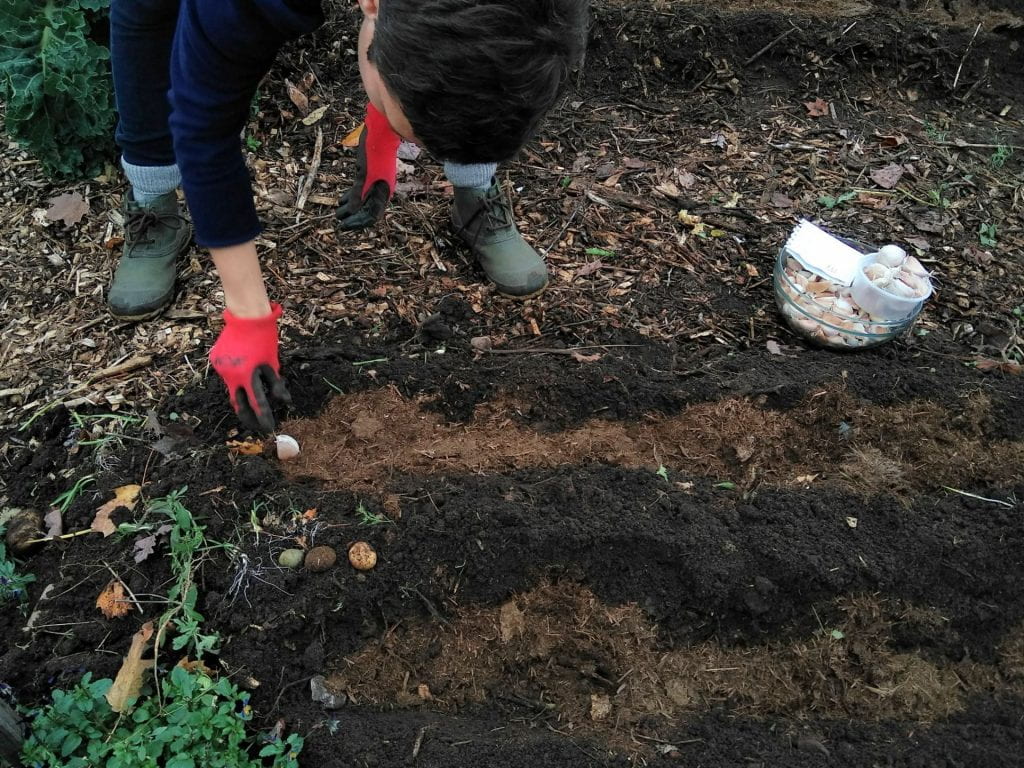
Plant individual cloves at least 6 inches apart to give adequate space for roots and leaves to grow. Plant the clove pointy side up, blunt side down, 2 to 3 inches deep. Cover with soil and water if soil is dry. Don’t forget to label the variety you planted and record it in a garden journal or map.
Mulch
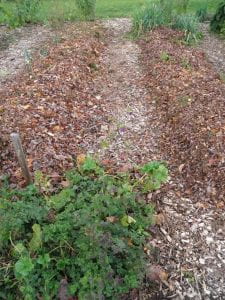
Here in northern New York mulching is very important to protect your plantings from our cold winter conditions. If you don’t plant deeply enough, or don’t mulch enough, garlic cloves can be pushed up out of the soil through frost heaving, and will quickly succumb to desiccating winter conditions at the soil surface. Straw, or mowed leaves are good mulch options but whichever you choose, be sure to cover your new plantings with about 6 inches. Mulch will help retain moisture and suppress weeds through the winter and up until harvest, so add more whenever you see bare soil.
That’s It!
Come spring the garlic shoots will grow up through the mulch and will be some of the first plants you’ll see in your garden. With a limited amount of weeding and some watering if needed, you’ll be on your way to a successful harvest in late July when the lower leaves turn brown. Remember to remove (and eat!) the flower stalks called “scapes” as they appear in late
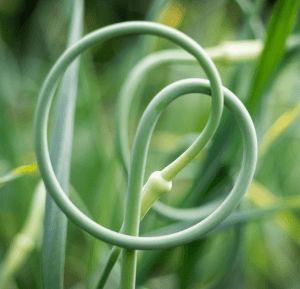
June and early July on hardneck varieties. This will redirect the plant’s energy to the bulb rather than the flower.
If you have any questions about growing garlic, or any other garden-related topic, please contact the “Growline” at 315-379-9192 x239 or SLCGrowline@gmail.com.
Our Master Gardener Volunteers are trained to help you succeed!