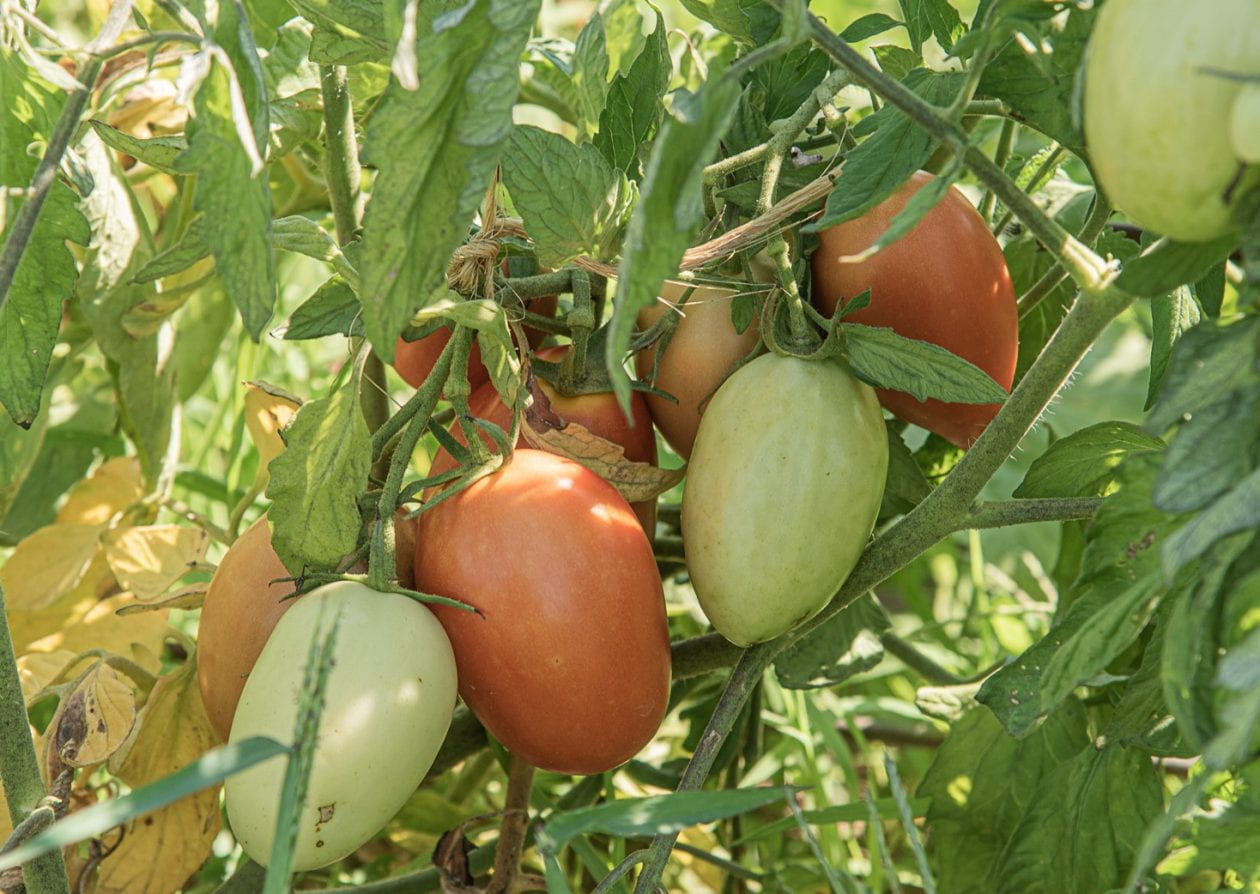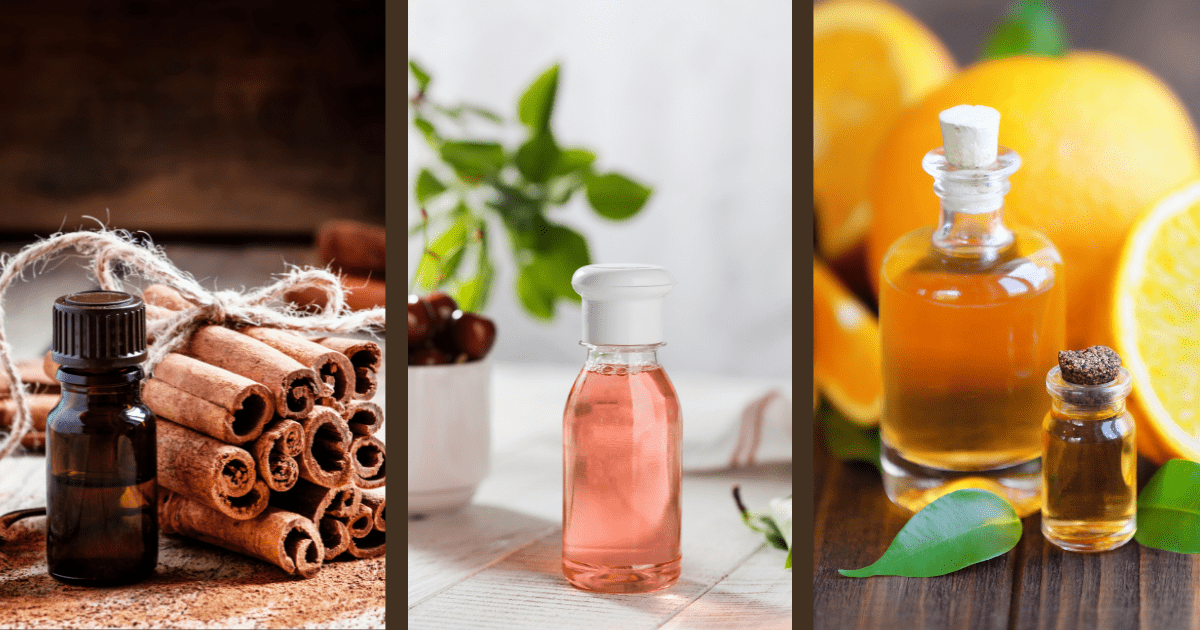
Learn to make culinary extracts and you can add amazing flavor to baked goods and beverages at a fraction of the cost of buying them . Use extracts in cakes, cookies, muffins, or pancakes, in frostings and fillings, in ice cream, or as a flavoring for coffee, tea, sparkling water, or cocktails. You can make extracts from herbs, spices, fruits, nuts, or edible flowers. Create single flavor extracts or try a mix such as chocolate-peppermint or cherry-almond. They are easy to make and great for gifting but you need to plan ahead because these take time!
To make an extract you need a solvent as the medium to “extract” the flavoring. The solvent you use is a personal choice. Usually the solvent is alcohol and the most commonly used alcohol is vodka as it has the most neutral flavor. You can also use rum, brandy, or bourbon. For a non-alcohol alternative you can use food grade liquid glycerin in a ratio of 3:1 with water (a little water is needed to thin the glycerin). This is called a glycerite. Using glycerin produces more of a syrupy extract and adds a touch of sweetness to the finished product. It is also slower to extract the flavors so you need to give it more time to develop flavor.
How to do it:
The basic procedure for making extracts is to put your prepared flavor agent in a jar, fill the jar to within 1” of the top with your solvent of choice (make sure your flavoring is fully covered), cap the jar tightly and shake, then set it aside to wait for the flavor to develop. Don’t forget to label the jar with contents and date! The enemies of the process are air, heat, and light. Tight fitting lids will keep the alcohol from evaporating. Placing jars in a cool, dark place will help keep the contents from degrading.
To aid in the extraction process, shake the jar during the process. Is it necessary? It is probably not essential but shaking allows the solvent to mix thoroughly with the flavor agent and prevents the flavor agent from settling on the bottom of the jar. There are various recommendations on how often to shake ranging from every day to whenever you think about it. A good middle ground would be to shake the jar every day for the first week or two and then gradually taper off to every other day, then a couple times a week, then once a month for the remainder of the time. Don’t fret if you don’t remember to shake the jar. The flavor will still develop but shaking can help the process.
You can begin to check on the flavor after about 6 weeks. Keep tasting every week or so until the extract has reached the depth of flavor you prefer. Six weeks may be enough time to develop a good flavor but you will often need to wait longer, as long as 3-6 months, for deeper flavor to develop and to be comparable to what you can purchase. Once you have the flavor you like, strain out the solids, pour the extract into a clean bottle or jar with a tight-fitting lid and label it. Extracts don’t go bad due to the alcohol content. Keep them sealed and in a location away from light and heat and they should keep indefinitely. If you’ve used glycerin as the solvent the flavoring doesn’t last indefinitely but it should last 2-3 years. Read more Making Flavored Culinary Extracts