This is an ideal time to evaluate your outdoor storage areas and make a plan to reorganize them. Use the following steps as a guide, but avoid moving anything until you have a detailed plan and the materials to complete your project.
Plan your attack
- Make a rough sketch of your yard including all storage and garden areas. Think about tools that you’ve left in odd places. Do you need some sort of permanent storage there? If so, add it to the sketch.
- Look inside each storage area and list the categories of tools and supplies stored there, such as hand tools, power tools, potting supplies, soil amendments, watering equipment. Don’t touch anything yet.
- For each garden area, note the tools and supplies you use there. Then decide which storage area is best for which tools, considering where they will be used and whether the storage area will accommodate the tools. List the tools on your rough map, checking against your original list of categories to make sure you are providing space for each item.
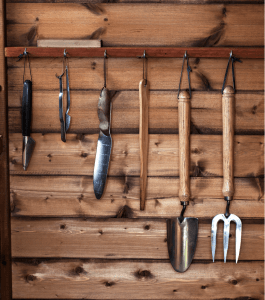
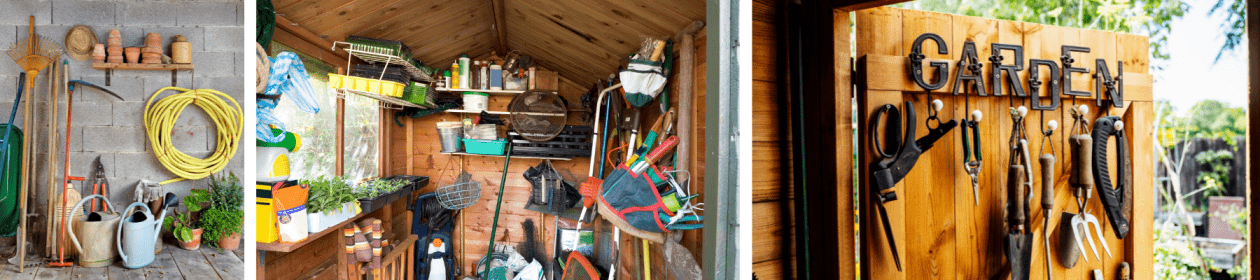
Hanging hand tools saves space and offers convenience - Consider the tools against the storage space, if one already exists. If not, think through the process and make some notes so that you acquire storage that meets your needs. Stand in front of each storage area and look at it from all sides. What will you put where? Which things need to be within easy reach? Which items will be used at the same time? Do you need to strengthen the storage area against wildlife or weather? Make a repair? Do you need to add shelves? Wall hooks? Bungee cords or Velcro ties for bundling hoses? Jot down a “Needs” list for your storage space. Do this for all the storage areas on your map.
- Think about your resources and set limits, if needed. Do you have the time, money and supplies to complete your project? Which storage areas are your priority? Decide which areas you will and will not organize at this time.
Get ready to make the change
- Start with the area for which you have gathered everything in the “Needs” list.

Clear out all the tools - Empty it. Divide the contents into three spread-out piles, making sure you can see everything. One pile is for items that will go back into this particular storage area, one for items that will go into other already completed spaces, and one for items that need to be set aside for now, to go to a future storage space. It’s useful to have a few boxes to organize small items.
- Clean the space and search for holes that allow rodent access and patch as needed. To discourage small rodents from re-entering a repaired hole, put some steel wool at the back of the hole, fill with spray-foam, add more steel wool at the front, and press the steel wool into the foam so it doesn’t move.
- Add any shelves, cabinets, counters and bins. Try to organize items in a way that you can see everything at a glance. Before mounting shelving on the walls, measure the actual items you’ll be storing on them (measure twice, install once.) Really strong shelves can be made from cement blocks or bricks and the cement-crusted planks many contractors throw away after using them for cement forms.
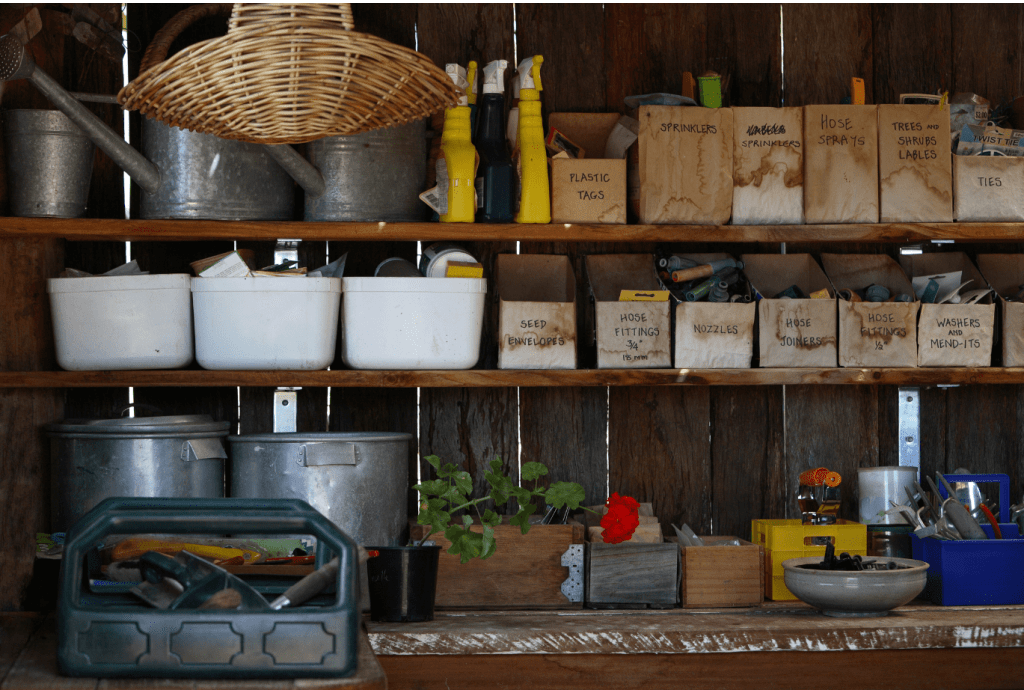
Use bins to organize smaller items… and don’t forget to label! - Bring in the largest items first, then start adding the wall fixtures. Hold your item to be hung from hooks up to the wall before installing hooks, checking to make sure that nothing will get in the way of access to it or other items, and that it’s at a comfortable and safe height for lifting. Keep the heaviest items waist-high to protect your back. Label boxes and bins with indelible marker.
Repeat until everything is done.
Other considerations:
- Condense your seed starting supplies in one box or bin and keep it near the door. Come mid-winter when you want to take inventory and begin seed starting, it will be easier to just grab one easy-to-reach tub to bring into the house.
- To prevent rusting, store your favorite metal tools in a bucket of kitty litter.
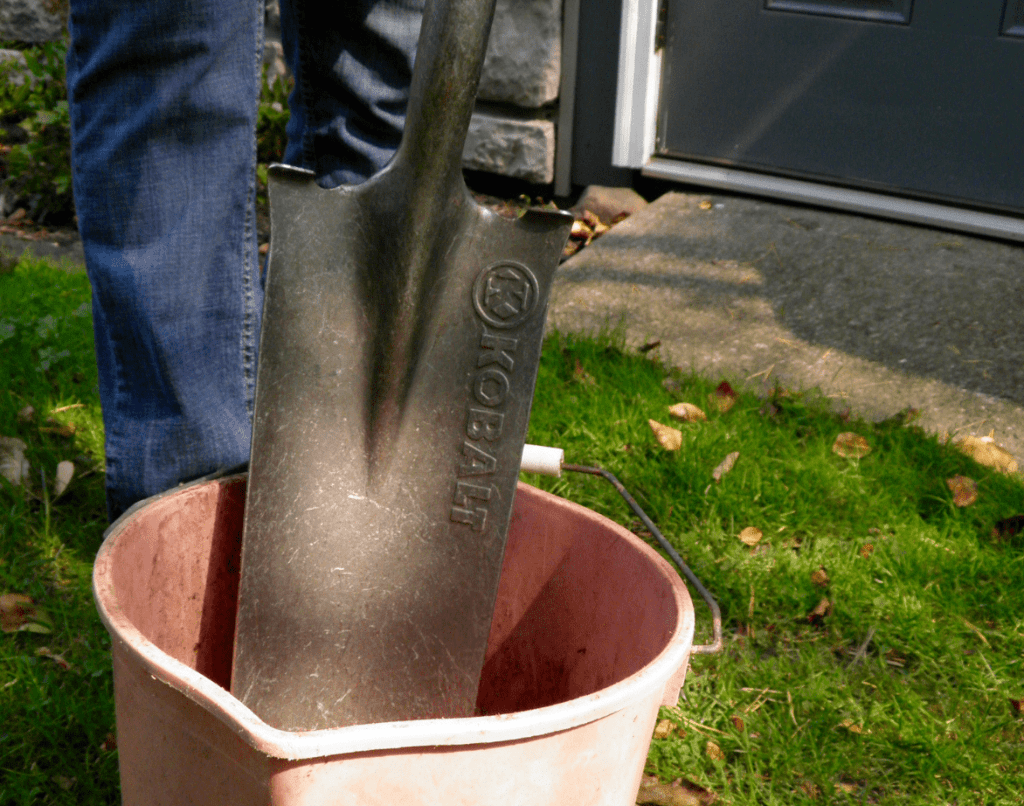
Storing in kitty litter can stop metal tools from rusting - It doesn’t matter what you put in them, red squirrels will chew through any container to find out what’s in it. If you keep your soils and soil amendments in plastic tubs, think about spraying them with a “chew-proof” spray manufactured for pets. Use metal cookie or bread tins for things like gloves, string and plant ties. Those large Christmas tins that come full of popcorn/snacks are great for birdseed and fertilizer.
- Consider maintenance when planning storage. For example, in the area where you keep the lawnmower you may want a spot for the gas can, blade sharpening tools and room to change the oil.
Juli Pomainville is a Master Gardener Volunteer who has been growing flowers and vegetables in Pierrepont since she was a child in 4-H. She enjoys experimenting with trendy gardening techniques, tending an annual flower garden for residents at a local nursing home, and teaching Seed to Supper classes for beginning gardeners.