Panopto Recording from Your Computer
Installation and Setup:
- Equipment needed: computer, microphone and camera (Webcam)
- Download and install the Panopto recorder. Installers can be found at Cornell’s Panopto website.
- After installation, click on the Panopto shortcut on your desktop.
- All recordings are saved locally on the computer in the following folder: C:\PanoptoRecordings. If you’d like to share the recording with your class, it can be uploaded to the Panopto server.
- You will need to send a request to ESS to prepare a folder on the server to store uploads.
.
Logging In:

Don’t sign in to Blackboard. Click on more sign-in options
- Click on the Panopto Shortcut on Desktop
- Login in with your Cornell NetID. If you get the Blackboard screen, click on the lower right link “more sign-in option” and then select “Sign in with Canvas”.
- Approve the request with Two-Step Login
You may be prompted to log in again. Select login with Blackboard
.
Recording
- Select the “Create New Recording Tab”
- Verify Session Folder is correct (defaults to the last folder used)
- Change the session name (example: Lecture 1 Week 1)
.
Primary Sources:
Select your sources for video, audio and quality. Volume is controlled by the slider on the right of the choices.
If you only want to capture slides and audio, select “none” on the video drop-down list.
Note: Audio is required for all recordings to complete and be posted to the web.
.
Secondary Sources:
You can choose to capture your screen, or an additional video source such as a webcam, document camera, etc.
- Check “Capture PowerPoint” and “Capture Main Screen” if you are going to switch from your PowerPoint to another application.
- Click “Record” (F8 on PC)
- If you need to switch applications press “Pause” (F9 on PC)
- When you are done, press “Stop” (F10 on PC)
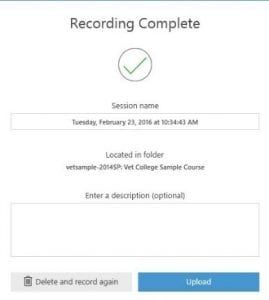
- Click “Upload” and your recording will be available after processing.
- Editing is available after your recording has uploaded.


