eTest – Steps for Uploading Videos
The best way to add a video to eTest is to first add the video to the university Video on Demand, or Kaltura system. There are two steps. First, adding the video to Video on Demand, and second, embedding the video within your eTest.
Step 1: Upload Your Video File to Video on Demand (Kaltura)
- Log in to Cornell Video on Demand
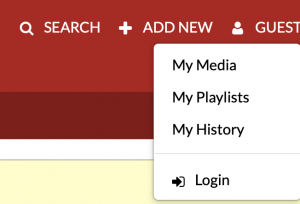
- Click Guest in the upper right, select ‘Login’ from the drop down (Login using your Cornell credentials)
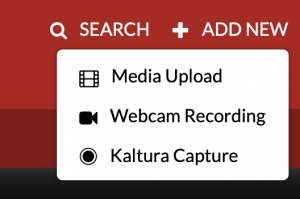
- Click Add New > Media Upload
- (agree to terms) and click “Choose a file to upload”
- Browse to your video and “open”
- After uploaded, fill out the meta data as best as you can so that you will be able to search for and find the movie at a later date.
- Scroll to the bottom and click “Go To Media”; wait for the media to process.
- Click “Share”
- Click “Embed”
- Select “Sharing is Off”
- Select the size (I recommend 400×285 for eTest and 608×402 for Course Pages)
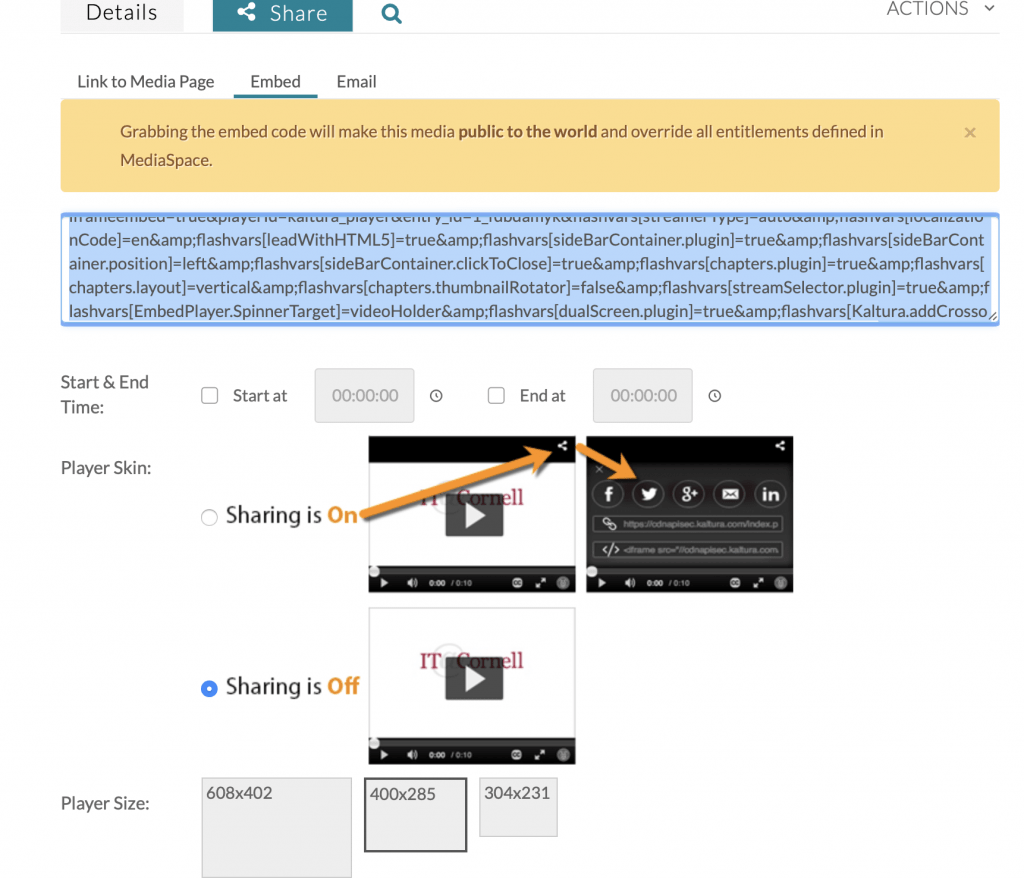
- Copy (Ctrl-C) all of the text in the code box (begins with <iframe id=”kaltura_Player”….)


NOTE: if you upload or manage a number of video files it may be worth creating a “channel” in Kaltura to store sets of videos, Channels are optional and can be created at any time.
Step 2: Adding a Kaltura Video to an eTest
- In the test edit screen, select “ADD Text…”
- Click the HTML icon

- Click inside the HTML Source Editor Box
- Paste (Ctrl-V) the Kaltura text (begins with <iframe…) into the HTML Source Box
- Scroll to the bottom and click “Update” (you may need to expand the pop-up window to see the Update button)
- Click “Save and Return”