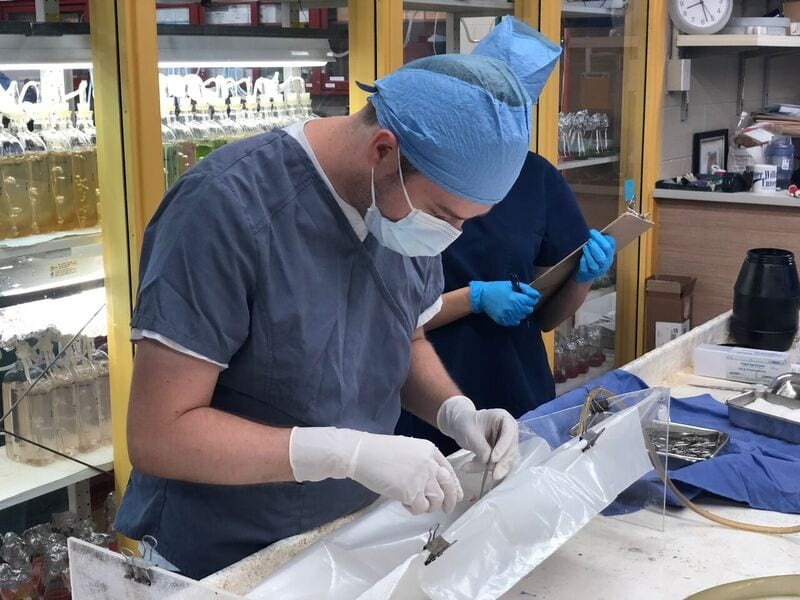
Usually, when vet students scrub in to perform surgery for the first time, it’s to spay or neuter a dog or cat. For me, that wasn’t the case. My first scrub in, and my first (group) surgery, was for a splenectomy in a fish. Yes, that’s right—a fish. Fish surgery is just one of the amazing opportunities provided by AQUAVET® I, a four-week summer program that teaches students about aquatic medicine, a topic that’s not part of the core veterinary curriculum. As someone who had absolutely zero surgery experience, and even less experience working with fish, I was a mess of nerves and excitement. Thankfully, the faculty were there with us every step of the way, making sure that our surgeries went smoothly.
The surgery started as all surgery starts, with induction. Inducing a fish is actually pretty simple: after determining what concentration of anesthetic you needed to induce, you add a one-to-one mixture of MS-222 (the only anesthetic currently approved for use in finfish) and sodium bicarbonate to an induction tank. Once dissolved, you add the fish and wait for the anesthetic to kick in. Like most animals, fish will begin to slow down their movements and breathing once they’ve been induced. To monitor a fish’s breathing, we look at its opercular movements. The operculum is the flap of skin over the gills, and its movement indicates the fish’s respiratory rate. Once the fish has started operculating very slowly and doesn’t respond to being touched or grabbed, it’s safe to transfer them to the surgery set up.

Viscera of a bony fish. The ovaries would be located in approximately the same location as the testes in this diagram. Image source: Gratzek, J. B. (1992). Fish anatomy, physiology, and nutrition. Morris Plains, N.J.: Tetra Press.
Our surgery set up was pretty simple: a spay pack, a plastic trough, two large plastic tubs, and a lot of plastic tubing. The fish that I was about to operate on was placed in the trough, where the plastic tubing was inserted into her mouth to keep water flowing over her gills (so she could still get oxygen). That tubing split off via two valves, and each of the two branches lead to one of the tubs. One tub was full of regular seawater, and the other was full of MS-222 solution at a maintenance concentration. This allowed my surgical team to switch between regular seawater and anesthetic, to keep our fish at the desired level of anesthesia. We also injected our patient pre-operatively with ketoprofen, an NSAID, for pain management.
Once our patient was knocked out, it was time to start surgery. The surgery was the same as any other organ removal surgery; once we opened our patient, we located the spleen, isolated it from the surrounding connective tissue and arteries, and then ligated it and removed it. We also performed an ovariectomy (removing the ovaries), which was a little harder than removing the spleen. The ovaries of a fish straddle the colon, so we had to thread one of the ovaries under the colon, so that the two ovaries were on the same side. Once there, we simply ligated the ovarian blood vessels, and then removed the ovaries!
Recovering our fish from anesthesia involved completely shutting off the flow of water from the anesthetic tank, and placing her in clean seawater. We expedited the fish’s recovery by (gently!) moving her forward, to increase the flow of water over the gills. At some point the fish had righted herself and maintained that position, which was a good sign that she had recovered!
CLICK HERE to learn more about the AQUAVET® program. CLICK HERE to see our other posts about AQUAVET®.
Chris Payne, class of 2021, is a current student at Cornell University’s College of Veterinary Medicine. Despite growing up mostly in Oklahoma, Chris has always had a deep interest in everything related to the ocean, and hopes to work as an aquarium veterinarian in the future.


