Read Part I of this series, here: Create a cut flower garden: Planning
When choosing a location for a cut flower garden, look for an area where you’ll be able to pass comfortably, even when carrying a basket or bucket of flowers. Consider a border against a south facing wall of your home, a designated garden patch, or even adding clumps or rows of flowers to an existing vegetable garden.
Cut flowers need well-drained soil that’s rich in organic matter so that it will hold water for your blossoms. Plan to work in 2-3 inches of compost or well-rotted leaves to your soil. Add a dose of a balanced, slow-acting granular organic fertilizer at the beginning of the season. If you notice blooms fading later on, fertilize them during the season as well.
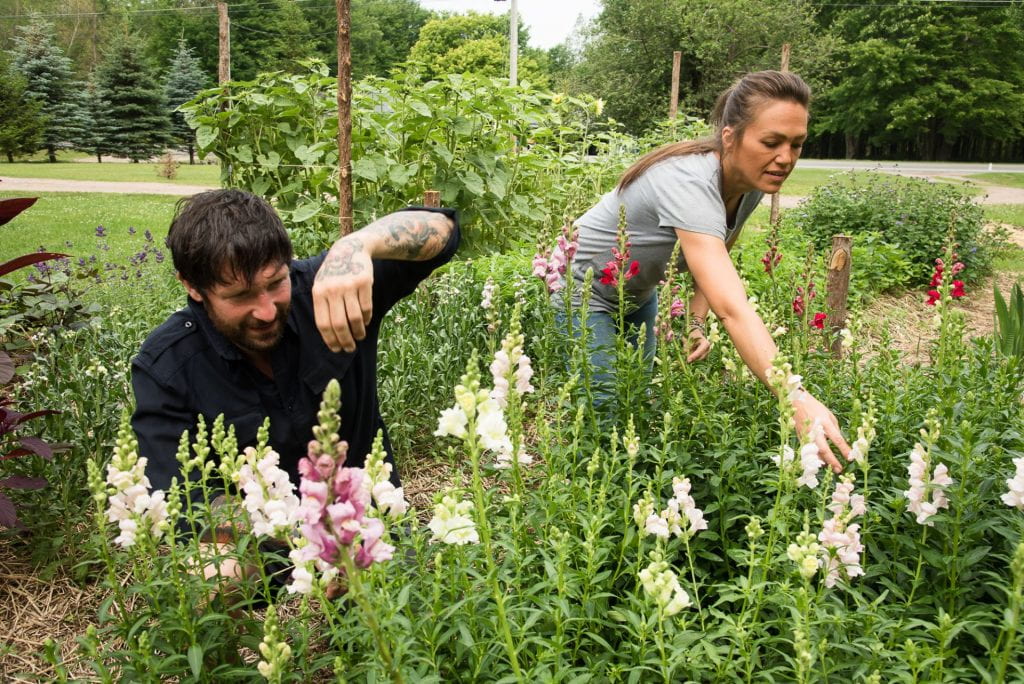
Transplant your seedlings after the last spring frost (May 15-31 for Zone 4). Be sure to check the heights of your mature flowers and plant the tall ones to the north of the shorter flowers to prevent shading. For direct seeded plants, sow a few extra seeds – we have a short growing season and don’t have time to reseed if they don’t germinate the first time. It’s better to thin them later than to start over. To control weeds and retain soil moisture, add a 2-3” layer of mulch around the plants, staying at least an inch away from the plant on all sides.
It takes a lot of water to make a flower. Put your finger into the soil an inch or two to see if the soil is dry. If it is, water around the roots, keeping the foliage dry if possible. Water for a slow count of 10 and then move on, return for another slow count of 10 and move on, and then make a third pass. It takes a little longer to water this way, but you will actually have to water less frequently as the water will penetrate the soil more deeply.
Cutting Your Flowers
When cutting the flowers, keep the stems as long as possible, even if you don’t think your container needs it. Your plant will grow a new stem at the node below the cut, and you want the next flower to have a long stem as well.

Watch out for hitchhikers! Gently shake your stems and blooms to dislodge insects. If there are a lot of insects on your blooms (like the ants I see on my nectar-filled peonies) you can immerse them in a bin of cold water for a few minutes and follow up with a gentle shake and drain on a towel.
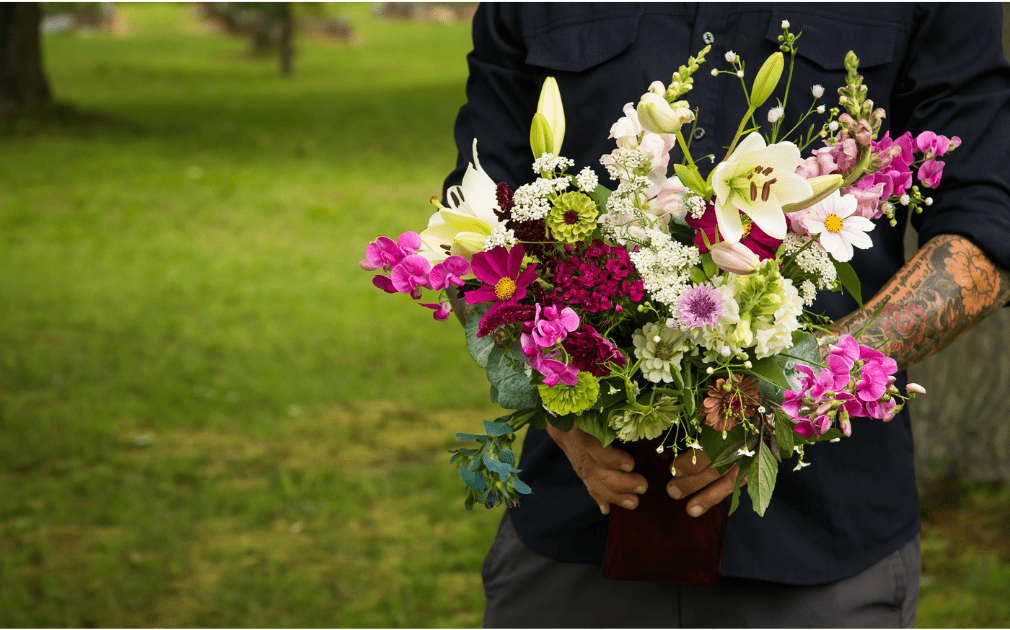
When you get your flowers inside, put them all into a temporary container of water. Remove any leaves below the water level. While you are arranging your flowers, cut the stems at an angle immediately before placing them into the water. Avoid direct sunlight, heat, drafts and fruit when finding a place for your bouquet; ripening fruits release ethylene gas which can reduce the lifespan of your cut flowers.

There are many urban legends about homemade additives to make cut flowers last longer, such as apple cider vinegar, aspirin, or coins. Proflowers.com experimented with nine of these methods and concluded that ¼ cup of clear, full-sugared soda added to the vase of water worked the best of all the home remedies. In addition, they recommend changing the water in the vase every three days, washing the vase and using a packet of flower food each time you change the water.
If this year’s annual cutting garden turns out well for you, consider a perennial cutting garden with echinacea, beebalm, coreopsis, daisy, rudbeckia, dahlias, and gladiolus… or maybe a dried flower cutting garden with statice, strawflower, globe amaranth, celosia, and drumstick flower.
Whatever you grow, enjoy it!
Juli Pomainville is a Master Gardener Volunteer who has been growing flowers and vegetables in Pierrepont since she was a child in 4-H. She enjoys experimenting with trendy gardening techniques, tending an annual flower garden for residents at a local nursing home, and teaching Seed to Supper classes for beginning gardeners.
