by Michele Brown
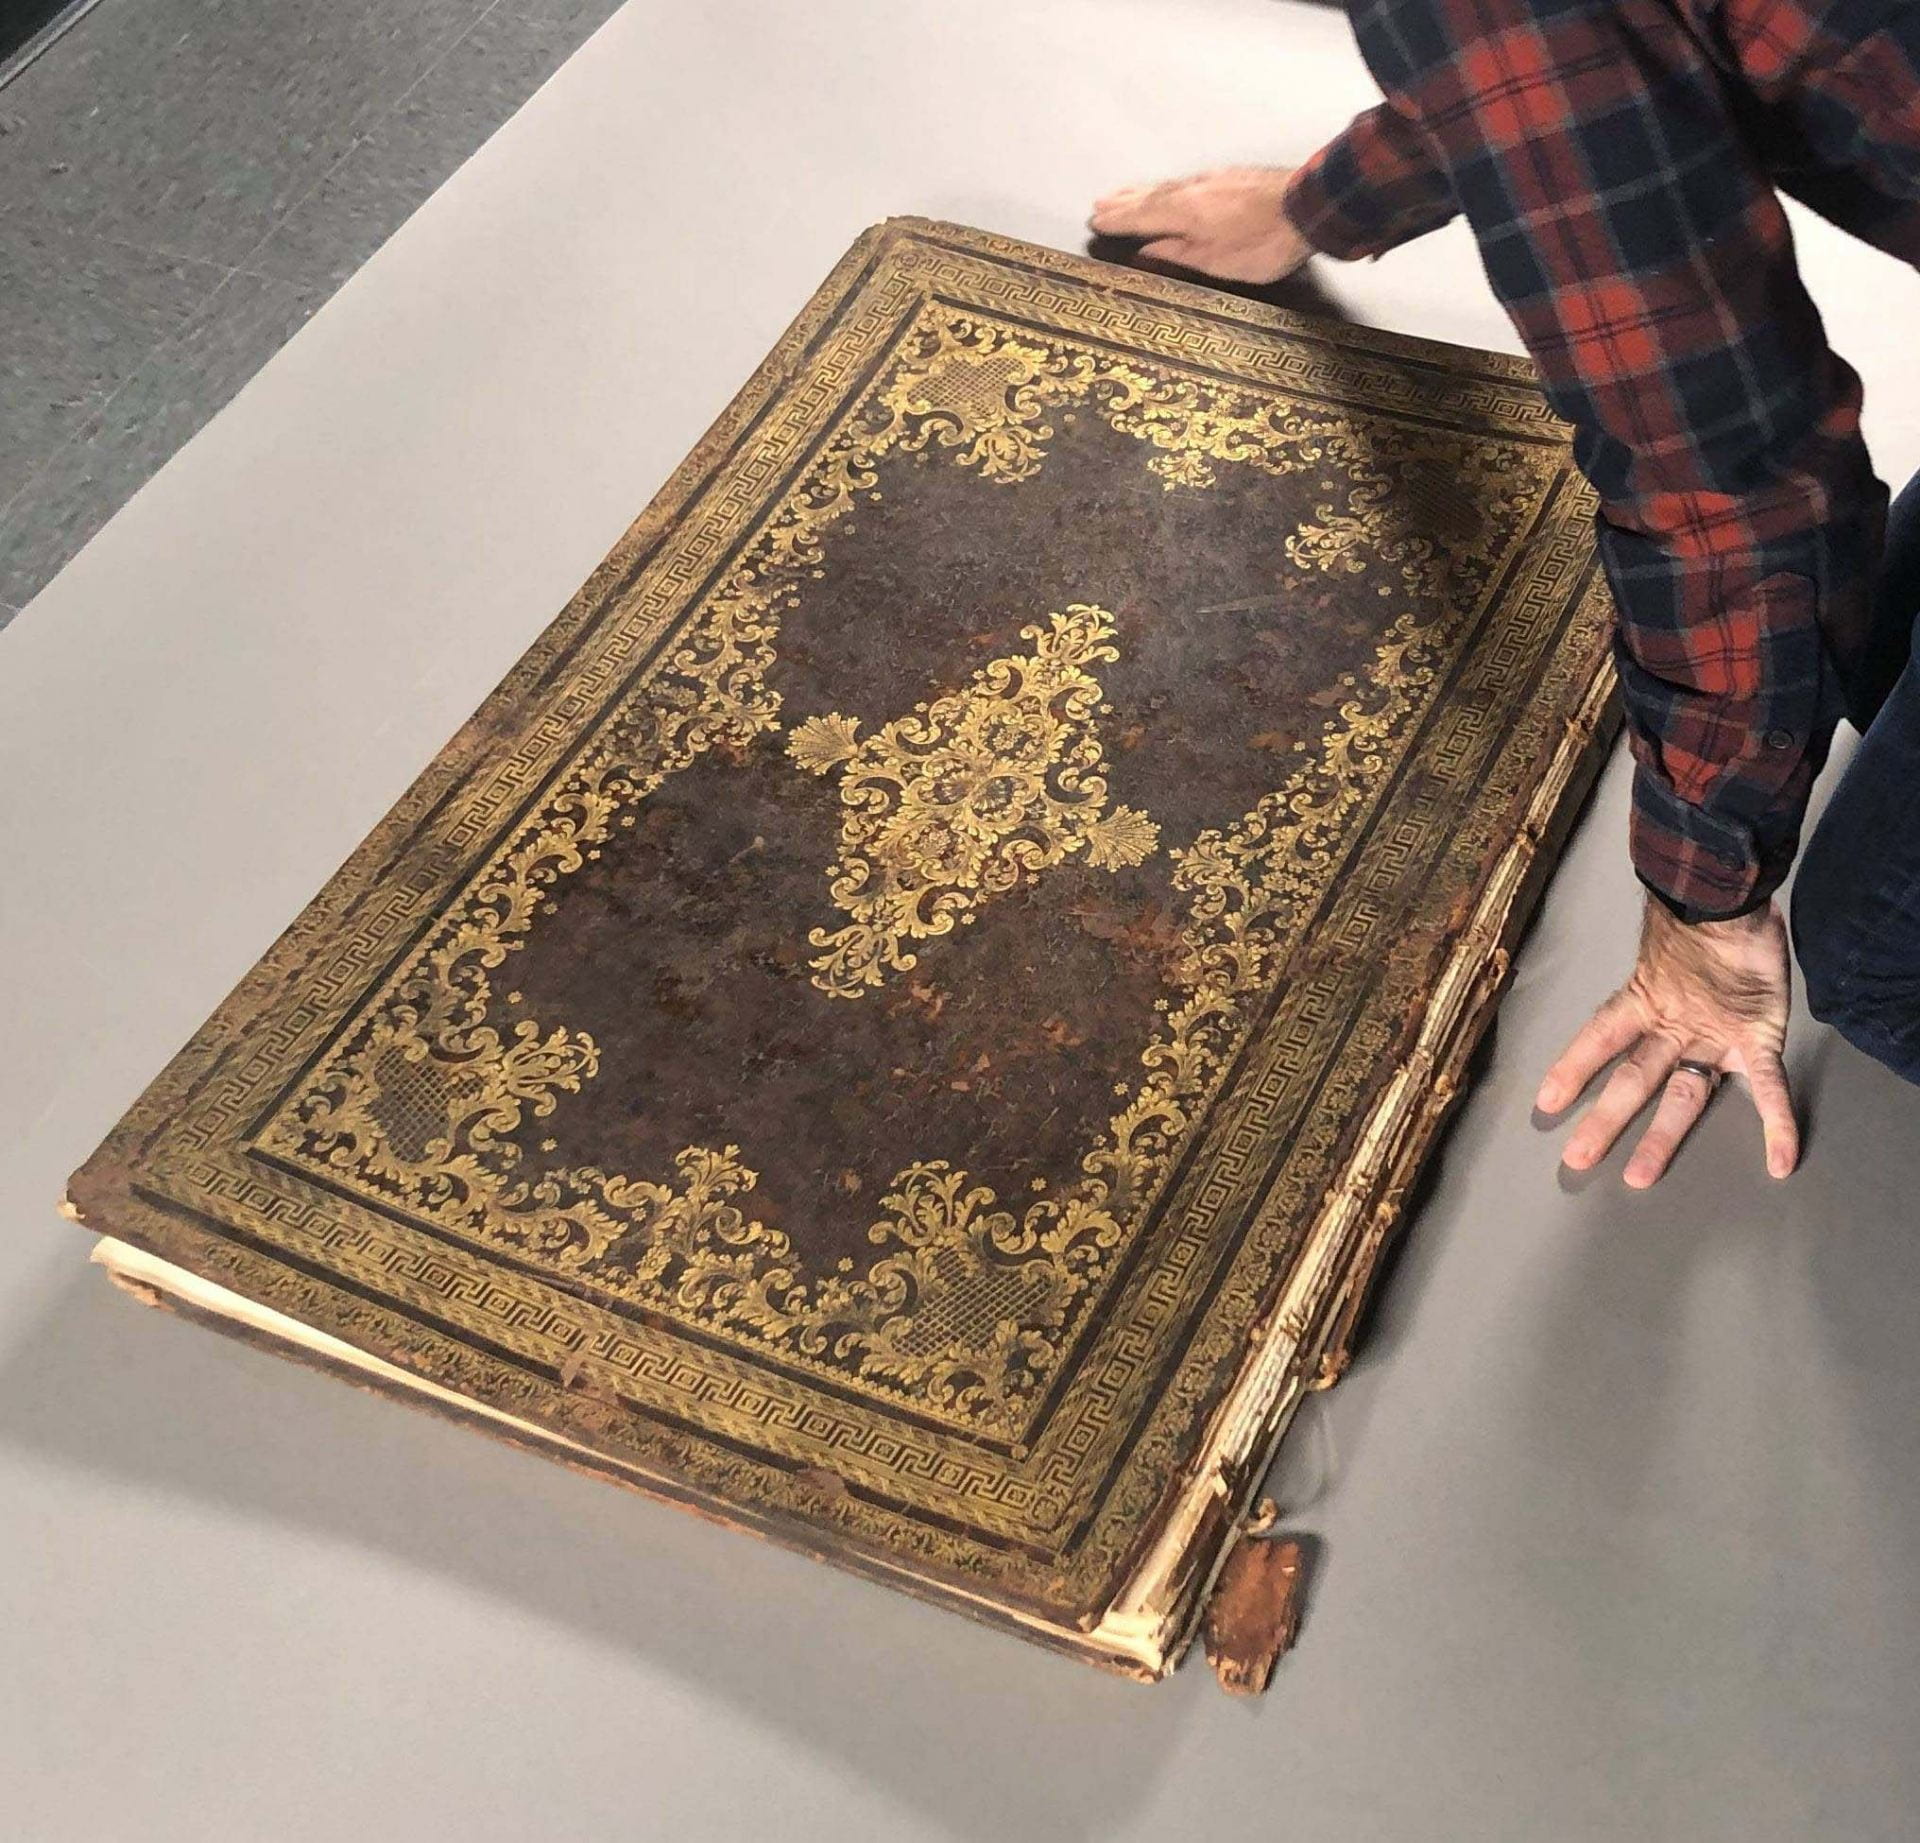
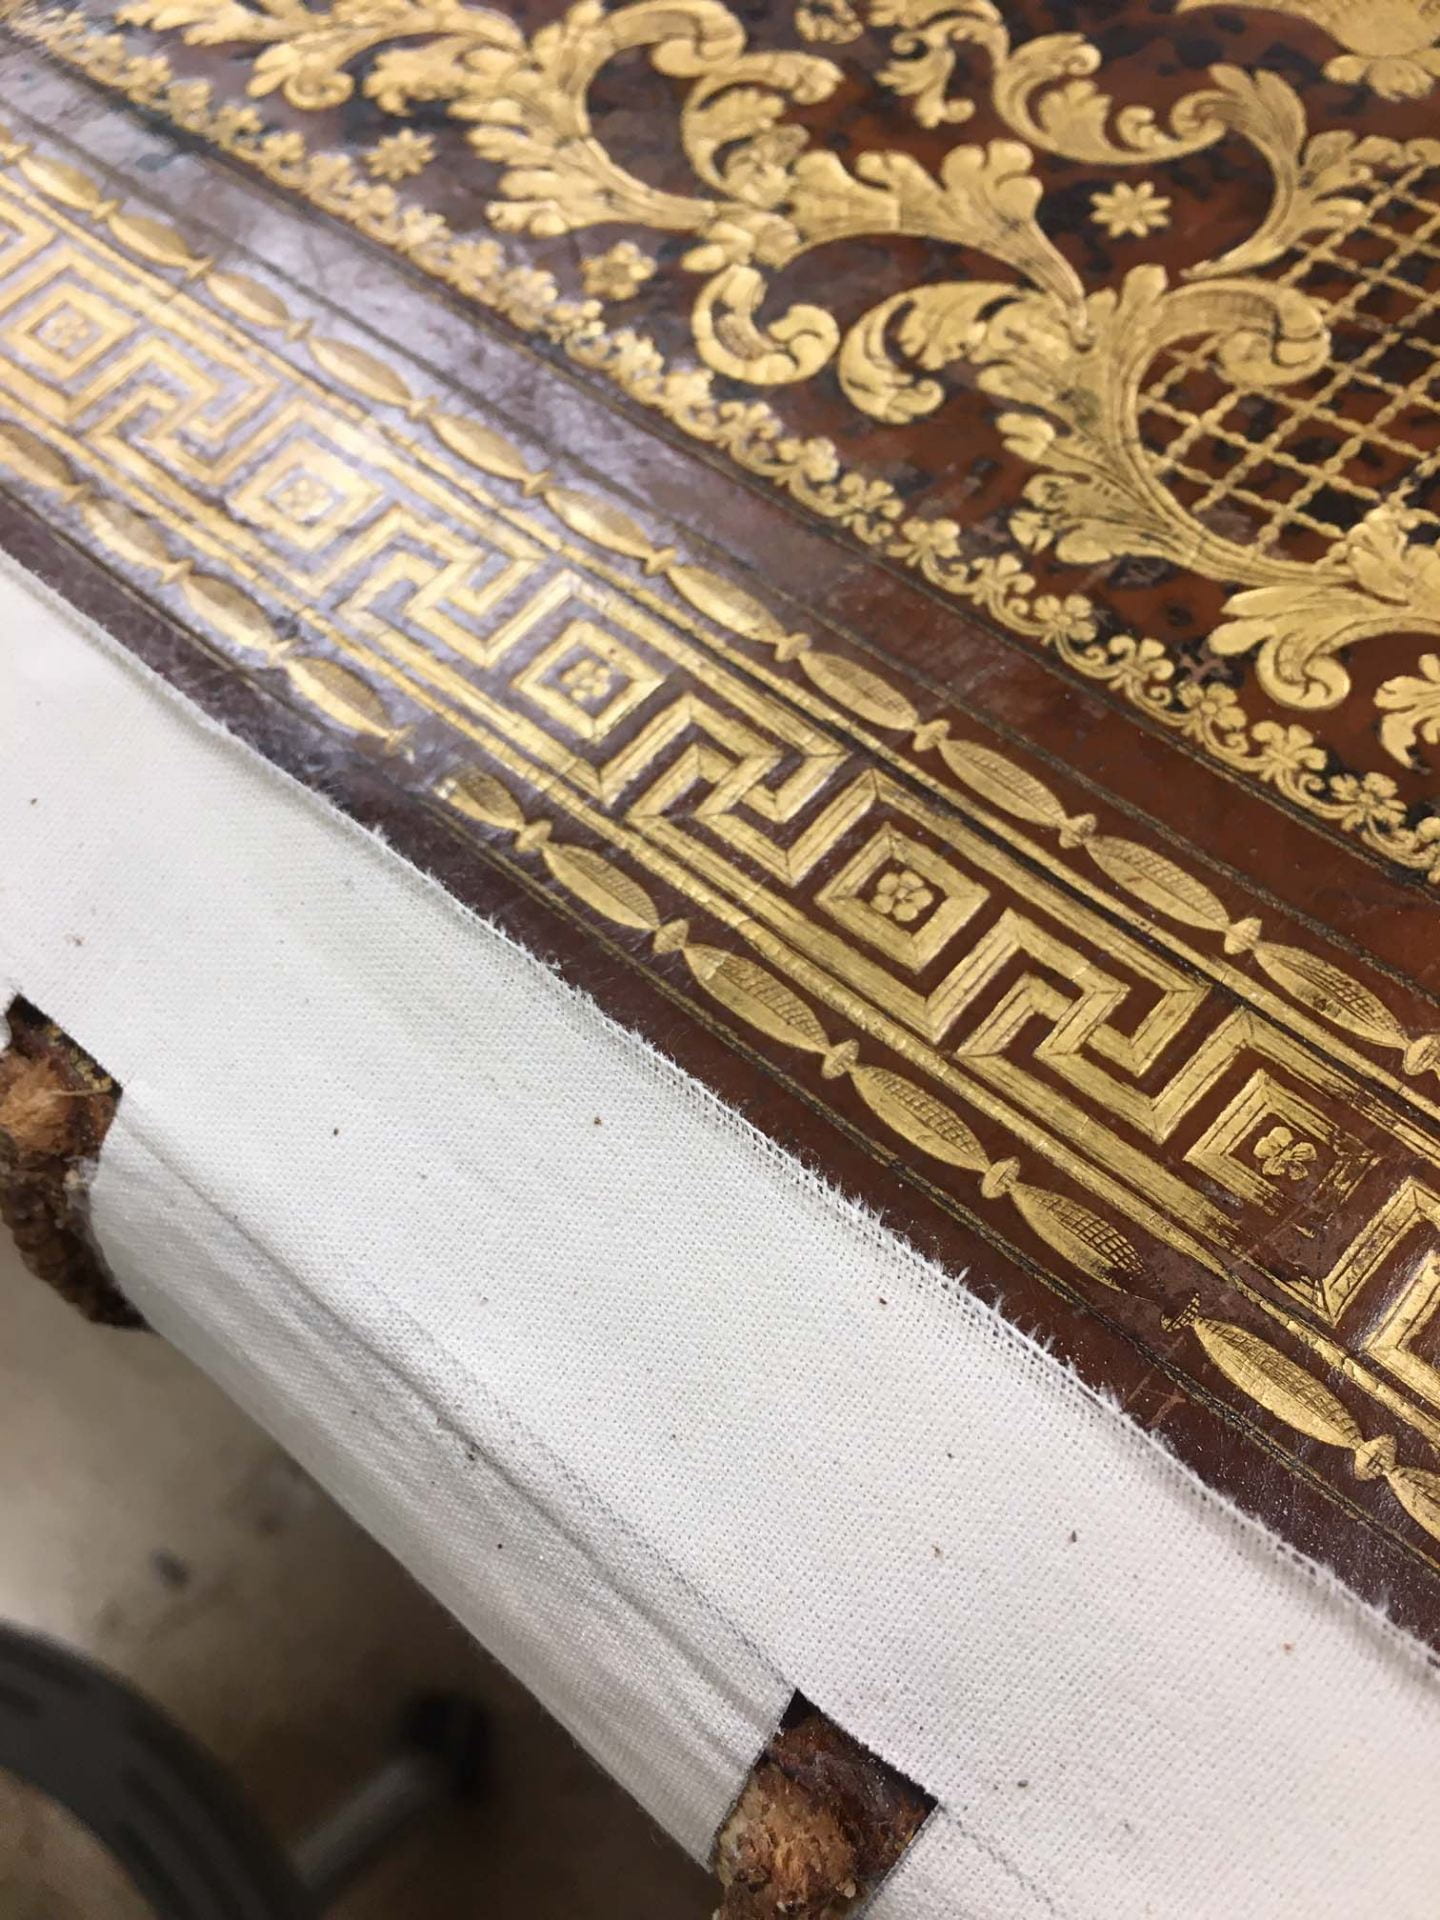
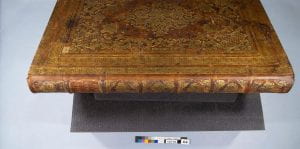
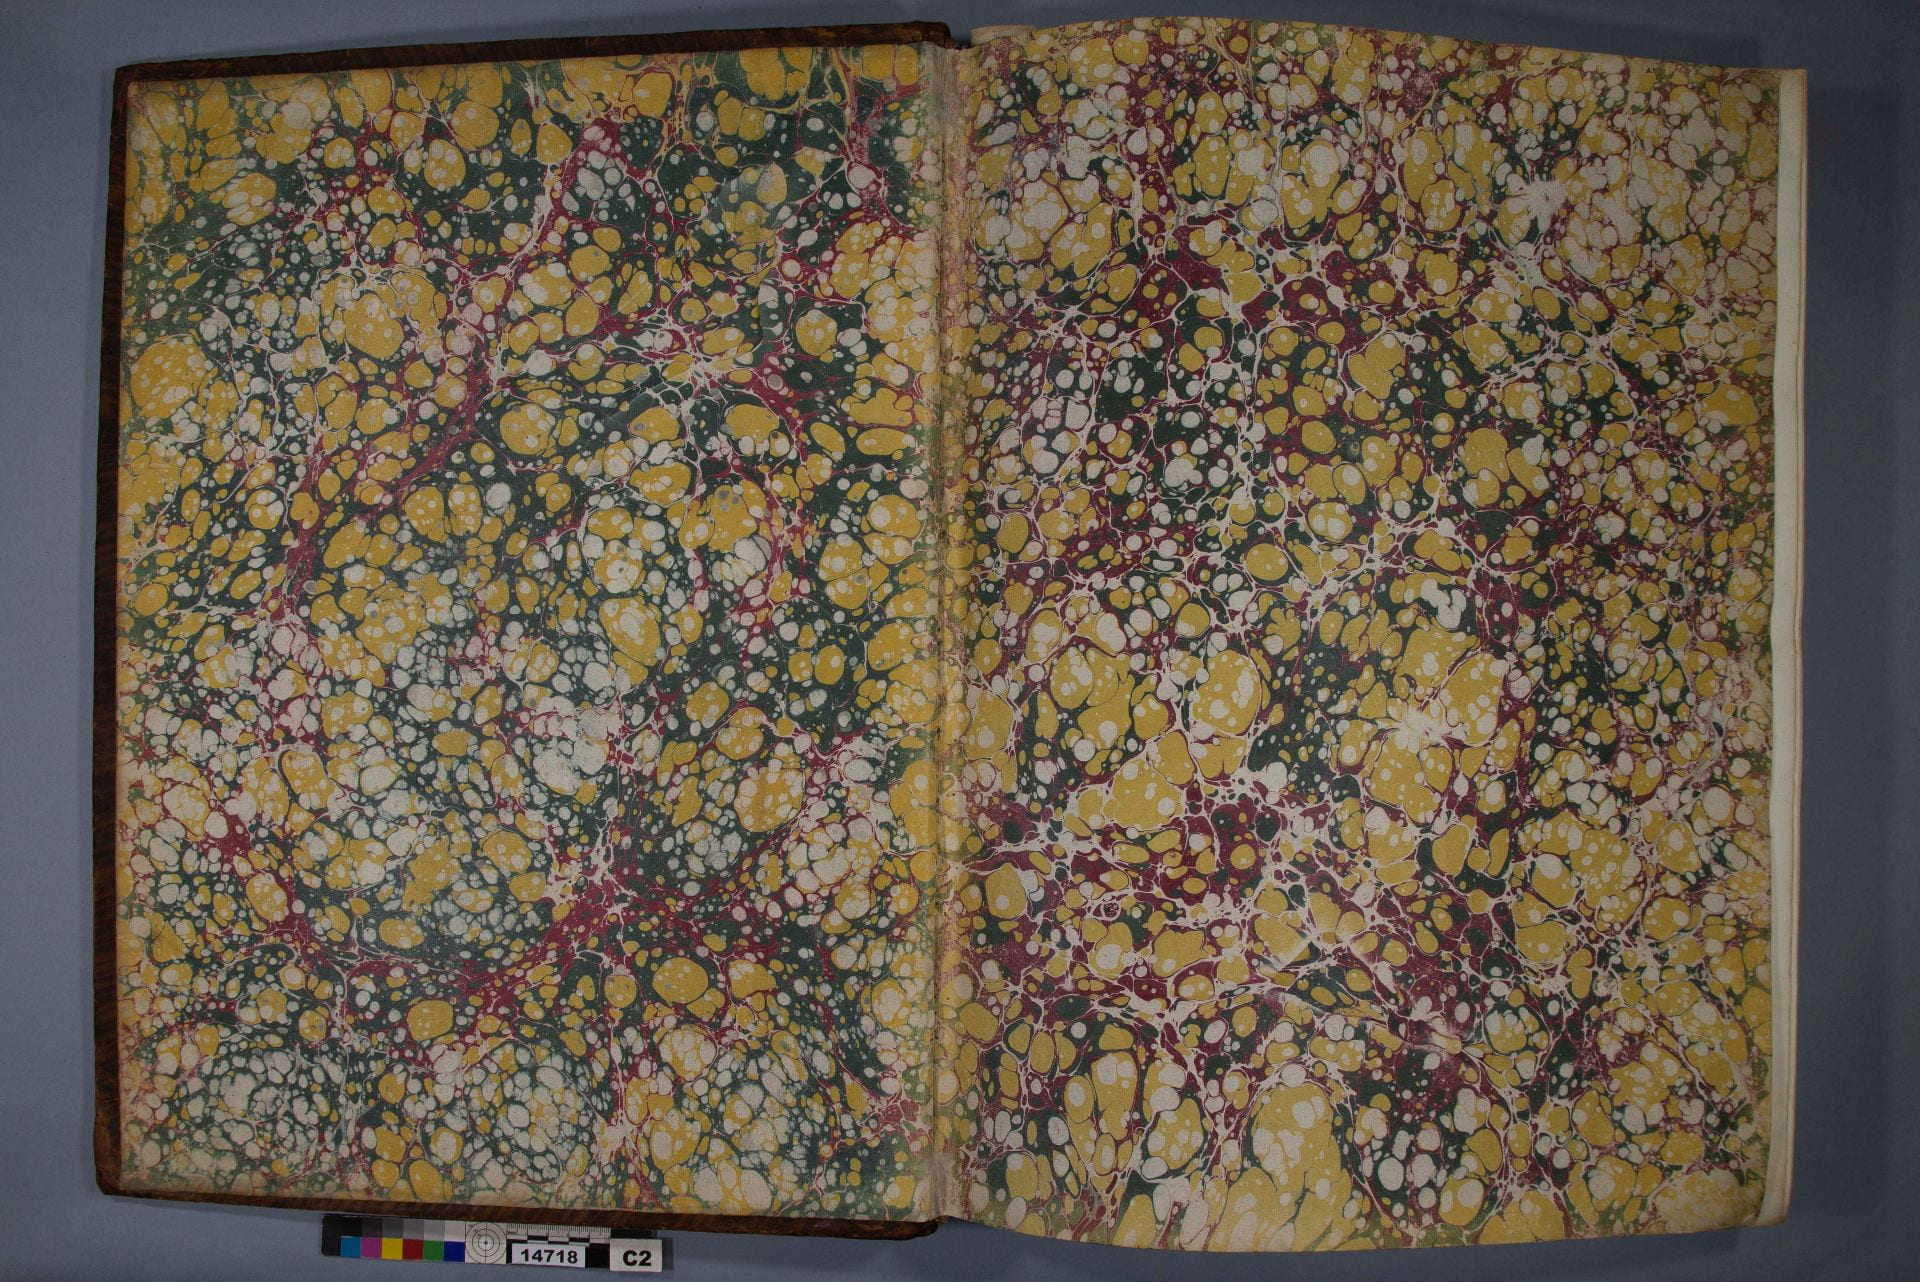
In my previous post, I described the overall condition of Cornell’s set of bound Piranesi engravings. Now, let’s look at the treatment of these volumes.
Objectives:
The usual objectives for rare book restoration are compatibility, strength, usability, reversibility and longevity. Repairs should be sympathetic with the original binding, and also strong and flexible so the volume may once again be used. Since nothing lasts forever, reversibility is important for future repairs. For example, once the original spine has been removed, lining the back with tissue and paste provides a barrier against succeeding lining materials applied with pva, and enables removing them, if necessary. Materials should be archival and of high quality. When possible, original components should be saved or reused. I thought of these objectives when considering treatment for the Piranesi volumes.
Treatment:
Rare Books and Manuscripts curators Katherine Reagan (Ernest L. Stern Curator of Rare Books & Manuscripts) and Laurent Ferri (Curator of the pre-1800 Collections) agreed that due to their size and condition, the Piranesi volumes should be fully rebacked with leather. The original spines would be saved. Missing endbands would be replaced, but weak endbands would be retained and reinforced. Original sewing would be strengthened or repaired if necessary.
Mid brown book calf from J Hewit & Sons worked well for the new spines, and needed only mild toning to blend in with the original leather. I used Fiebing’s Pro Oil Leather Dye, now called Pro Dye, to mimic the mottled calf found on the bindings. (1)
The steps for rebacking were essentially the same for all of the volumes that were treated:
- Photography and assessment. Due to their size, Simon Ingall of DCAPS (Digital Consulting and Production Service) photographed them “before” and “after” in the DCAPS studio.

Photographing Piranesi volume.
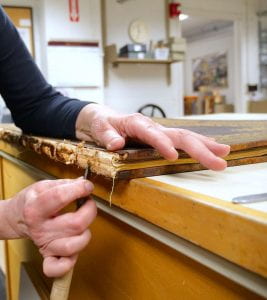
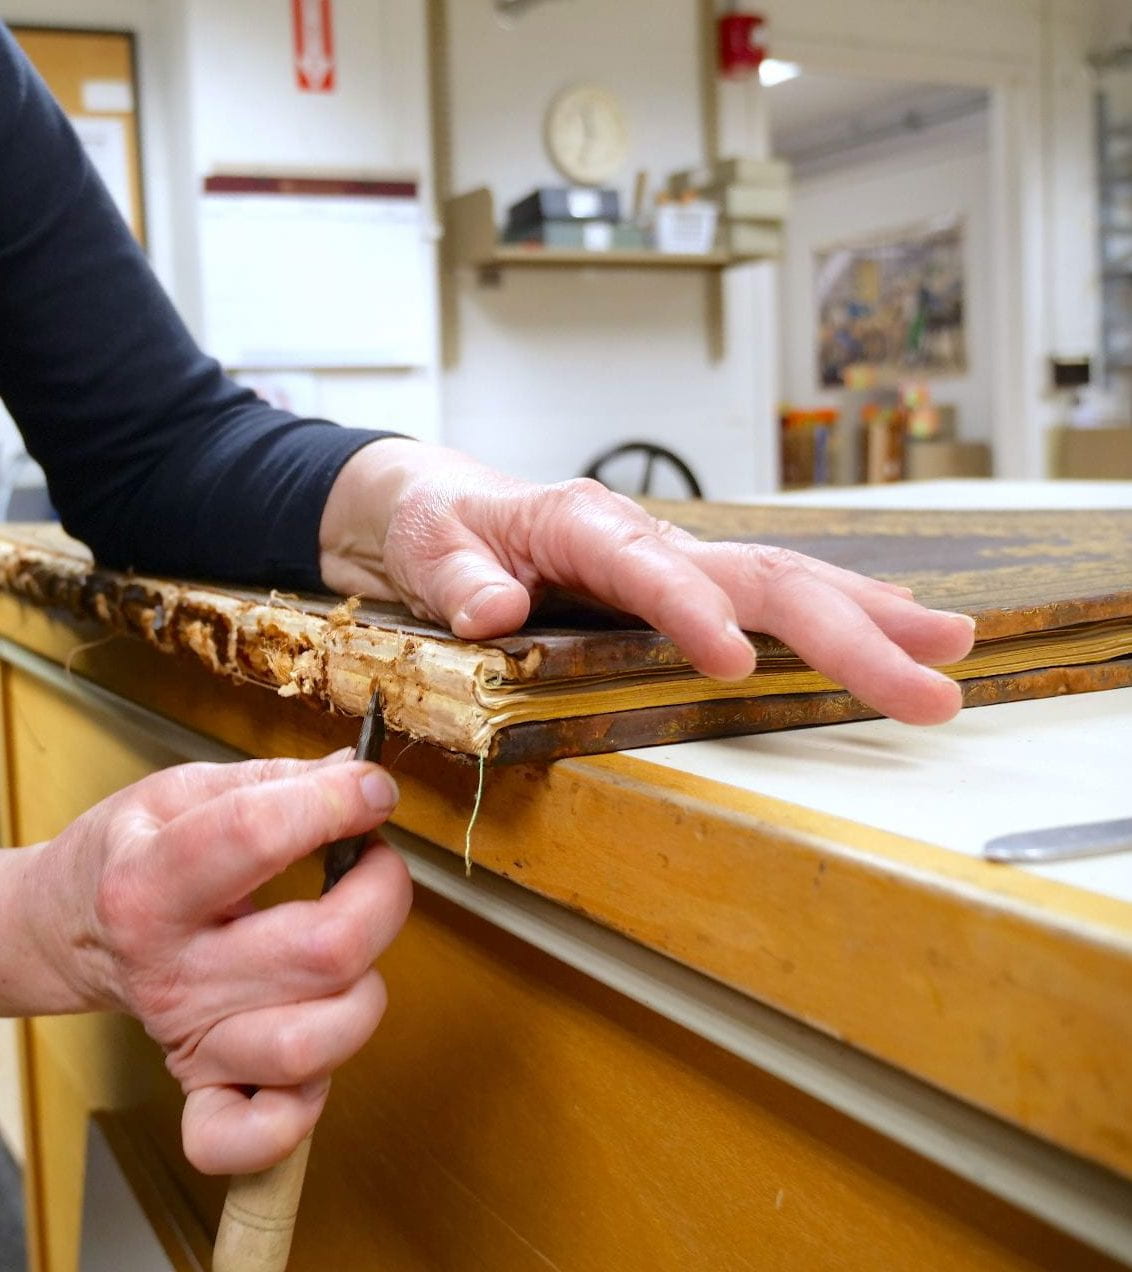
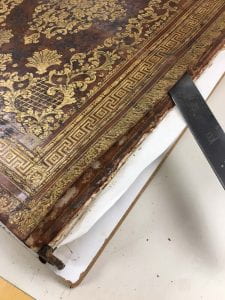
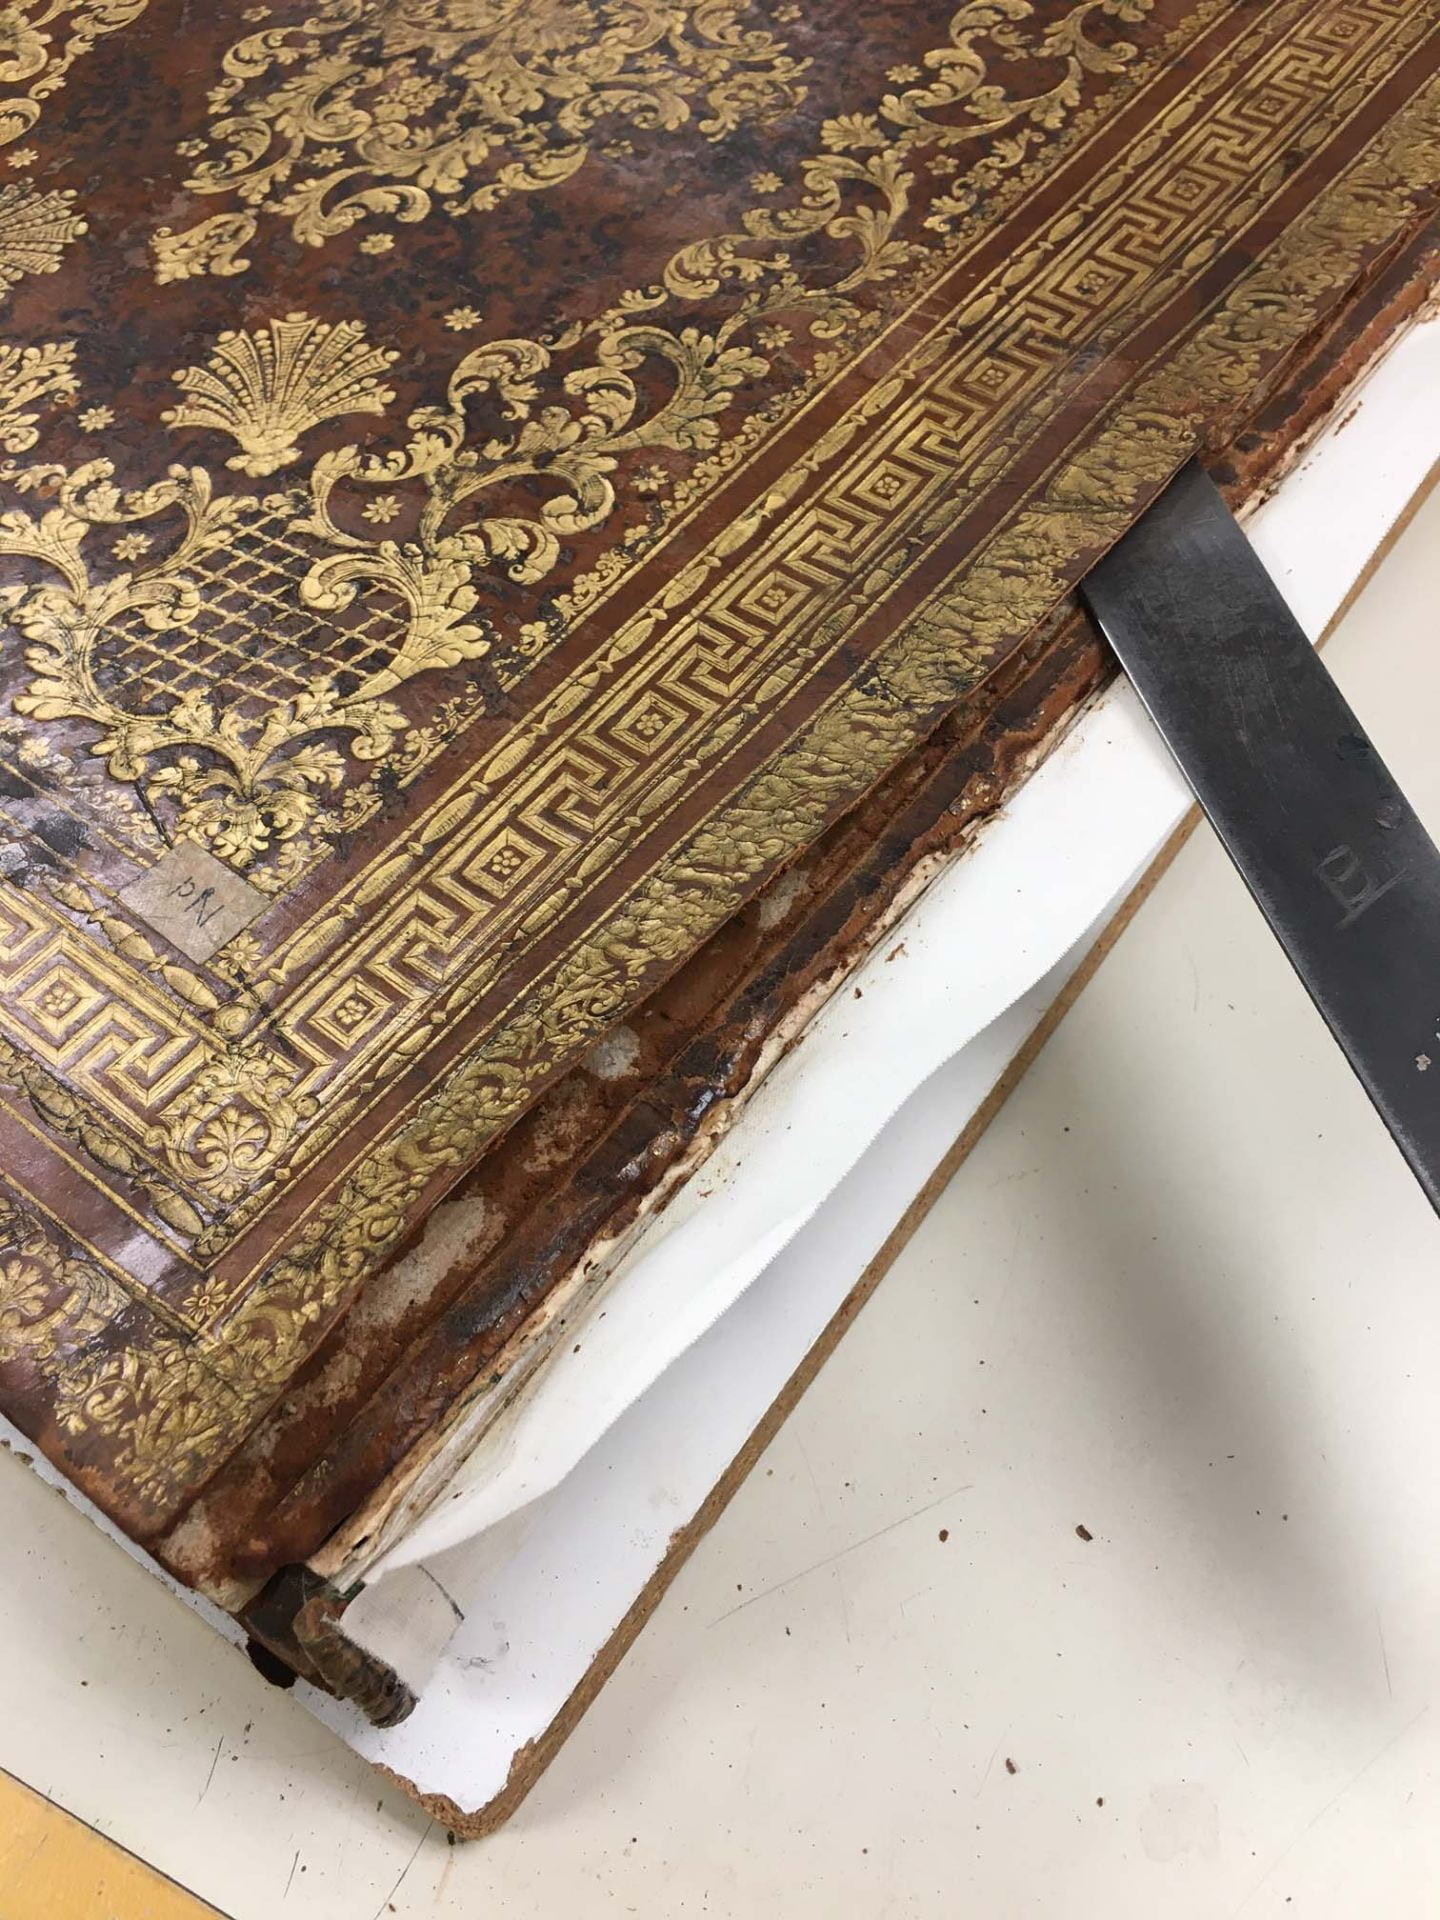
- Removing the original spine. The original spine was lifted using a single-bevel knife. In most cases the spine was already peeling so this process was fairly easy.

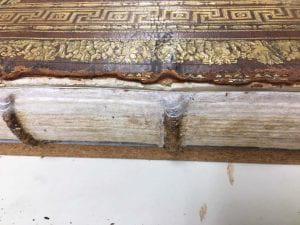
Volume 4 spine before treatment.
- Cleaning the back with a wheat starch paste poultice.Stiff wheat starch paste (Aytex P and filtered water) was applied to the spine, allowed to sit, and then scraped off with a blunt knife.
Removing spine linings.
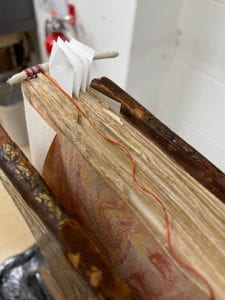
- Repairing/reinforcing weak sewing. In some cases, the sewing at the beginning and/or last sections was weak or broken. If so, the section was repaired and then resewn around the original sewing support using unbleached linen thread.
Resewn sections in volume 4.
- Resewing on new cords. Volumes Vols 15 and 16 had extensive structural damage, including broken cords. Consequently, both volumes were pulled and then resewn with new cords before rebacking.
- Lining the back with Hanji 1101 using wheat starch paste. This served to protect the spine from adhesives used later in the repair process, and helped consolidate weak sewing.

Volume 2 lined with tissue.
- Lining the back with a strip of unbleached cotton stretch cloth, followed by by hand-made paper. Unbleached cotton was cut with slots to accommodate raised cords, and glued to the back using pva (Jade 403). After lifting the board leather, the cotton lining was extended across the joints and glued under the lifted leather using pva. This strengthened the joint and board attachment. For additional strength, panels of hand-made paper were glued between the cords


Back lined with unbleached cotton stretch cloth.
- .Reinforcing existing, or replacing missing, endbands. If necessary, new endbands were sewn over cords (Clarkson BC cord) using silk twist.
Replacement endband in process.
- Lifting the sides and paste downs to accommodate a new leather spine. Using a “lifting” knife, the sides were lifted a few millimeters away from the joints.
Leather being lifted at the joint.
- Attaching the new spine. The new calfskin spine was pared and dyed and then attached using stiff wheat starch paste.
- Putting down the lifted leather on the outside and inside of the boards. A mix of 50/50 wheat starch paste and pva (Jade 403) worked well.
- Covering the inner joints with compatible, tinted tissue. Color Kozo from Hiromi Paper was attached using paste.
Lifted areas of the inner joints covered with Color Kozo.
- Replacing the original spine. The edges of the original spine pieces were beveled using a Dremel tool and then attached using the 50/50 paste/pva mix.)
- Consolidating deteriorated leather. Dry and deteriorated leather was treated with Cellugel (hydroxpropyl cellulose in isopropanol) and SC6000 leather conditioner.
Finished rebacking, volume 4.


The corners of most volumes were worn and damaged. These were repaired with 100% kozo Moriki (2). The leather of the original corners was lifted, the new corner material was attached using a mix of 50/50 wheat starch paste and pva, and then toned using Golden acrylics. This was usually done before starting the rebacking process.
As a result of the above repairs, the bindings were strengthened and made functional while their original components were retained. Cornell’s Piranesi is now more accessible to scholars.
A 2014 post from the Cornell in Rome’s blog provides an excellent overview of Piranesi’s work.
Notes:
(1) Traditional Fiebing’s dye is alcohol-based. Although Pro Dye is supposed to retain its color longer, it is known to fade. The Leather Conservation Centre in London has developed water-based dyes that when used with a fixative, have been shown to be more stable than other leather dyes. Unfortunately, these have been unavailable to US conservators for a while. Hewit’s also markets water-based leather dyes. I prefer Fiebing’s dyes, but use them sparingly. Skin Deep, Volume 30 offers a good overview of leather dyes.
(2) Moriki tissue is a convenient leather substitute for corner repair. It may be difficult to find 100% kozo Moriki, but we have a supply in the Cornell conservation lab.
Suppliers:
Gane Bros. (unbleached cotton stretch cloth)
J Hewit & Sons (calfskin)
Hiromi Paper (CK Color Kozo)
Polistini Conservation Material (Hanji)
Talas (Aytex P, Jade 403, SC6000, unbleached linen thread, silk twist)
University Products (Cellugel)