Valentine’s Day. You may have celebrated a few in your lifetime.
Are you a little tired of the unimaginative gifts of boxes of assorted chocolates and bouquets of overpriced flowers? It’s been said that food is the language of love: this Valentine’s Day get inspired by sweet homemade treats you and everyone will love, and that also happen to be healthy, easy to make, and affordable!
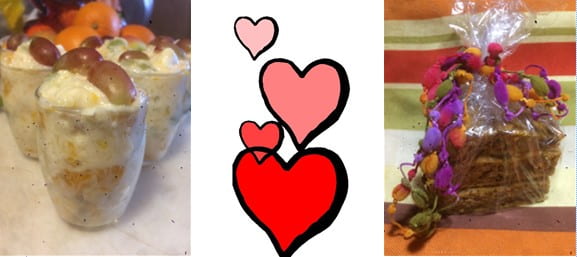
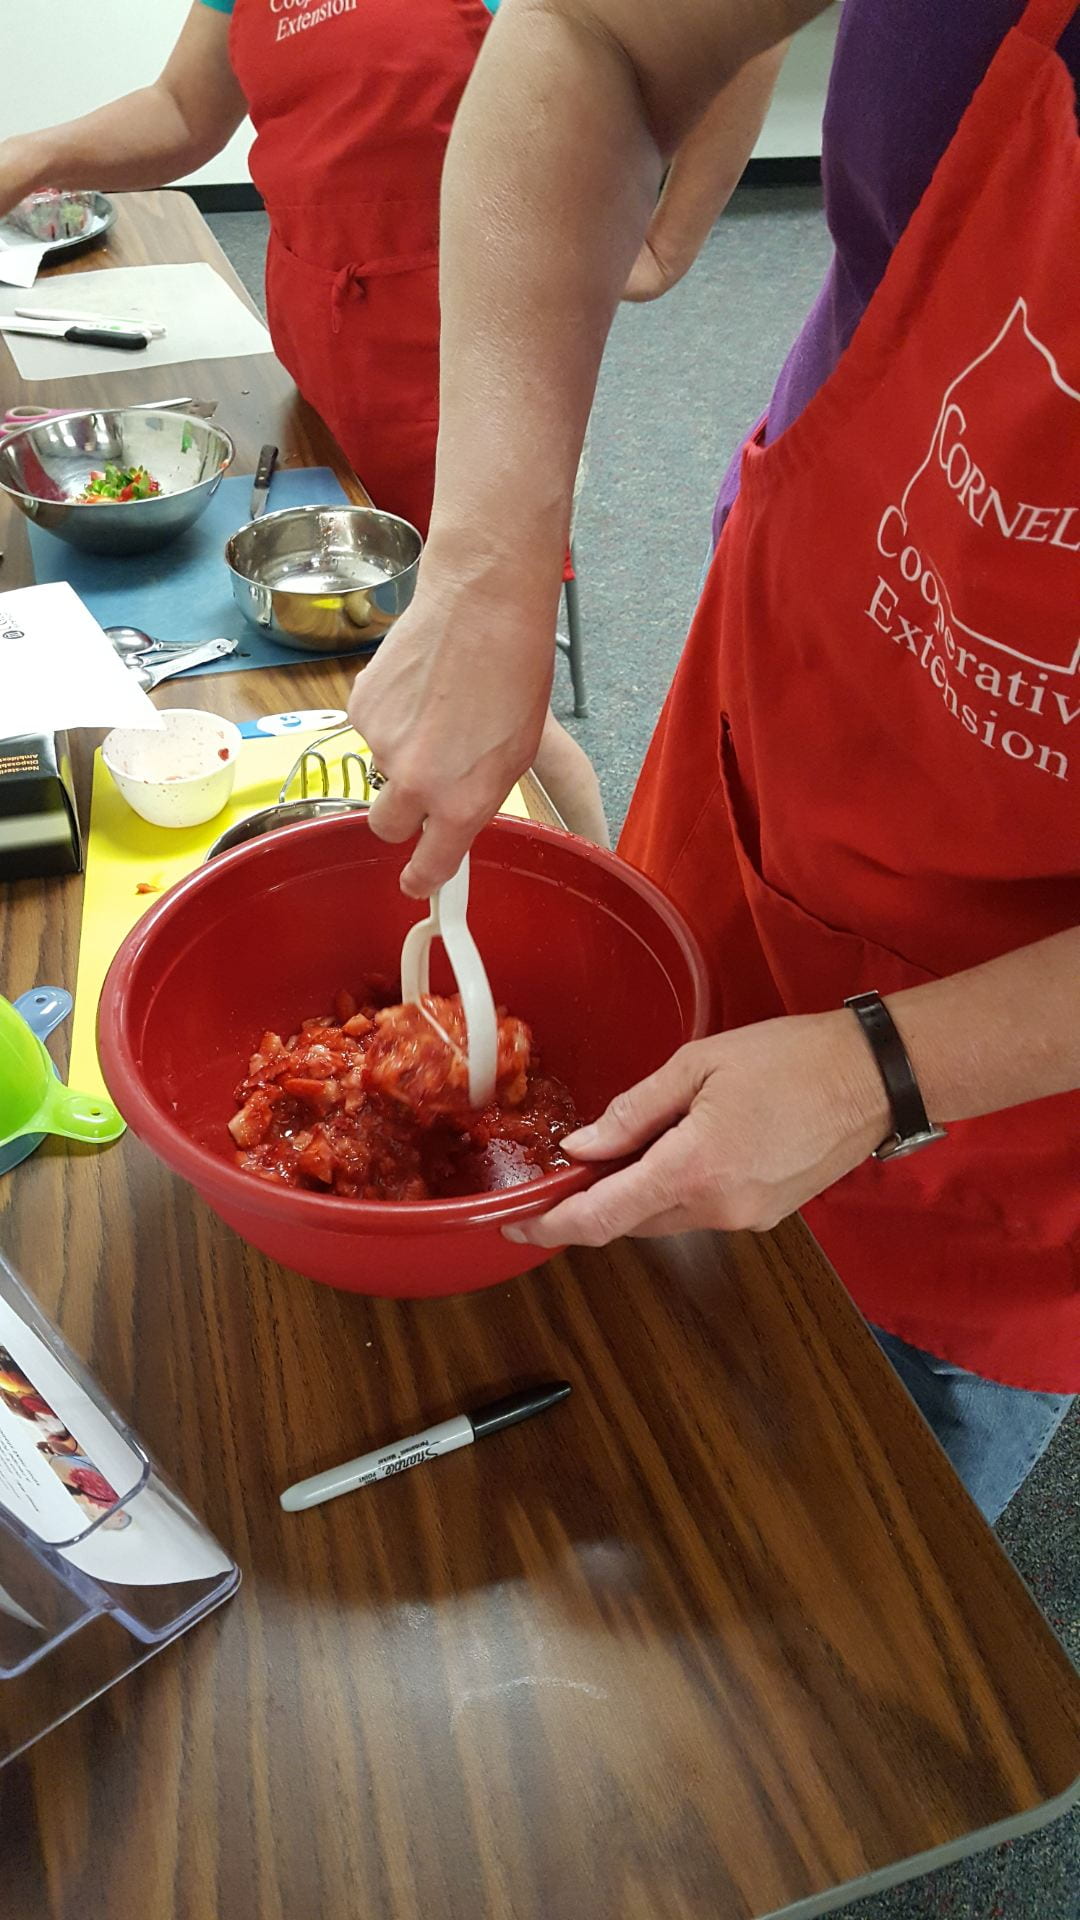
Our first offering includes nature’s sweet treats: fruit! This recipe calls for canned pineapple and mandarin oranges, dropping the prep time to a minimum, though freshly cut can be substituted if you’d prefer. Other fruits of your choice can also be swapped for any of the fruits in the recipe if these tropicals aren’t your favorites. In the pictures, I used crushed pineapple because that was the kind I could get in its own juices. It also calls for vanilla yogurt, but if you only have plain on hand go ahead and sweeten it with 1-2 tsp of your favorite sweetener (maple syrup or honey would work especially well).
Ambrosia
Ingredients: 1 (20-ounce) can pineapple chunks in juice; 1 (11-ounce) can mandarin oranges; 1 medium banana; 1½ cup seedless grapes; ½ cup miniature marshmallows; ¼ cup flaked coconut; 1 (8-ounce) carton lowfat vanilla yogurt
Instructions: Drain pineapple and mandarin oranges. (Note: save the juice, it makes a delicious beverage.) Place fruit in a medium bowl, set aside. Cut banana into slices. Wash grapes and cut into halves. Add them to pineapple and oranges. Add the marshmallows and coconut. Mix well. Fold in the yogurt. Chill before serving.
Valentine’s Day Tip: Before chilling, place each of the 6 servings in an attractive glass or bowl. Decorating will make it even more special: some options to consider are dusting with cinnamon, and/or topping with a few chocolate curls, cut strawberries, raspberries, or red seedless grapes.
Printable version of recipe with nutrition facts: Ambrosia (cceschoharie-otsego.org)

Fruit is wonderful, but you’re probably hoping for an idea that includes chocolate. This blondie-like recipe boosts the health factor by including whole wheat flour and pumpkin puree.
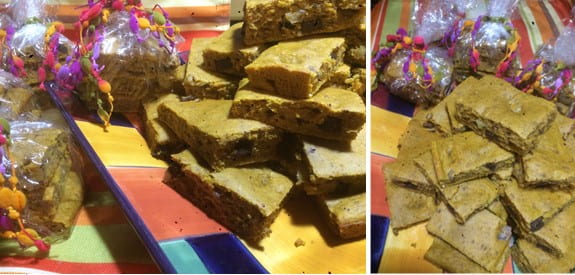
Chocolatey Pumpkin Bars
Ingredients: 1 cup flour; 1 cup whole wheat flour; 2 Tablespoons chopped walnuts; ¾ cup sugar; 2 teaspoons baking powder; 1 teaspoon cinnamon; ½ teaspoon baking soda; ½ teaspoon salt; 2 large eggs; 2 large egg whites; 1 (15 ounce) can 100% pure pumpkin or 2 cups fresh pumpkin puree; ¼ cup vegetable oil; ¼ cup 1% milk; 1/3 cup mini chocolate chips; vegetable spray; optional: 1/8 teaspoon nutmeg
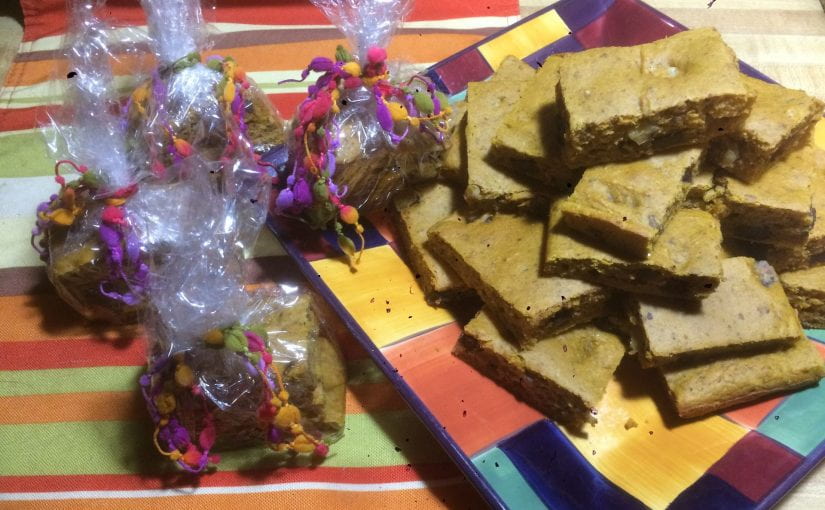
Instructions: Preheat oven to 350° F. Coat a 15x10x1-inch baking pan (jelly roll pan) with vegetable oil spray, set aside. Whisk together the flour, whole wheat flour, walnuts, sugar, baking powder, cinnamon, nutmeg (if using), baking soda, and salt in a large bowl. In a separate bowl, combine the eggs, egg whites, pumpkin, oil, and milk. Add to the dry ingredients along with the chocolate chips and stir to combine. Spread the batter evenly in the prepared pan and bake for 20-25 minutes or until a wooden toothpick inserted in the center comes out clean. Cool on a wire rack. Cut into 40 bars.
Valentine’s Day Tip: Though it will be tempting to eat them all, encourage appropriate servings by wrapping in plastic wrap tied with colorful ribbon and a gift tag with their name. For maximum freshness, store leftovers in a plastic container or zip-top bag in the refrigerator.
Printable version of recipe: Chocolaty Pumpkin Bars (cceschoharie-otsego.org)
Find more healthy dessert ideas like Carrot Squares and Fresh Fruit Pizza at our website Cornell Cooperative Extension | Schoharie-Otsego Recipes (cceschoharie-otsego.org). Even more recipes can be found at MyPlate.gov; check out Easiest Banana Ice Cream | MyPlate and Instant Chocolate Mousse | MyPlate
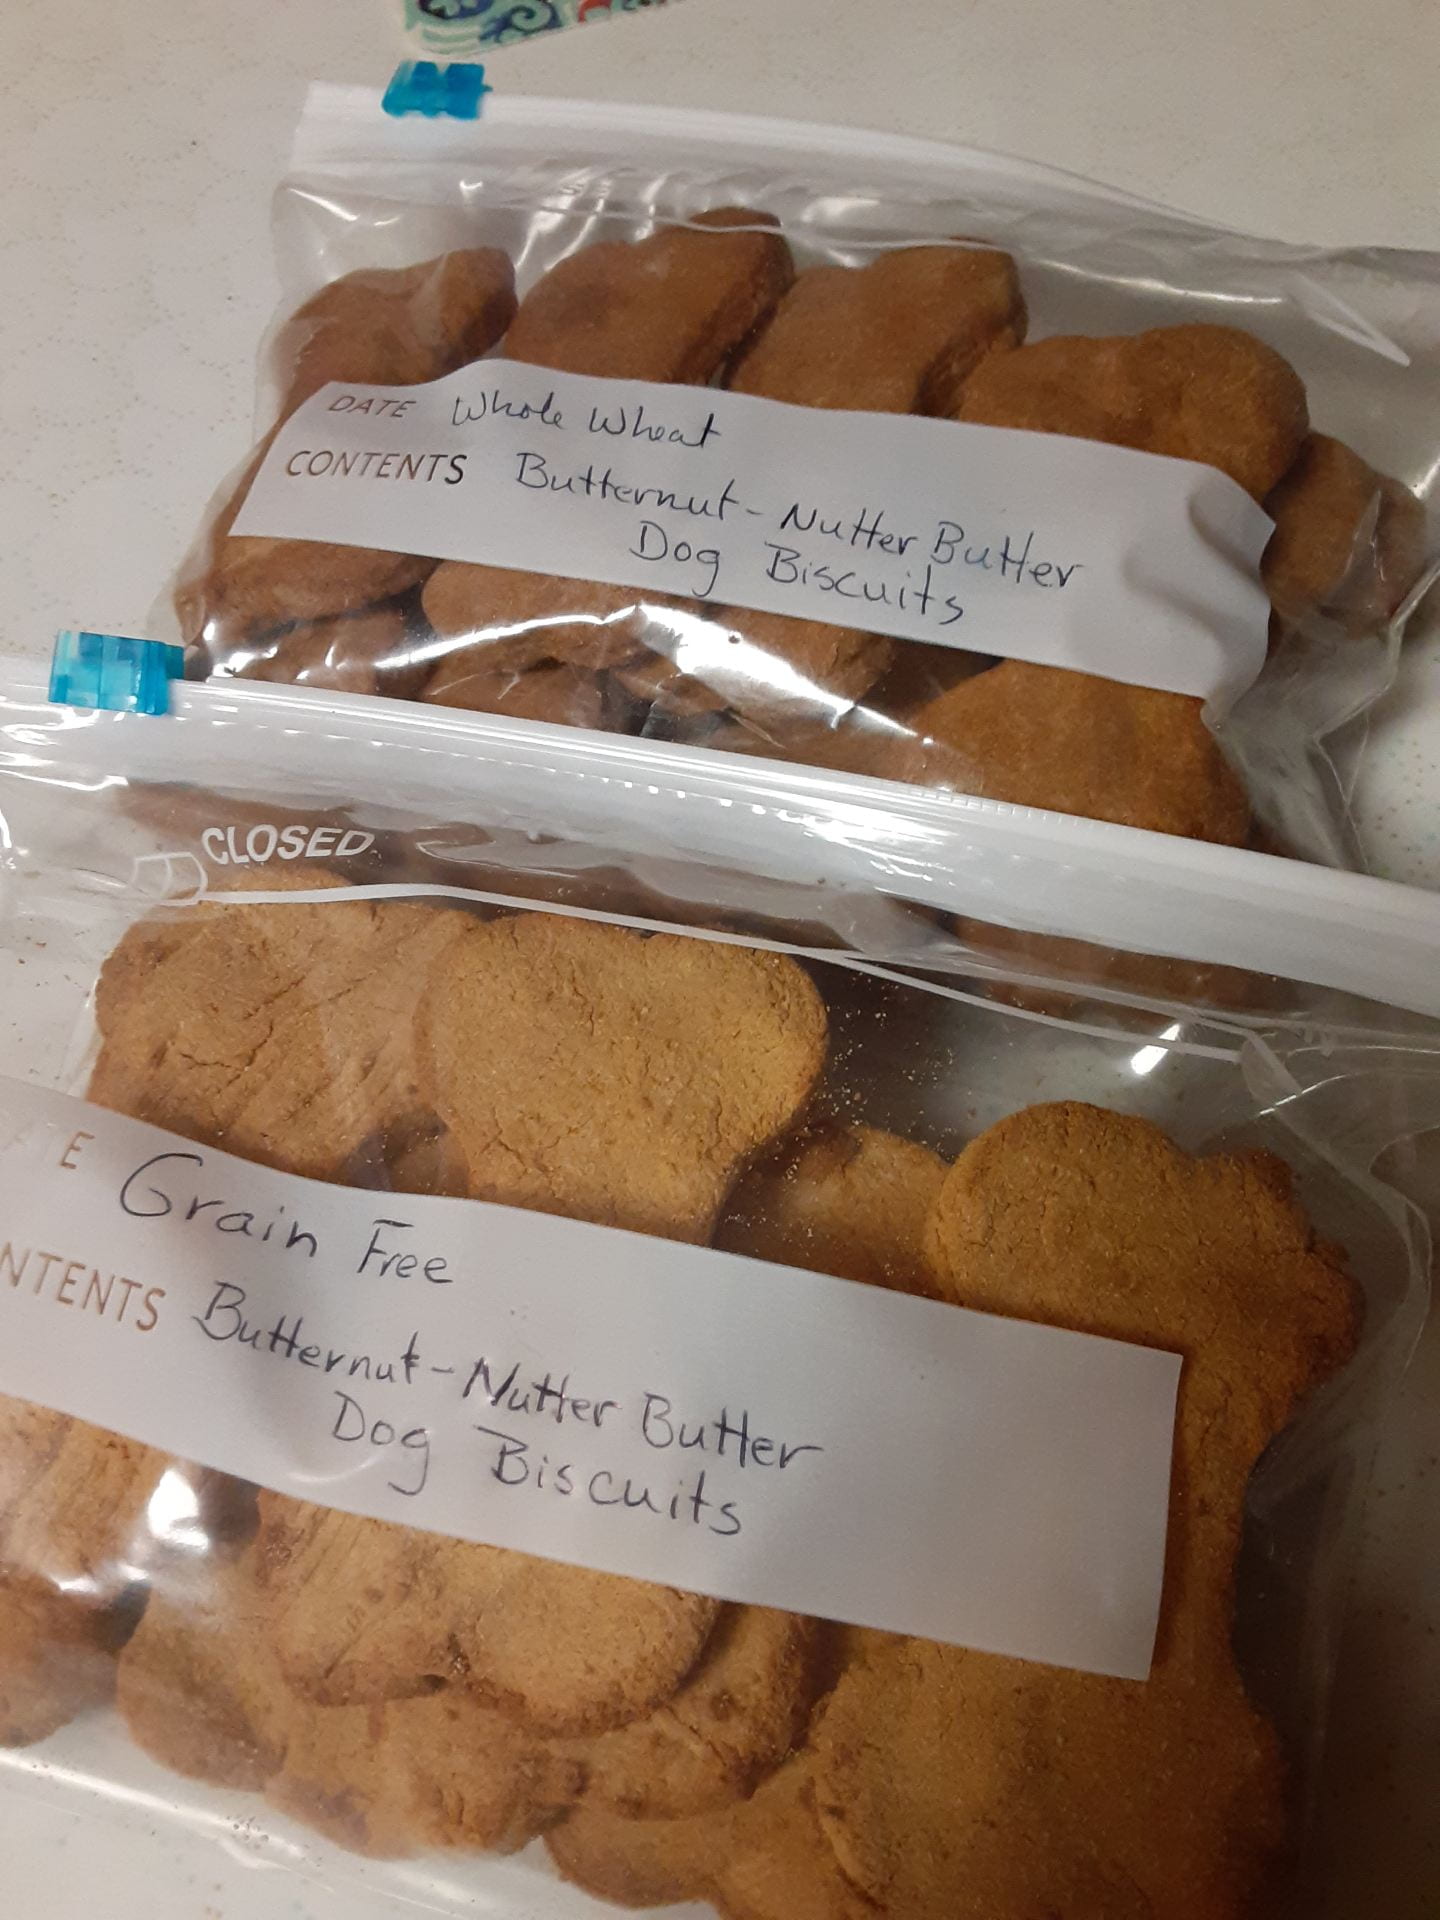
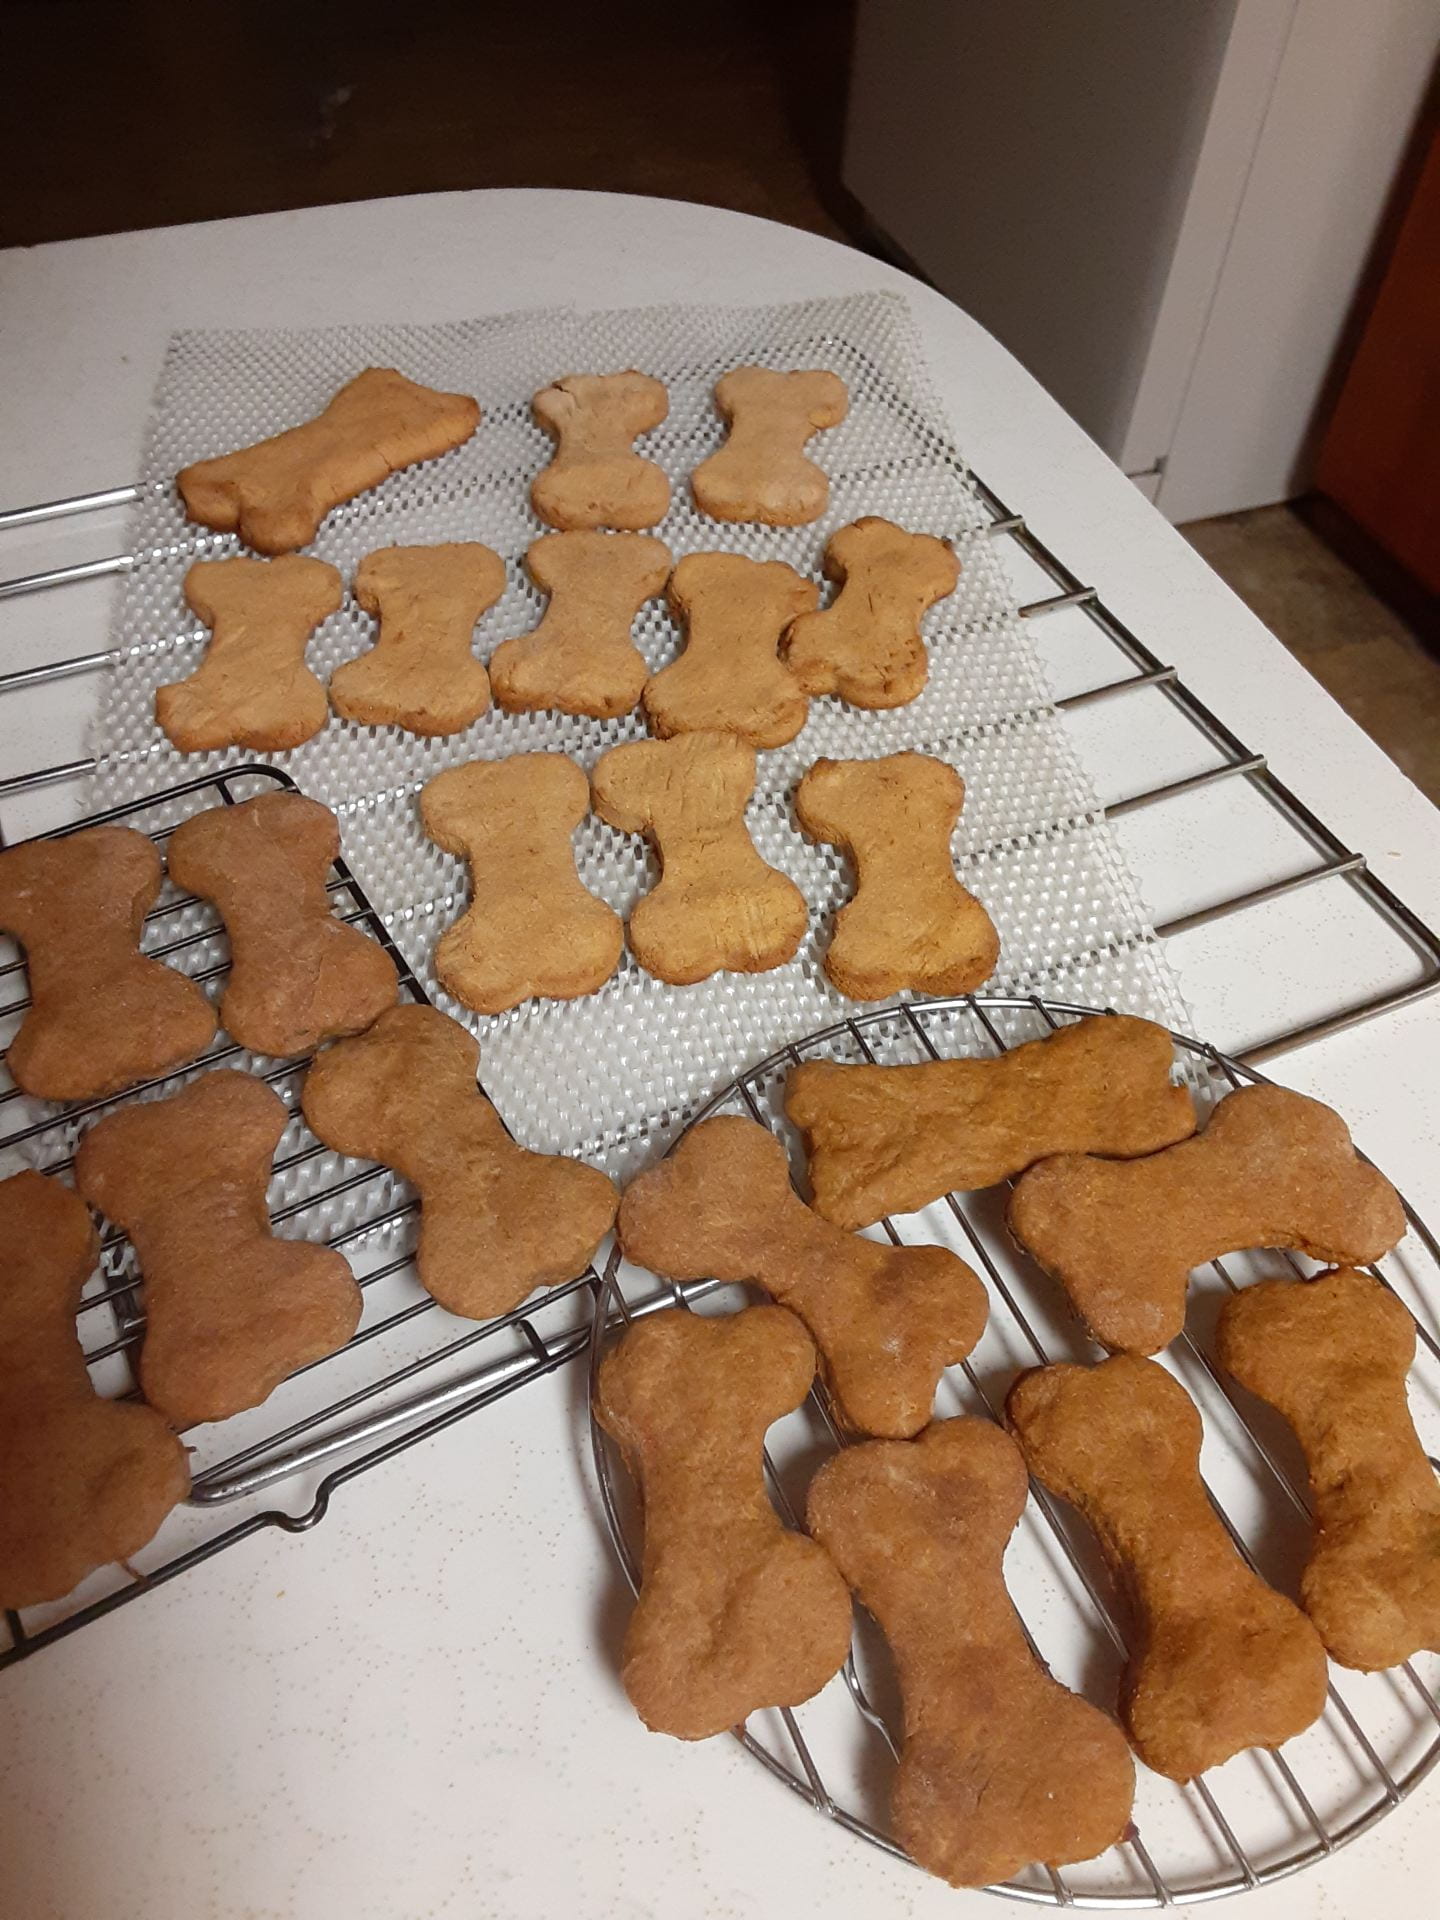
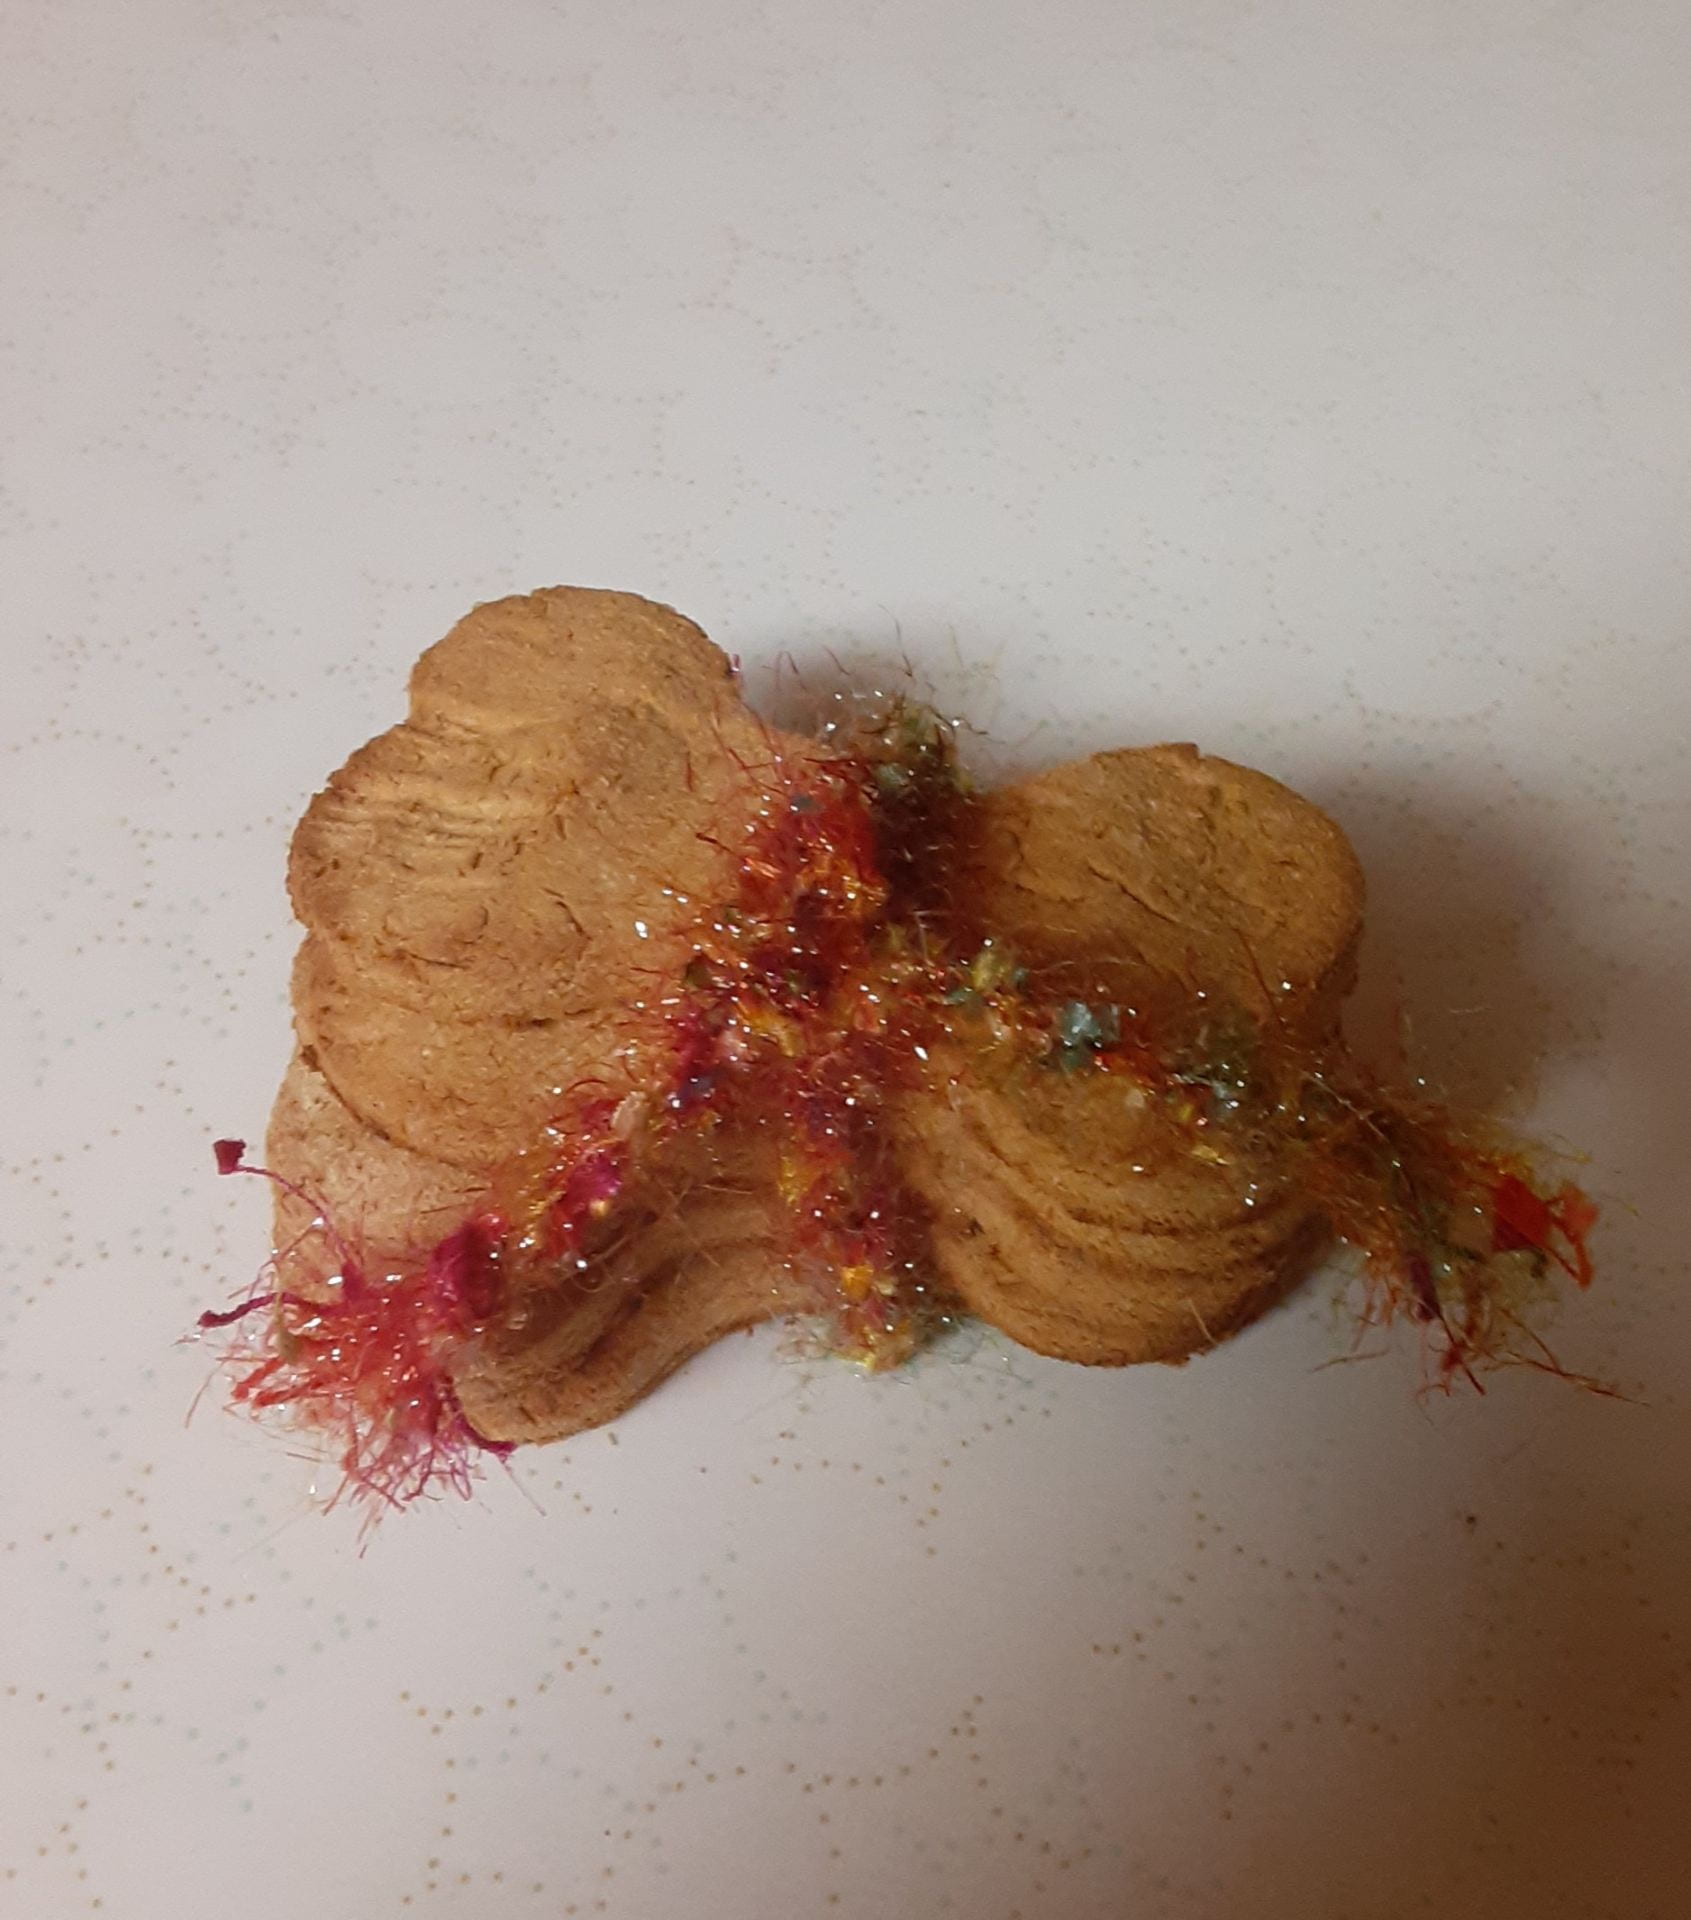
Want to make a Valentine’s Day treat for Fido? Check out the recipe for Butternut Nutter-Butter Dog Biscuits in one of our previous blog posts: Kitchen Gifting – Life’s Solutions (cornell.edu)
Wishing you a Happy and Healthy Valentine’s Day!
—————-
Give yourself a treat any time of the year and try one of the free online classes offered by our EFNEP or Healthy Connections nutrition education programs!
Visit our website at www.cceschoharie-otsego.org or contact our nutrition educators: Michelle Leveski, EFNEP Nutrition Program Educator at mml39@cornell.edu or 518-234-4303 ext. 115 (please leave a message) or Kimberly Ferstler, Healthy Connections Nutrition Educator at kmf239@cornell.edu or 518-234-4303, ext. 120 (please leave a message).
To read more articles like this, subscribe to the “Life’s Solutions” blog at www.blogs.cornell.edu/efnep-schoharie-otsego/.


 (Flavorful fresh picked strawberries.)