Tag Archives: bees

Creating a Rain Garden

Do you want a garden that’s easy to install, looks good year-round, requires little maintenance, and helps prevent water pollution? Rain gardens are shallow depressions designed to soak up water and support trees, shrubs, and flowers that tolerate both wet and dry conditions. Often located near gutter downspouts or places where water puddles, rain gardens can also be landscaped into gentle slopes or run curbside along streets.
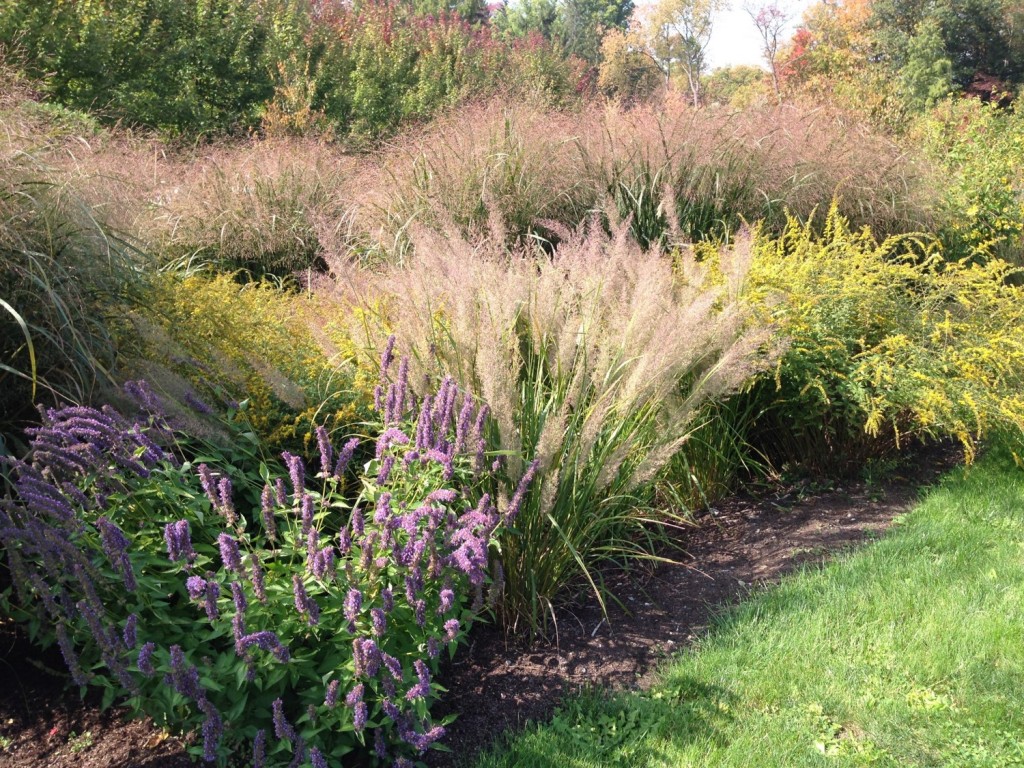
Giant hyssops, switchgrass, and goldenrod are some of the species growing in this rain garden at Cornell Plantations in Ithaca, planted next to its parking lot to absorb and clean polluted storm-water run off. Photo

Giant hyssops, switchgrass, and goldenrod grow in this rain garden at Cornell Plantations in Ithaca, planted next to a parking lot to absorb and clean storm-water runoff. Photo © Robin Simmen.

By absorbing the rain falling on your land, a rain garden can help reduce the storm-water runoff that pollutes our beaches, harbors, and estuaries. People sometimes confuse rain and water gardens. A rain garden is not a pond and won’t breed mosquitoes, which require 10 to 14 days in standing water to develop from eggs into adults.

The next time it rains, observe the direction of water runoff and where it collects on your property. Your roof may be directing most of the rain falling on it into gutters and downspouts feeding into a storm drain; if so, consider diverting this lost rainwater to irrigate a rain garden via underground piping, or construct a surface swale to channel this water to the garden. If your land slopes gently, you can create shallow terraces (one foot deep or less) for your rain garden or dig out a scallop-shaped bed for it in the hill.

The best plants for rain gardens are happy with a “drought and drench” lifestyle. Native plants are highly recommended because they are uniquely adapted to local weather fluctuations. Also, they require little or no fertilizer, are excellent food sources for pollinators, and provide habitat for birds, insects, and butterflies. Once established, their deep roots increase the water-holding capacity of the soil, hold it together, and prevent erosion. Water a rain garden as needed for the first year or so after planting. By the third year, you’ll never need to water it again!

For information on how to evaluate and amend your soil for a rain garden, do a percolation test to see how quickly water is absorbed, decide the dimensions of a rain garden, and prepare and plant the site, read the CCE Suffolk fact sheet on Creating a Rain Garden, and its companion  Native Plants for Long Island Rain Gardens.

Robin Simmen is a former Community Horticulture Specialist for CCE Suffolk. She can be reached at rlsimmen@gmail.com.

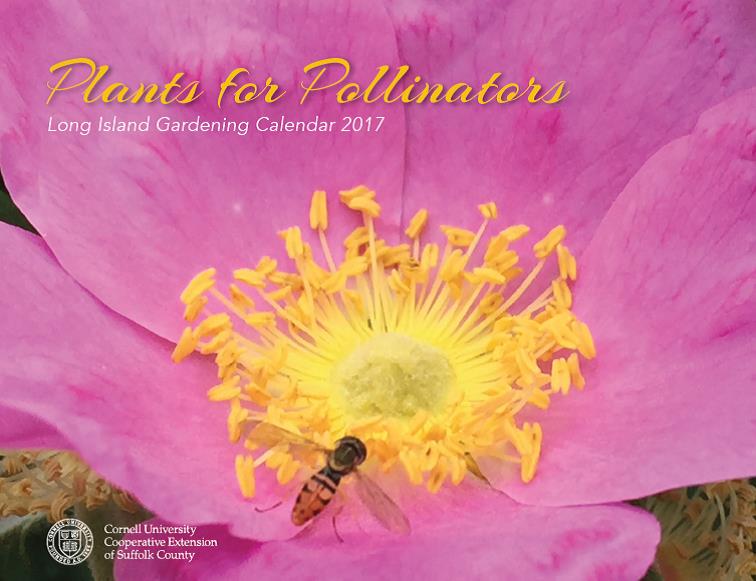
“Plants for Pollinators,” the LI Gardening Calendar for 2017

Now’s the time to buy the Long Island Gardening Calendar 2017, a perfect gift or stocking stuffer for the passionate gardeners in your life. Plants for Pollinators is filled with tips for creating pollinator-friendly gardens on Long Island. With beautiful photographs every month, this calendar features information on how to support bees, flies, wasps, butterflies, moths and birds by planting native habitat for them. Blueberries, strawberries, apples, carrots, broccoli, and pumpkins are among many plants that require pollinator services to produce fruits and vegetables — which means we need pollinators, too!

cover-image

A flower fly visits a Rosa virginiana, a native rose. Photo © Mina Vescera.

This high-quality calendar discusses how to analyze your landscape to plan a pollinator garden and how to include nesting habitat for insects, and gives you a resource list of organizations and websites where you can learn more about sustainable horticulture and pollinators. There’s even a list of where to buy native plants on Long Island! Purchase calendars at the front desk at CCE Suffolk, 423 Griffing Avenue in Riverhead for $5 each; or use this order form to have them mailed to you for $7 each to cover their cost with postage.

Whether you’re a beginner or advanced gardener, there’s something here to inspire everyone who wants protect and support pollinators. It’s time to start planning for next year’s garden, and calendars are limited, so pick up or order Plants for Pollinators today!

Robin Simmen is Community Horticulture Specialist for CCE Suffolk. She can be reached at rls63@cornell.edu or at 631-727-7850 x215.

Hairy Bittercress: A Mustard with Momentum!

What is that battalion of tiny white flowers appearing all over the lawn so early in the season? The one with the lacy green doily at the base, and sword-like seed pods, and the maroon cast? Gasp! It is the hairy bittercress!!! Now before you call out the weed police or haul out the weed killer, consider this: Did you know that hairy bittercress is a very important early source of pollen and nectar for bumblebees? As such it should be conserved along with (double gasp!!) dandelions.

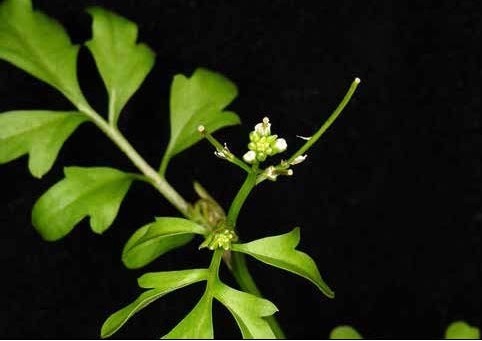
Bittercress plant with flowers and seed pods just starting to develop. Photo by Andrew Senesac.

Bittercress plant with flowers and seed pods just starting to develop. Photo by Andrew Senesac.

Now that we have that out of the way, let’s settle down to learn a bit about hairy bittercress habits and some do’s and don’ts for dealing with an outbreak of it.  This weed grows best in damp, recently disturbed soil.  Be wary of digging it up in spring because this practice opens holes for crabgrass to emerge.  A winter or summer annual, different varieties of bittercress have different heights. A key characteristic is its basal rosette, a “doily” like circular array of leaves at the bottom of the plant. The weed will germinate in fall or winter but grows best during warm weather. It quickly invades thin turf especially where there is good soil moisture. Shade encourages its growth, and it may escape mowing by low growth. Post-emergence control for it generally includes using 2, 3, or 4-way herbicide; treatment during its basal rosette stage is best before it throws up a flower stalk and begins to produce seed.

Hairy bittercress thrives in sandy, organic soil. Wash your nursery containers rather than leaving them around with soil clinging to them—dirty containers harbor its seed, with six times more seedlings emerging from dirty containers than from those that are rinsed. Also, containers lying around tend to breed Asian tiger mosquitoes! Now you have two good reasons to clean up your containers.

Hairy bittercress has exploding seed pods but little germination of fresh seed. Instead, its seed ripens with high temperatures. The higher the temperature, the greater the temperature range at which subsequent growth will take place. Hairy bittercress can germinate from April through November; however, autumn is its main period of emergence. Peak flush of germination is in November and December, but this varies from year to year. We don’t notice these plants until spring when they throw up flowers and seedheads, seeming to mock us from our winter-bound vantage points as we eyeball our winter weary lawns. Just remember: Each hairy bittercress you allow to flower helps support our vital pollinators when they really need the nectar and pollen these plants provide. So help out a bumblebee, and leave hairy bittercress alone if you can; it’s an annual so it’s gonna die anyway….

Dr. Tamson Yeh is CCE Suffolk Turf Use and Land Management Specialist. She can be reached at tsy3@cornell.edu or 631-727-7850 x240.

Dreaming in Color: Starting Flowers from Seed

It’s the end of March, the sky is gray, and I’m dreaming of color. I do believe it’s time to begin propagating flowers for the upcoming seasons! Annuals and perennials in all shapes, colors, and sizes are important for biodiversity in the garden. They attract bees, butterflies, birds, and a plethora of vital insects to your cultivated habitat. Here in Suffolk County, our average last freeze date is April 20, the rough date to guide you on sowing seeds indoors. Although this isn’t a hard and fast date, keep an eye on the forecast and consider your personal experience in your own yard to decide when it’s safe to set plants outdoors.

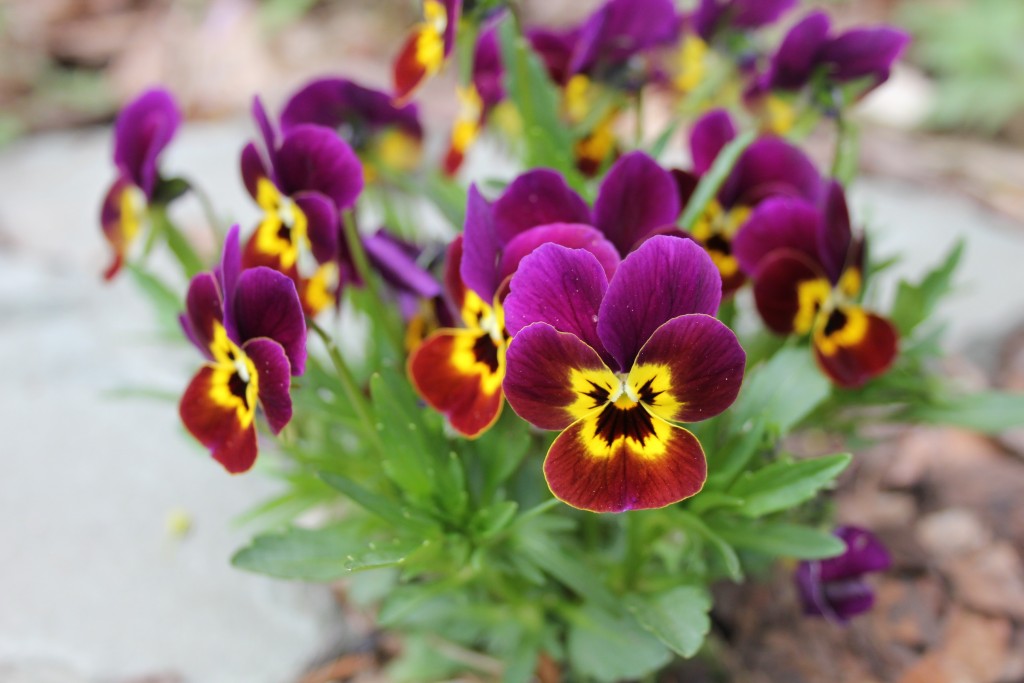
Violas or pansies are blooming outdoors now! Photo c Sandra Vultaggio.

Violas or pansies are blooming outdoors now! Photo © Sandra Vultaggio.

Different flower seeds require different germination strategies. Some seeds need light to germinate, others need darkness. Some need pre-treatments like scarification (nicking the seed coat), soaking, or chilling before you plant them. Some flower seeds are much slower to germinate and grow than others; a calendar will help you organize when to plant them. Common flowers that need a longer head start (eight-to-ten weeks before transplanting) include salvia, snapdragon, impatiens, pansies, petunias, lavender, and gazania. Compare those to flowers that need only a few weeks (three or less) such as cosmos, sunflowers, marigolds, nasturtium, and zinnias. Some annual and perennial plants don’t like to be started indoors and then transplanted. Poppies, butterfly weed, and candytuft prefer to be sown directly outdoors. Once you’ve decided what you’re going to grow, research the preferred methods of sowing and pretreatments by browsing books in the library, researching specific plants online, or referring back to the seed packet or grower’s website/catalog.

Seed starting tableThe most important tools for starting seeds indoors are light and heat. As a child, I remember growing seeds inside every spring. I would pick out seed packets with pretty flowers on the cover, and my mom would buy a bag of potting soil and containers or maybe expanding peat pots. We’d sow the seeds, set them on a sunny windowsill, and wait for them to germinate and grow. While starting seeds like this is a great activity for children, usually the seedlings don’t amount to much. A windowsill is likely too cool and too dark for most plants.

If you are serious about starting quality plants indoors, you’ll want to invest in fluorescent lights and a heating mat, available at home improvement stores and garden centers. For the really committed, I’d recommend an automatic timer for lights, a propagation stand, and easy access to water. This type of seed-starting setup creates a healthy and controlled environment where your plants can thrive.

Seed-starting materials checklist:

  • Clean containers (use cell packs, peat, fiber or paper pots, or re-purpose old containers)
  • Clear plastic dome or plastic bags
  • Commercial soil-less seed-starting mixes, usually composed of vermiculite and peat moss
  • A location where air temperatures stay consistently above 60°F
  • Fluorescent tube lights (one cool and one warm bulb)
  • Automatic timer, set to stay on for 10-12 hours
  • Electric heating mats for bottom heat (don’t plug your mat into the timer!)
  • Water
  • General purpose water-soluble fertilizer to use only after seedlings develop several sets of true leaves

Sandra Vultgaggio is Horticulture Consultant for CCE Suffolk. She can be reached by email at sib7@cornell.edu or by phone at 631-727-7850 x387.

Join the Million Pollinator Garden Challenge

The Million Pollinator Garden Challenge (MPGC) has been launched by the National Pollinator Garden Network, an unprecedented collaboration of national, regional, conservation and gardening groups to support the President’s Executive Strategy to “Promote the Health of Honey Bees and Other Pollinators.” MPGC is a nationwide call to action to preserve and create gardens and landscapes that help revive the health of bees, butterflies, birds, bats, and other pollinators across America. The goal is to move millions of individuals, kids, and families outdoors and help them make a connection between pollinators and the healthy food people eat.

MGPC logo 2MPGC wants people like you to register your gardens through their Pollinator Partnership and thus be added to the map they’ve created in support of this campaign. Along with a handful of other gardens on Long Island, the Children’s Garden, which is maintained by Master Gardener Volunteers at Suffolk County Farm, has been registered and is on the map, which appears in the link below.

To meet the criteria for registering, your pollinator garden should:

  • Use plants that provide nectar and pollen sources
  • Provide a water source
  • Be situated in a sunny area with wind breaks
  • Create large “pollinator targets” of native or non-native plants
  • Establish continuous bloom throughout the growing season
  • Eliminate or minimize the impact of pesticides

For more information and to join MPGC, visit http://millionpollinatorgardens.org

Robin Simmen is Community Horticulture Specialist for CCE Suffolk. She can be reached at rls63@cornell.edu or at 631-727-7850 x215.