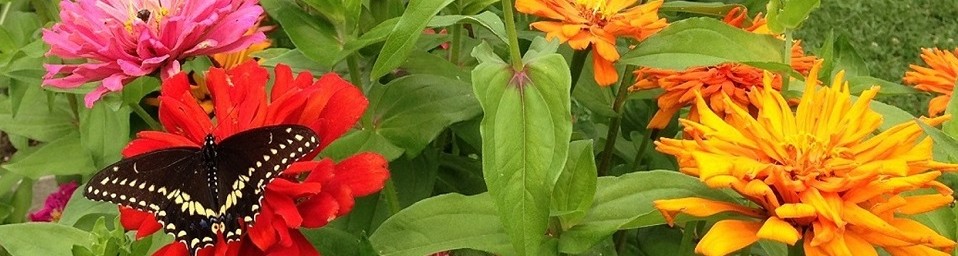
When gardeners think of flowering plants, what usually comes to mind are annuals, perennials, and a few trees and shrubs. Although often overlooked, vines also have great potential in home gardens as they can create shade on pergolas, add vertical interest to arbors, adorn fences, or even serve as decorative ground covers.
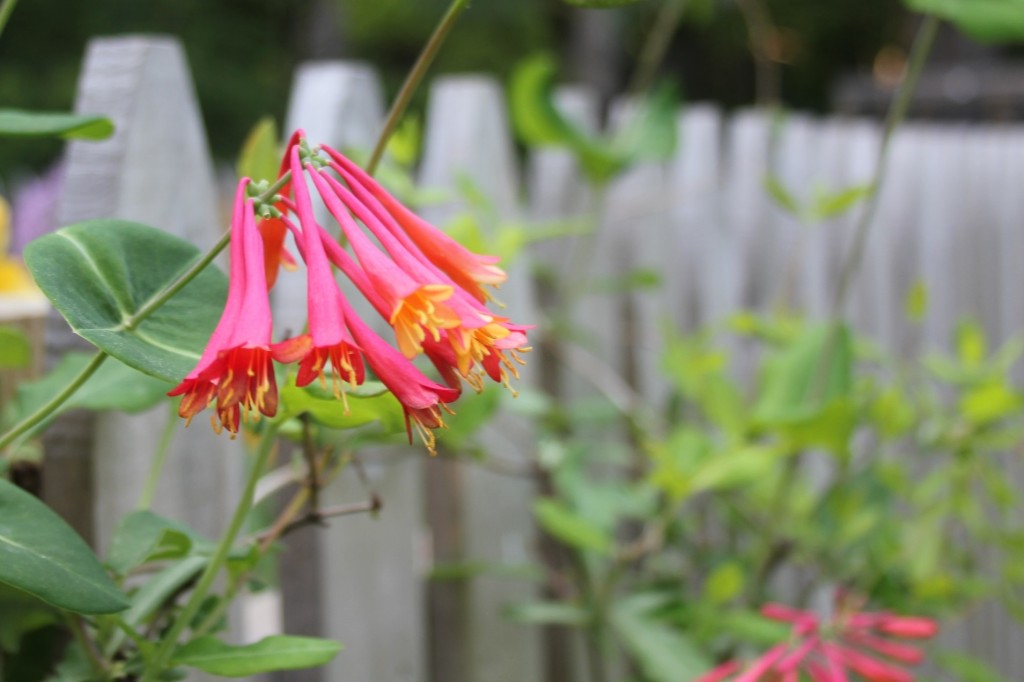
Our wonderful native honeysuckle attracts hummingbirds.
To select a vine, first consider how it grows. Does it twine like a honeysuckle vine? Does it cling with aerial roots like a climbing hydrangea? Or does it produce tendrils like a clematis? Knowing how the vine grows will dictate the type of support you need to provide for it. Also think about the site: Is it sunny or shaded? Are you trying to attract wildlife? Do you prefer an evergreen plant? Here are a few vines worth considering:
Honeysuckle Vine (Lonicera sempervirens)
Our native honeysuckle vine is a great choice for a sunny site. It will happily twine its way in and out of a picket or chain-link fence, arbor, or trellis. As the botanical name suggests, this vine is evergreen in a mild winter. Honeysuckle vine is among the first plants to bloom in spring, serving as a bright beacon for Ruby-Throated Hummingbirds making their way back from southern climes where they overwinter. This vine grows 15 feet or taller and can withstand hard pruning. Some cultivars bloom continuously with red, orange, pink, or yellow flowers from spring until fall, providing all-season interest. Honeysuckle is prone to powdery mildew, but siting it in full sun with good air movement will keep the plant in good health. Aphids can sometimes be a problem. Be careful: Don’t confuse this native honeysuckle for the invasive, Asian species, Lonicera japonica!
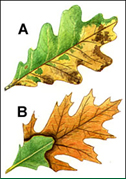
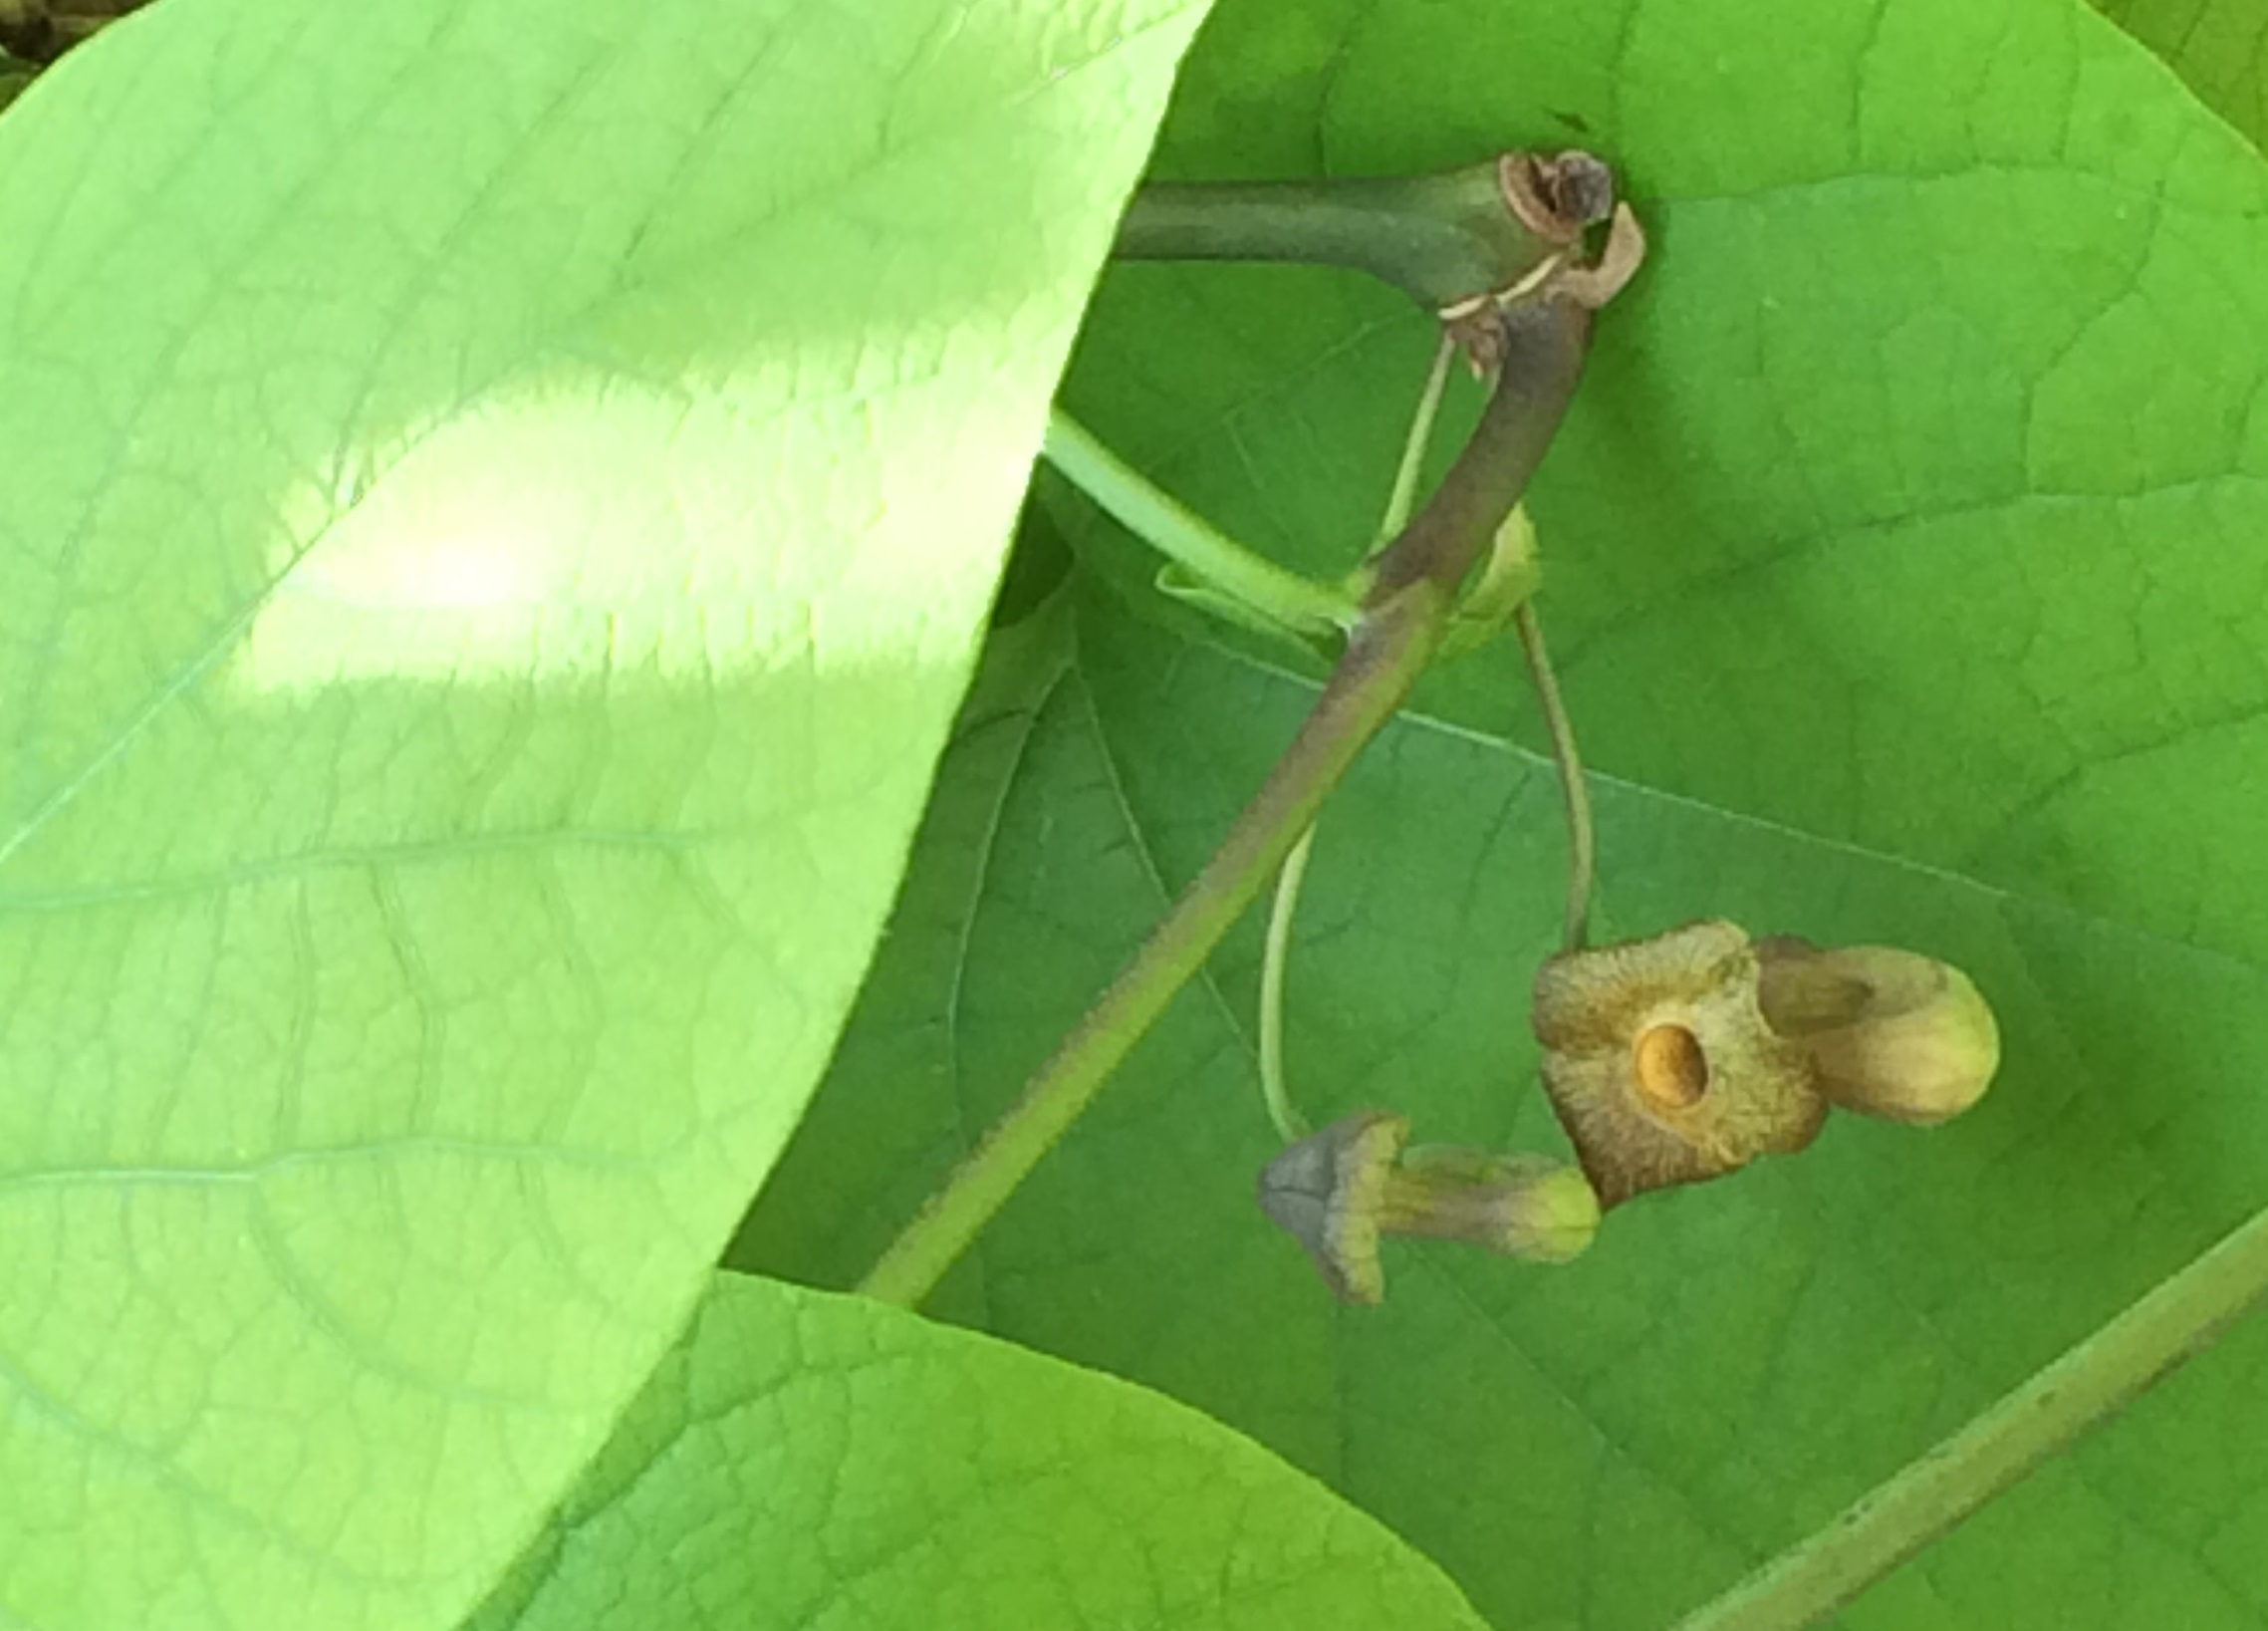
Dutchman’s Pipe (Aristolochia macrophylla)
Dutchman’s pipe is another great choice if you’re looking for a native vine to cover a large area. This woody-stemmed, twining vine requires a strong trellis, wall, or pergola to support it. It will tolerate sun to shade in any garden setting, from a manicured garden to a tough urban site. Dutchman’s pipe was a popular choice in the 19th century, draping over large Victorian homes. The vine produces small, inconspicuous, purple-brown flowers that produce a unique odor and are often pollinated by flies that crawl into the “pipe” and get stuck within the hairs inside the flower. Once a pollinator is caught, the flower hairs wither and the insect can crawl out, covered in pollen. If you’d like to invite pipevine swallowtail butterflies to your garden, this is their host plant.
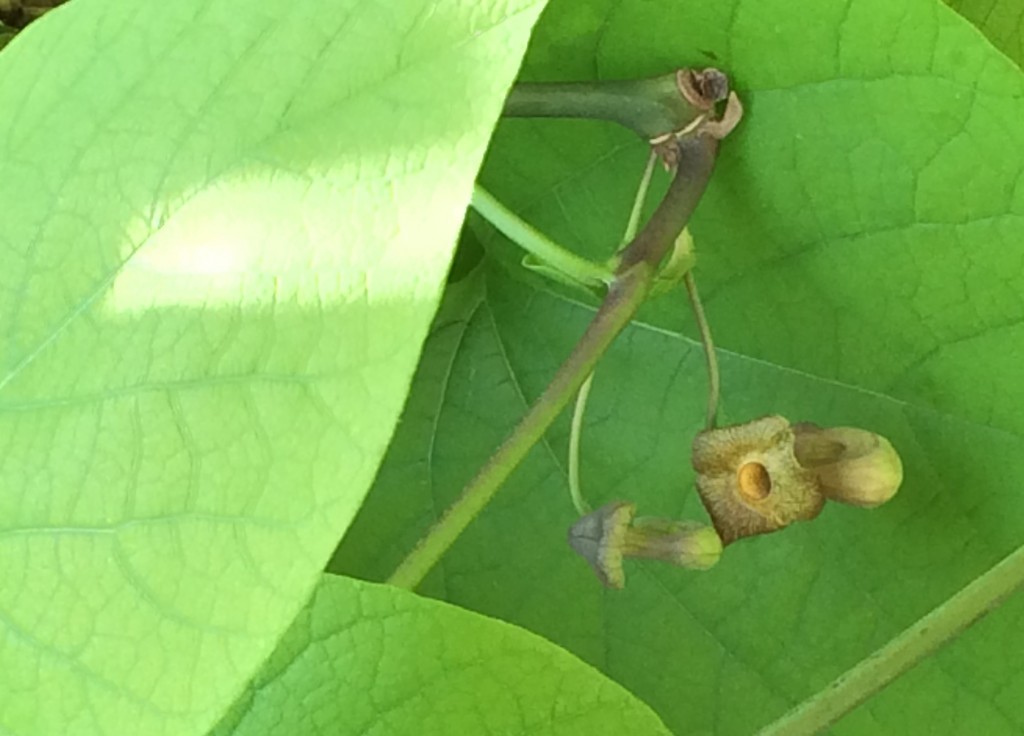
Dutchmans pipe creates a dense barrier of foliage.
Passion Flower (Passiflora caerulea)
Blue passion flower, also known as hardy passion flower, is a unique option for a protected site. This passion flower is said to be hardy to USDA zones 7 and 8, but a harsh winter will probably knock this vine back to the ground. Passion flower climbs by tendrils, sometimes reaching 20 feet and higher. Unique purple-blue flowers are produced on new growth on and off throughout the growing season. If you’re looking for a native variety, Passiflora incarnata ‘Maypop’ is a hardy passionflower up to USDA zone 6. Pale-lavender flowers bloom throughout most of our growing season on Long Island. Maypop is also the host plant for the Gulf and Variegated Fritillary butterflies!
Climbing Hydrangea (Hydrangea petiolaris)
Climbing hydrangea is a great alternative to English ivy. Like ivy, this clinging vine uses aerial roots to attach itself to porous, vertical surfaces. You’ll be graced by large, lacy, white fertile flowers surrounded by a circle of larger, white sterile flowers in summer (think lacecap hydrangea). Plant a climbing hydrangea in sun to partial shade in rich, well-draining soil. Though this vine grows well on the trunk of a tree, it is not healthy for a tree to bear the weight of another plant. Instead of a tree, choose surfaces like wooden stockade fences, stucco siding, and stone walls. Climbing hydrangea is notorious for starting off slowly and establishing its root system for a few years before it takes off. Have patience, it’ll be worth the wait!
Morning Glories Ipomoea spp.
If you like to change it up every year, consider growing annual vines such as these in the morning glory family: moonflower (Ipomoea alba), cardinal climber (Ipomoea x multifidi), cypress vine (Ipomoea quamoclit), and the traditional morning glory (Ipomoea tricolor). Moonflowers open at night, providing bright-white, fragrant blossoms for evening dinner parties. Morning glories bloom in the morning and begin to fade by mid-afternoon. Gardeners often combine moonflower and morning glories together on one trellis to provide a continuous bloom day and night. Cypress vine and cardinal climber can be added for a pop of bright red to attract hummingbirds and other pollinators. Ipomoea spp. can be direct-sowed in a sunny site with good drainage. They grow rapidly, twining in and out of a trellis, arbor, or fence.
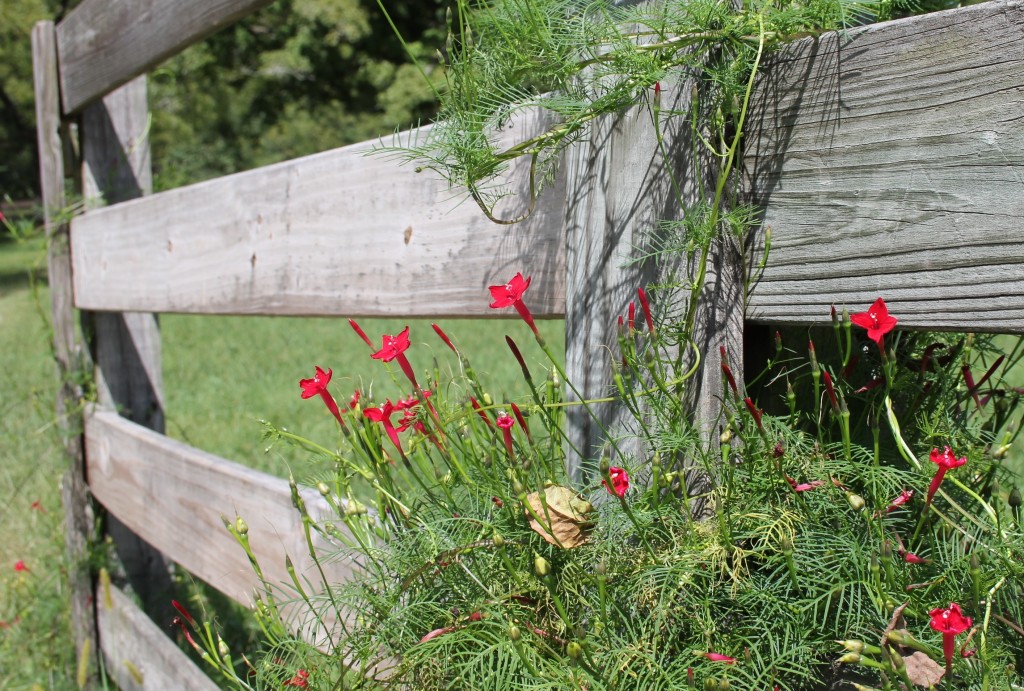
Cypress vine makes a great splash of color on a wooden fence.
These are just a few of the many vines we can grow on Long Island. For more options and information on growing vines in home landscapes, check out our CCE Suffolk Horticulture Fact Sheet: Flowering Vines for Long Island: Indoors and Outdoors
Sandra Vultgaggio is Horticulture Consultant for CCE Suffolk. She can be reached by email at sib7@cornell.edu or by phone at 631-727-7850 x387.