
Setting Up Delegates
If someone else will be arranging your travel and managing your expense reports, complete the following steps for Add a Travel Arranger and Add an Expense Delegate in your Concur Profile Options. In Concur, travel arrangers are also referred to as “assistants,” and those who help prepare expense reports or process requests are referred to as “delegates.”
Add a Travel Arranger
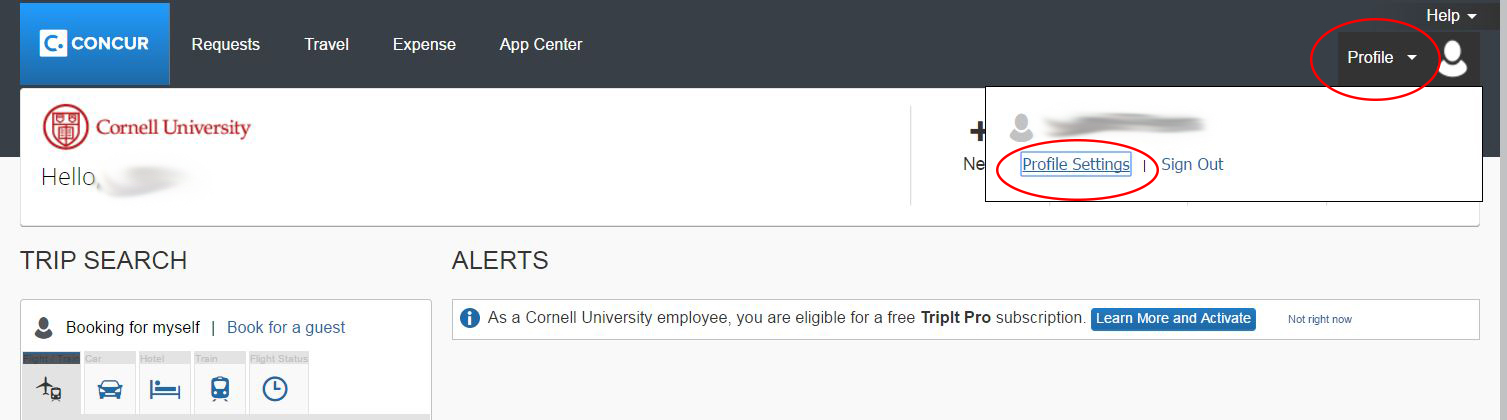
- Select Profile in the upper-right corner.
- Select Profile Settings under your name.
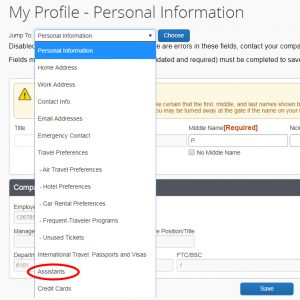
- Select Personal Information under Profile Options.
- Go to the Assistants and Travel Arrangers section by scrolling down or using the Jump To: menu at the top of the page (select Assistants, and then select the Choose button).
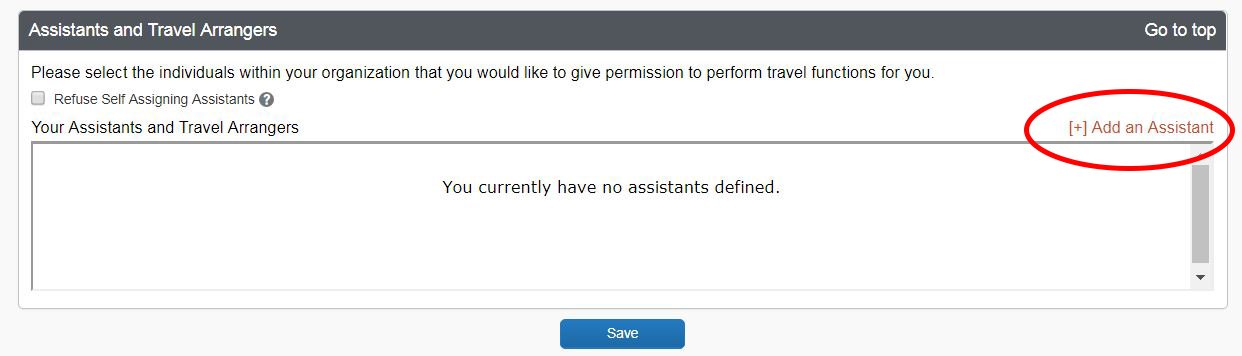
- Select Add an Assistant to add an arranger.
- Search for an arranger by typing the name or NetID in the Assistant text box.
- Select the result you want from the list that appears.
- Check the boxes for Can book travel for me and/or Is my primary assistant for travel (you can only have one primary), as appropriate.
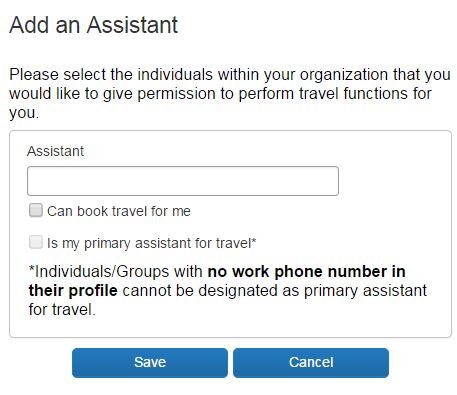
- Select Save in the Add an Assistant dialog box.
- Select Save under the Assistants and Travel Arrangers section.

Add an Expense Delegate
Expense and Request share delegates. By assigning permissions to an Expense delegate, you are also assigning permissions for Request.
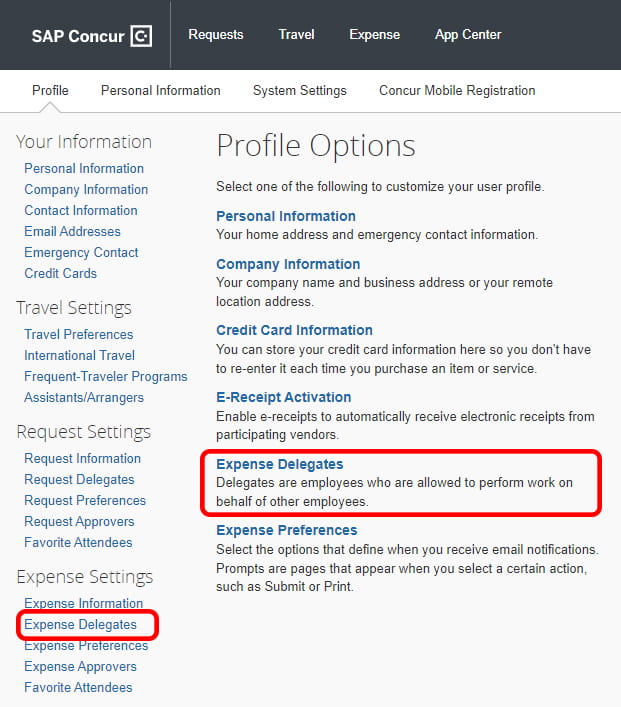
- On the Profile Options page, select Expense Delegates, either under Profile Options or Expense Settings.
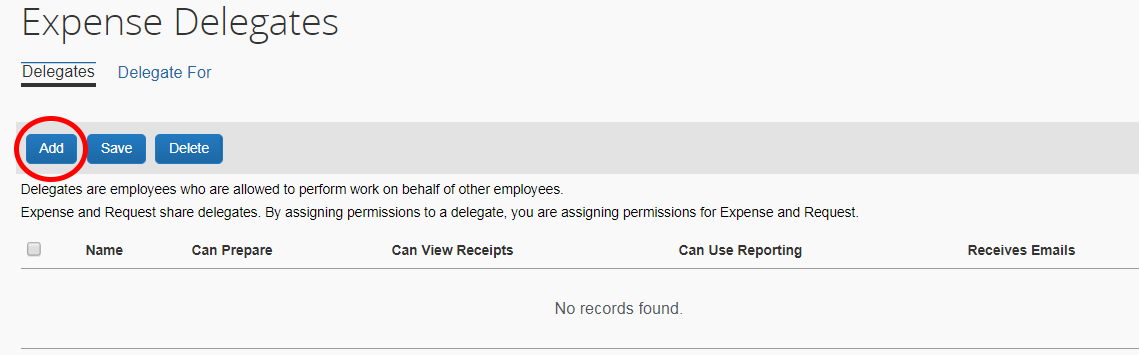
- Select the Add button.
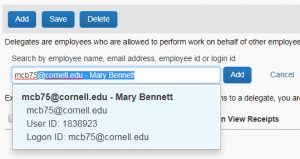
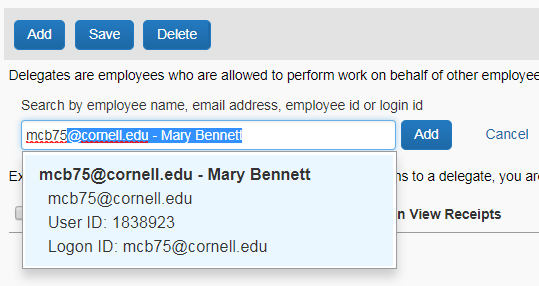
- Search for a delegate using the person’s name or NetID.
- Select the name of the person from the list that appears.
- Check all of the appropriate boxes to give them permissions.

- Select Save.
Next: Add your credit cards