
Completing Travel Preferences
Complete Travel Preferences to tell Concur how you like to travel, what Frequent-Traveler Programs (i.e., miles, rewards, or points programs) you use, and to give Concur your passport information, if necessary.
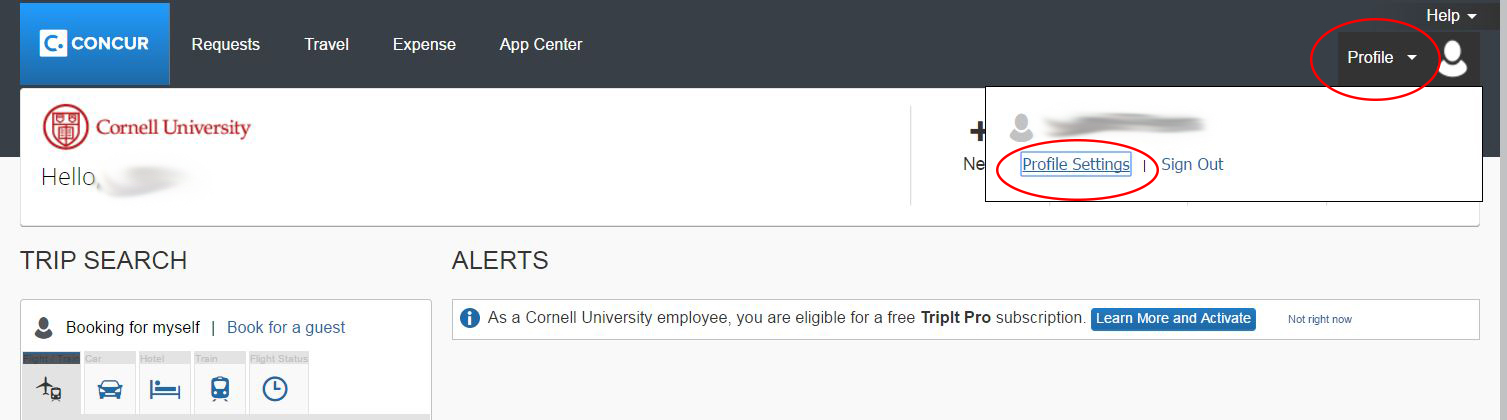
- Select Profile in the upper-right corner.
- Select Profile Settings under your name.
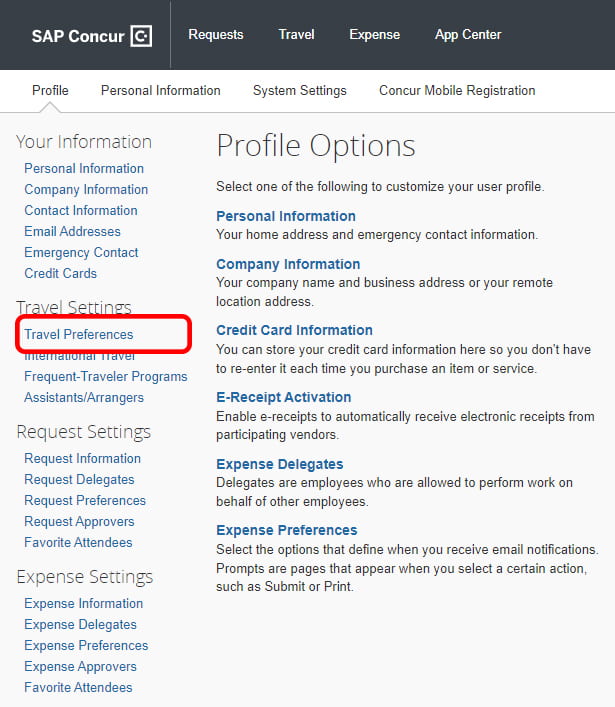
- Select Travel Preferences.
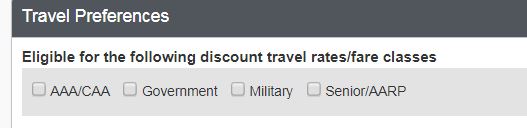
- Select the boxes to indicate whether you are eligible for any discount travel rates/fare classes (AAA, military, etc.)
- Select your preferences for Air, Hotel, or Car Rental bookings.
For Air Travel Preferences, do not select a Seat or Seat Section preference. Leave this selection as “Don’t Care.” Otherwise, flight search results in Concur will be limited too severely. You will be able to change your seat selection during the booking process.
- Select Add a Program on the right in the Frequent-Traveler Programs section to enter your loyalty programs.
Adding loyalty programs, such as frequent flyer programs, hotel rewards programs, etc., will link your Concur account with those travel vendors. This means that Concur will be able to receive electronic receipts (e-receipts) directly from these vendors when you pay with a credit card you’ve registered in Concur.
- On the Add Travel Programs screen, select the type of program (air/rail, car, or hotel) to populate the drop-down menu with the list of providers. Enter your membership number for the carrier. Enter as many programs as you wish.
You may have to resize the Add Travel Programs pop-up window to get it to look like the image below. The selections highlighted in gold are Cornell’s preferred suppliers with preferred pricing in Concur.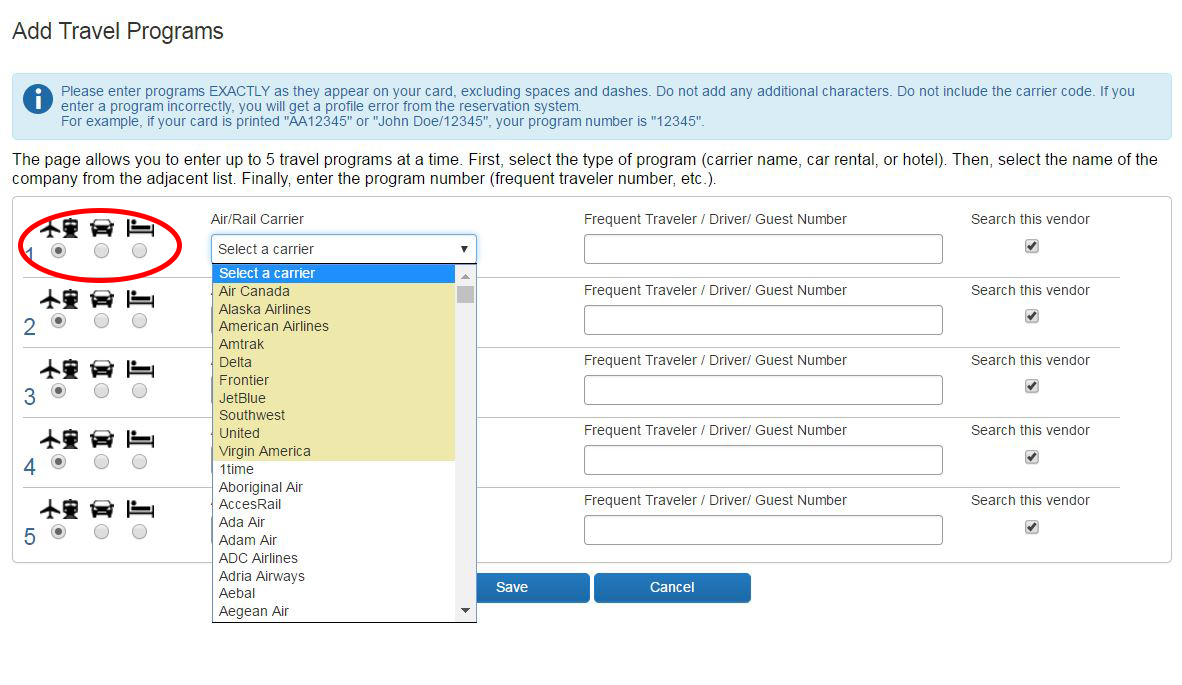
- Select Save in the Add Travel Programs window.
- In the Frequent-Traveler Program section, select I Agree (see the image in step 6), to agree to link these programs you’ve entered with Concur and receive e-receipts.
- In the Advantage Programs section, if you have an Amtrack AAA or Veterans Advantage program number, select Add a Program, and enter that information on the Add Travel Programs pop-up screen.
- Select Save on the Add Travel Programs screen.
- In the TSA Secure Flight section, enter your DHS Redress No. and TSA Pre-Check Number, if necessary. Your gender and date of birth are populated from Workday, and the Date of Birth field will be masked with XX/XX/XXXX (you do not need to change it).
- In the International Travel: Passports and Visas section, enter any passports or visas you have, if necessary. These are helpful for international bookings.
- Select Save.
Resources:
Next: Set up assistants and travel arrangers (a.k.a., delegates)