By Linda Gayton, Highland Mills Master Gardener Volunteer
This article appeared in the August 2021 Issue of Gardening in Orange County.
When it comes to invasive species, patience and persistence are key. This is a marathon not a sprint. Eradicating invasive species takes the determination of the tortoise, not the hare. We need to exercise a consistently forward, strategic plan to manage our alien invaders. A fast sprint to the win is not usually possible.
invasive species – a non-native species to the ecosystem that they occupy, AND who’s existence causes harm to the economy, the environment, or human health.
Invasive plants grow quickly, and spread to the point of disrupting communities and ecosystems. For the most part, these invaders are not affected by native pests and diseases. The only predator they will encounter in our landscape is you.
Why should we care about invasive plant species?
Invasive plants degrade native habitat. They are poor food producers for our native wildlife. They clog waterways, destroys native habitats, ruins views, and causes wildfires. Millions of dollars a year are spent on control methods.
What are the benefits of managing invasive species?
Managing invasive species benefits wildlife, the environment, and ourselves. Our goal is to create resilience in our ecosystem. By restoring areas dominated by invasive species and helping native plant communities to thrive we can help allow biodiversity to persist and help keep natural areas intact.help allow biodiversity to persist and help keep natural areas intact.
Integrated Pest Management
To begin to eradicate invasive species, we must first develop an Integrated Pest Management (IPM) plan. IPM is a process we use to solve pest problems while minimizing risk to people, wildlife, and the environment.
There are 6 steps to an IPM strategy:
-
- Sample for Pests (Inspect and Monitor): Is there a real problem?
- Properly identify pests: Is it really the pest you think it is?
- Learn the pest biology: Will it be a long-tern problem, or will it be gone next week?
- Determine an action threshold: Do you need to act?
- Choose Tactics: What’s the best treatment?
- Evaluate: How did it work?
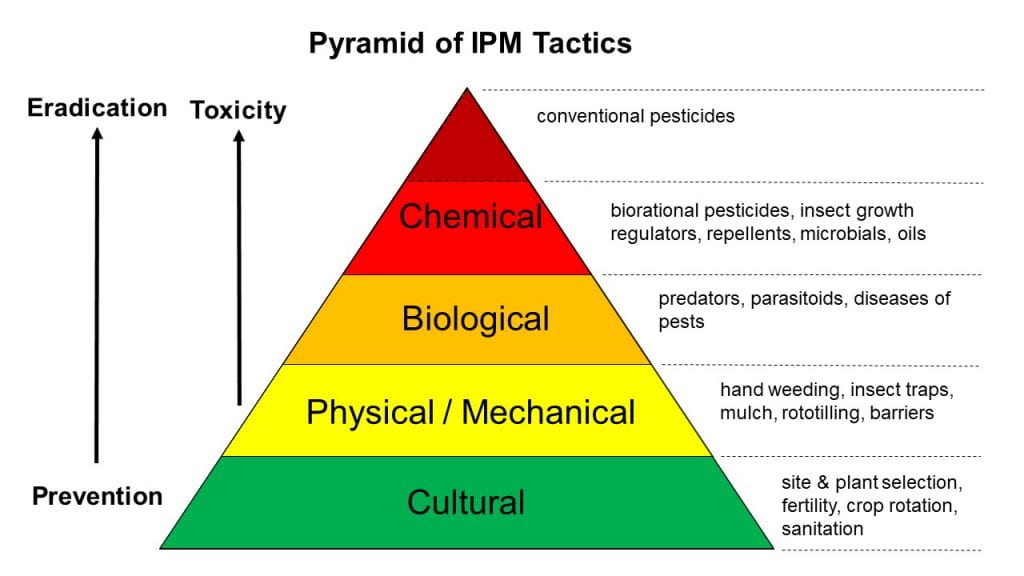
When it comes to control tactics in IPM, we start with the least toxic when available and move up the pyramid to the most toxic (conventional pesticides) as needed.
Here are some IPM Strategies to implement when dealing with what I consider three of our top plant invaders:
-
- Common Reed / Phragmites (Phragmites australis)
- Japanese Knotweed (Fallopia japonica)
- Multiflora Rose (Rosa multiflora)
For each of these formidable opponent, we head right to the mechanical/physical control methods followed by strategic application of chemical herbicides.
 Some of the following strategies include herbicide recommendations. Every effort has been made to provide correct, complete, and up-to-date herbicide recommendations. Nevertheless, changes in herbicide regulations occur constantly and human errors are still possible. These recommendations are not a substitute for herbicide labeling. Please read the label before applying any herbicide. The label is the law!
 If you decide to use an herbicide to combat these invaders, timing is key. When applied to a plant, the herbicide glyphosate, one of the most widely used weed killers, will be translocated in the plant’s phloem, which the plant uses to transport sugars and other metabolic products. But the herbicide will only be transported in the direction the plant is moving sugars. For the majority of the season plants are using sugars that they had stored in the rhizomes to grow, meaning that sugars are moving upwards in the plant’s phloem. Only once a plant starts to flower does it begin to store sugars back down in the rhizomes, meaning that sugars are moving downward in the plant and when applied glyphosate will reach the rhizomes. Both Phragmites and Japanese knotweed have extensive rhizomes
Carefully disposing of plant material from invasive plants is extremely important as many invasive species can grow from small fragments. Two common practices are burning plant material (according to state and local laws) and putting it in black garbage bags and sending it to the landfill. To reduce the volume before shipping it off to the landfill, you can leave it on an extremely hot surface such as an asphalt driveway prior to being discarded. You should not try and compost this material as it will most likely resprout and cause more problems.
Common Reed / Phragmites
 Phragmites, also known as common reed, is a perennial grass that can grow over 15 feet tall. It is commonly found in marsh and wetland areas where it forms dense stands that crowd out native vegetation. These monoculture that do not support the diversity needed for a thriving ecosystem
Phragmites spreads by both rhizome and wind pollinated seed. It has very deep roots and thrives in moist areas and aquatic environments. It also conducts chemical warfare against other plants by secreting allelochemicals to suppress their growth.
For this formidable opponent, we head right to the mechanical / physical control methods followed by strategic application of chemical herbicides.
Method A: Clip and Drip
After the plant has flowered, clip and remove stem, then immediately apply the herbicide glyphosate, to the hollow stems with a drip bottle. Stems can be bundled before they are clipped to make it easier to drip herbicide on hundreds of stems simultaneously. This method is extraordinarily labor intensive but can work wonderfully without the loss of native plants. Remember to dispose of any cut material properly.
Method B: Cut and Spray
After the plant has flowered, cut and remove stem followed by targeted spraying of an appropriate herbicide via backpack mounted sprayers or mist blowers. Remember to dispose of any cut material properly.
Method C: Burn It
Conduct a controlled burn following state and local laws as well as safety guidelines. This will kill stems and seeds. If regrowth occurs use chemical methods.
Method D: Drown It
Drown it. Cut stems under 6” of water. Dispose of cut material properly. Phragmites will drown in 1 year by early fall if water level is maintained.
For each of these methods, it is important to reevaluate yearly and determine what if any further eradication is necessary. Once removing a stand of phragmites make sure you remove the layer of dead shoots, stems, and roots on top of the soil surface before a restoration planting of native plants.
Japanese Knotweed
 Japanese knotweed is an herbaceous perennial that creates dense thickets that crowd and shade out native vegetation. In the United States rhizomes can reach 30-75 feet in length and are the chief cause of spread. Fragment of stem and rhizome can regenerate new plants. In big storm events pieces of the plant are broken off and transported to new areas, where they can establish new colonies. Finding small plant fragments digging them out and disposing of them properly can go a long way in saving resources, time, and the damage of future infestations.
Along waterways Japanese knotweed replaces riparian vegetation reducing diversity and altering the aquatic ecosystems. The loss of tree and shrub canopy can cause an increase in water temperature which in turn affects water chemistry and fish habitat. The loss of leaf litter and woody debris results in a loss of shelter for fish and invertebrates. The inability of ground covers and mosses to grow beneath the dense canopy of knotweed results in bare soils leaving banks susceptible to erosion resulting in siltation in stream beds, which again alters fish habitat.
We will once again skip up the pyramid and head to our mechanical/physical management tools in order to begin controlling Japanese knotweed.
Method A: Dig, Dig, Dig
Cut the knotweed stalks, digging out the root crowns and as much of the rhizome network as possible. This is very labor intensive and may take several years to gain control of a stand of Japanese knotweed.
Method B: Cut, Dig, Cover
Cut the knotweed stalks, digging out the root crowns and as much of the rhizome network as possible. Then cover the ground with thick black landscape plastic to block sunlight and thereby destroy any remaining rhizomes. Leave covered for at least one year. Experimental plots which were left covered for three years, showed less regrowth of knotweed.
Method C: Cut, Cut, Cut
Cut down knotweed plants 2 or 3 times each growing season. Dispose of properly. Several years of successive cutting will weaken the knotweed’s rhizomes, so they can be pulled out with relative ease.
Method D: Cut and Spray
Cut down knotweed plants 2 or 3 times each growing season. Dispose of properly. Several years of successive cutting will weaken the knotweed’s rhizomes, so they can be pulled out with relative ease.
Biological Control
The Knotweed Psyllid (Aphalara itadori) was released on June 10th, 2020, in New York’s Tioga and Broome counties. Research and monitoring are ongoing.
For each of these methods, it is important to reevaluate yearly and determine what if any further eradication is necessary. Once control has begun make sure to implement a restoration planting of native plants.
Multiflora Rose
 Multifloral Rose is an herbaceous shrub in the rose family (Rosaceae). It has canes or stems) have numerous thorns and can grow up to 15 feet in length and usually arc toward the ground and takes root, a process called layering. This creates dense thickets 6-10 feet tall. After establishment, individuals can increase their size by 1-2 feet a week during midsummer. Multifloral rose has clusters of showy, fragrant white flowers in late May or June. It spreads through seed, root sprouting, and layering. The fruit, known as rose hips, are eaten and dispersed by our feathered friends, and can persist and remain viable in the soil for up to 20 years.
Method A: Dig, Dig, Dig
Remove isolated individuals before they multiply. Small populations of young plants are not difficult to pull taking care to use protection against thorns. Be sure to pull the entire root system to prevent re-sprouting.
Method B: Mow, Mow, Mow
Repeated cutting or mowing at the rate of three to six times per growing season, for two to four years, has been shown to be effective in achieving high mortality.
Method C: Cut and Spray
Mow or cut large infestations to prep for herbicide application After mowing, wait for knee level regrowth before treating with herbicide. While foliar sprays can be done anytime during the growing season, all these chemicals will also harm non-target herbaceous plants and trees if applied to their leaves. Care needs be taken to prevent damage to non-target plants.
As previously stated, patience and persistence are necessary when attempting to eradicate an invasive species. In order to sustain myself through what seems like a never-ending task, I maintain the attitude that I am working with nature on a productive journey. I find also that monitoring progress and achieving even minimal success is very encouraging. When we keep in mind all the positive effects that our efforts are having on the wildlife, our ecosystem, and ourselves, the reward is great.
It is my hope that I have shared some of the tools to help you take on one or more of our invaders.
Stop the Silent Invasion!
Please spread the word, not the weeds !
Resources
General
Managing Invasive Plants: Methods of Control – University of New Hampshire Extension
Mistaken Identity? Invasive Plants and their Native Look-alikes – Delaware Department of Agriculture
New York State Invasive Species – New York Invasive Species Information – Cornell University
Common Reed / Phragmites
Common Reed – New York Invasive Species Information – Cornell Cooperative Extension
Successfully Managing Phragmites – Ecological Landscape Alliance
Japanese Knotweed
Homeowner’s Guide to Japanese Knotweed Control – Wisconsin Department of Natural Resources
Japanese Knotweed – New York Invasive Species Information – Cornell Cooperative Extension
Japanese Knotweed – University of Wisconsin Extension
Managing Japanese Knotweed: Two Small-Scale Strategies – Ecological Landscape Alliance
Multifloral Rose
Multifloral Rose – New York Invasive Species Information- Cornell Cooperative Extension
Multifloral Rose – Penn State Extension
 Canadian wildfires are impacting air quality here in the Northeast. Smoke has filled the sky and warnings are issued for outdoor activities. This is making many growers and gardeners worried about the potential impact the smoke will have on field grown vegetables. The good news is the impact will be minimal at worst.


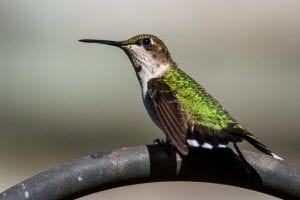

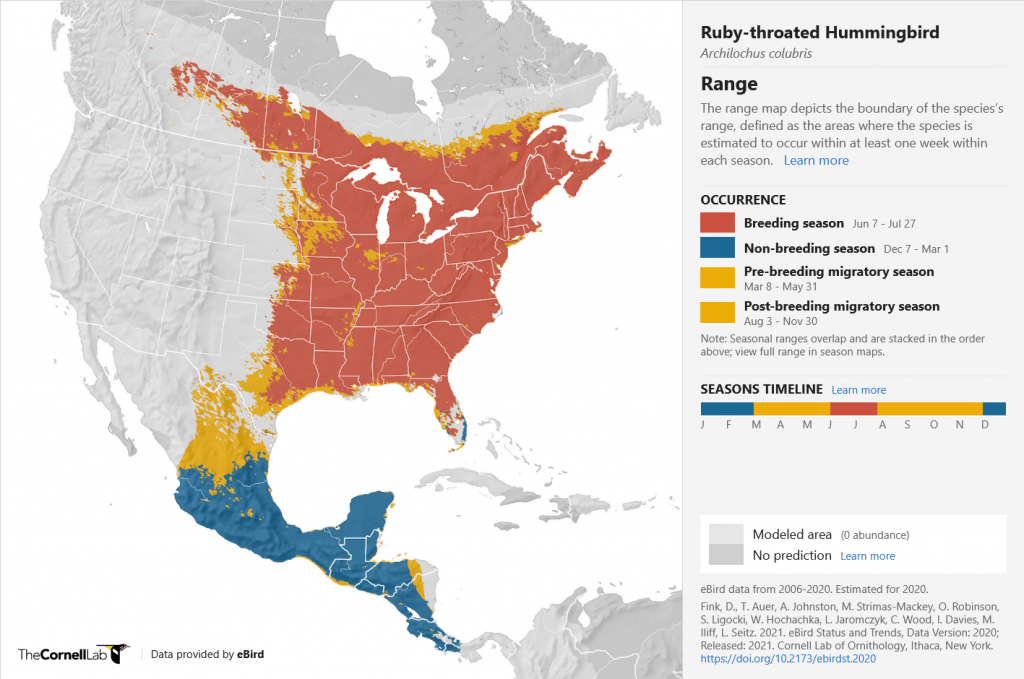
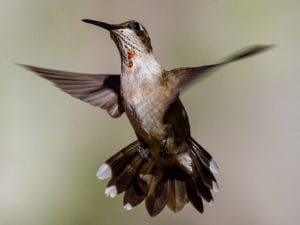
 Once she reached the Gulf, there was a final push across the water as she flew nonstop for 500 miles until she reached land. Young and older birds may fly along the coastline into Mexico to reach their destination. My bird may have had the good fortune to alight on a passing boat or possibly an oil rig for a short rest. It is an amazing journey for such a tiny bird.
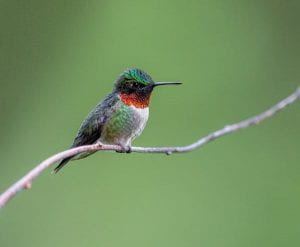


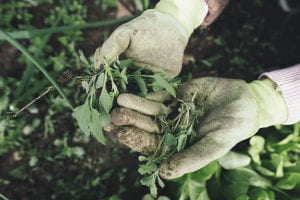
 One Size Fits All Gloves! Do not buy someone else gloves, unless you can get an exact match to the pair that the gardener currently wears every single time they are out toiling in their garden. Next to shoes gloves really need to fit and feel properly for them to work. Too big and you have no control over your fingers, too small and they are painful, too thin and the dirt and thorns go right through, too thick and you don’t have enough dexterity. Stay away from gloves.
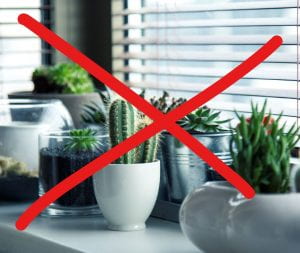 House plants. Between the plants that were brought in to overwinter and the cuttings that are taking up all the spare room on the window ledges, even the most dedicated gardener probably has more than enough house plants by mid-winter. If you absolutely, positively know that there is a plant your favorite gardener is lusting after then okay, you can give it to them. Otherwise, just look and enjoy them at the store.
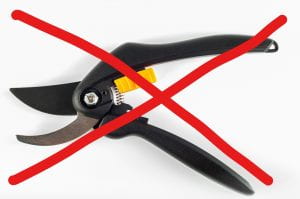 Pruners. Sort of like gloves everyone has their favorites and unless you have been given the exact one that is wanted a gift certificate is a way better option.
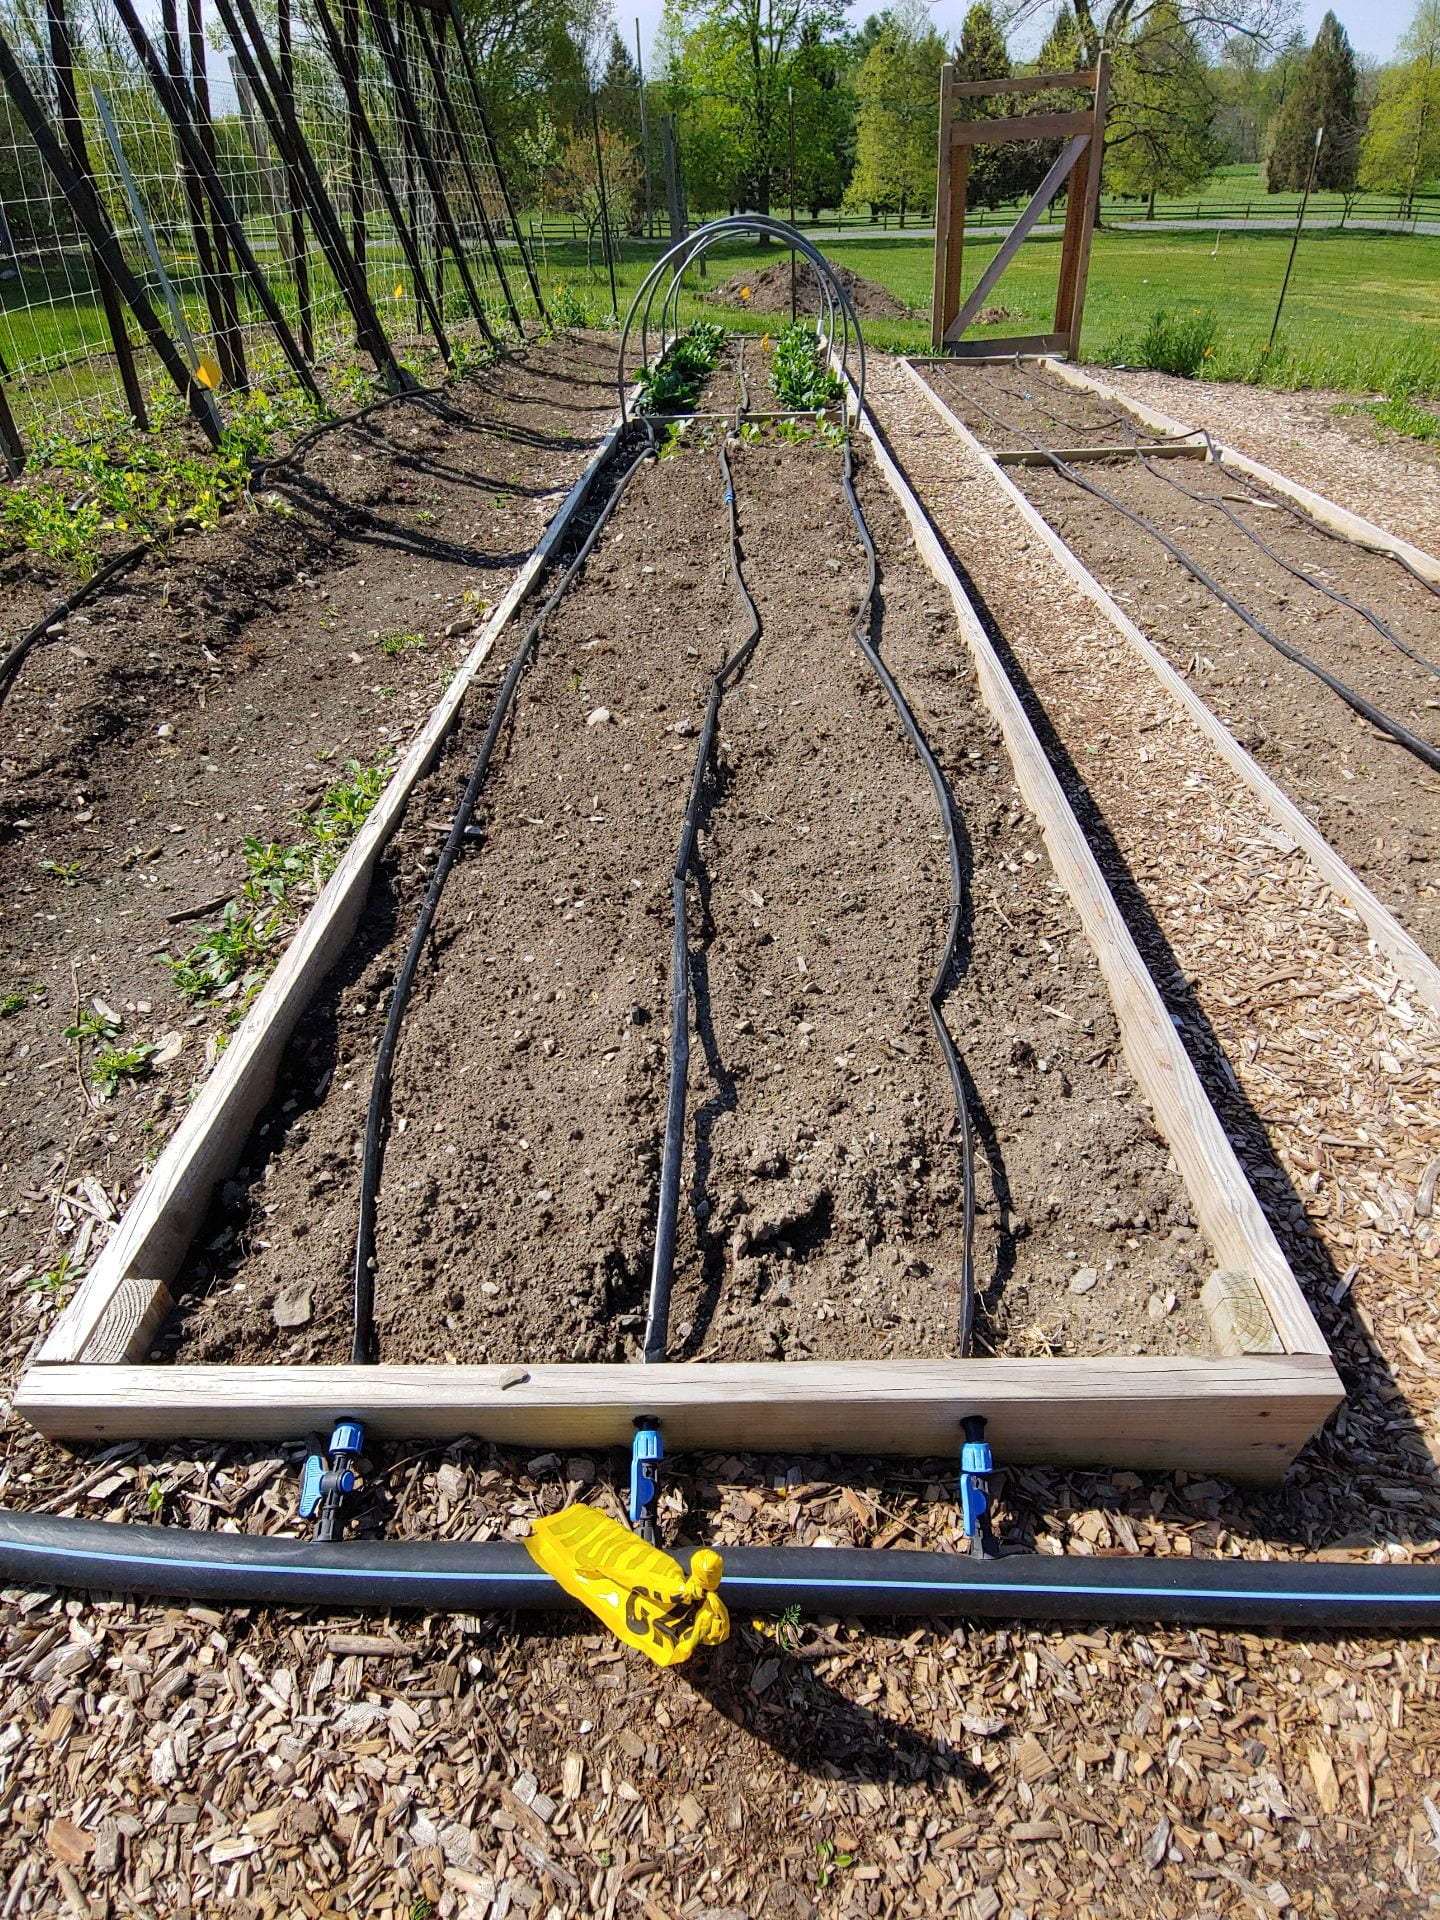
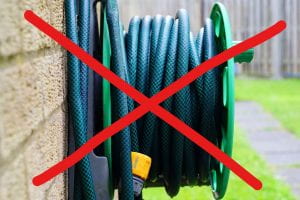 Hoses. Another way personal item that is specific to the person who does the watering. Size, weight, length, and material make a huge difference. Common complaints from those of us who do the watering include it’s too heavy to drag with water in it, it kinks to easily and shorts out the flow, it is impossible to reel up and store making an annoying task even more so. If you have a ‘Gift List’ with a specific hose listed then perfect, get that one but do NOT purchase a substitute.
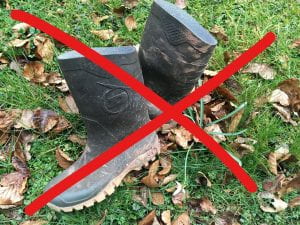 Garden Boots. (
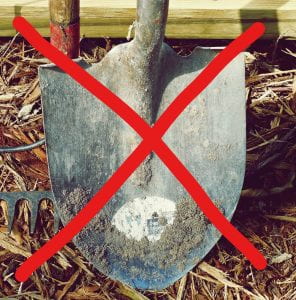 Spades or Shovels. Length of handle, weight, shape of the head, all are a very personal preferences. Again, if one specific one was asked for perfect. Otherwise offer to take them out shopping to pick their favorite!
 Time. My number one suggestion is the gift of time, time in which you will help the gardener in you life dig holes, rake, mulch, move plants, visit a garden to get ideas, shop for a native plants, etc. Having a freely given chunk of time to help out will be a gift that can be given with love and received with excitement.
 Framed photo of last year’s bloom. Look through the photos on your phone and pick something that reminds you of the best of the garden. Put it in a pretty frame and it will make everyone smile through the winter months. Consider getting a metal print that does not need a frame. These are dramatic and really showcase a bloom! My favorite budget friendly but high-quality source is


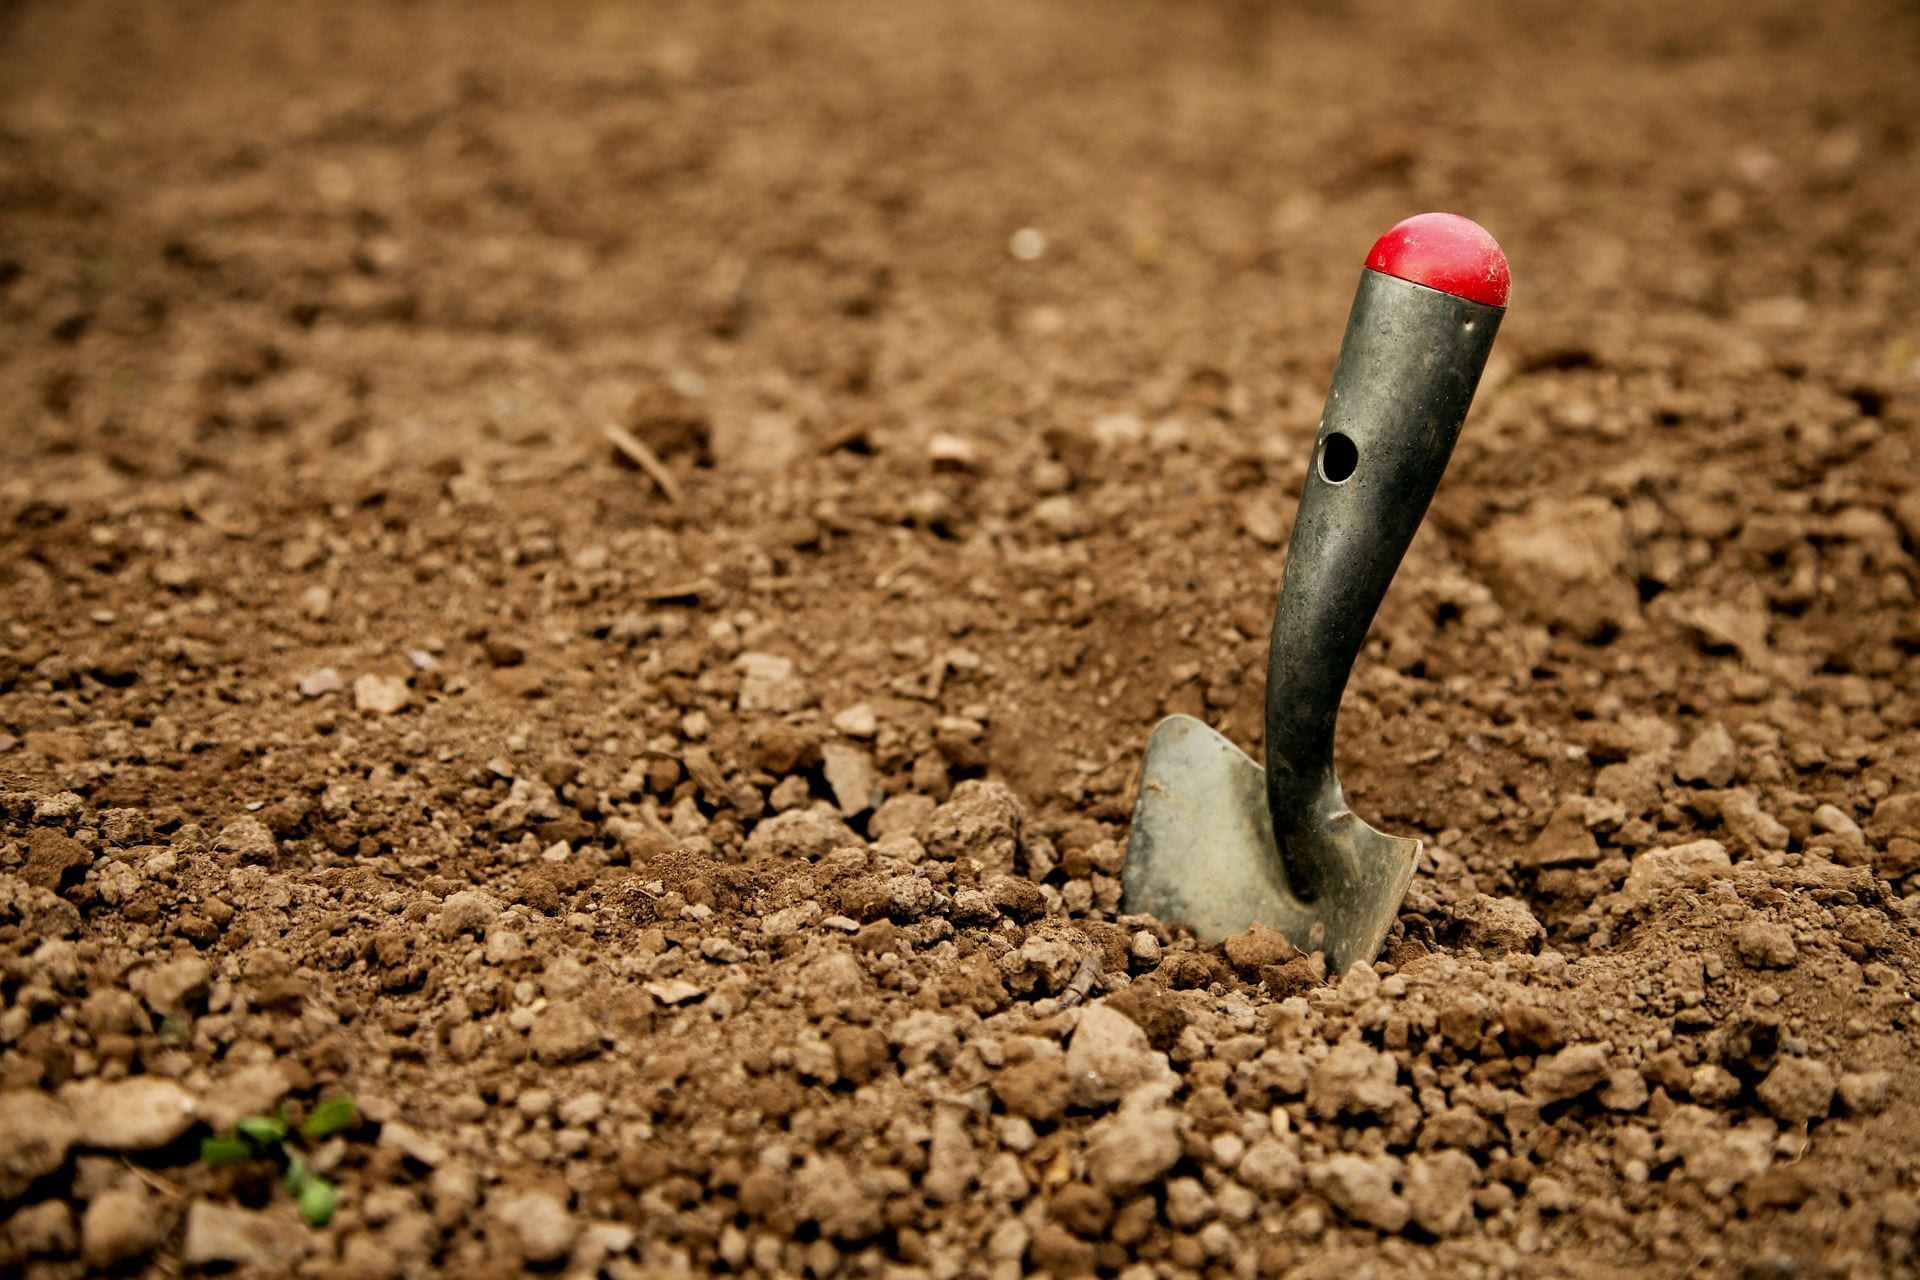
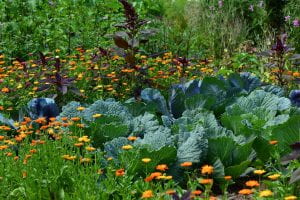
 This is a perfect time to get a start on weed management for the spring. Shorter days and colder weather in the months ahead will reduce the activity of plant growth. You want to keep the process as natural as possible. Pull weeds to your hearts content without overly disturbing the soil. Don’t use hoes or rakes, and don’t turn the soil over unless you must. When you disturb the soil too much seeds resting on top of soil get planted in the loose soil, and seeds deep in the soil are brought closer to the surface where they will be able to sprout. Every time you move soil around without a purpose, the roots and seeds of unwanted plants are given the go ahead to sprout away.
 Bare soil is an invitation for weeds to… well, put down roots! Cover weeds that you want gone by the spring with a layer of weighted cardboard. Sometimes I think I shop online more for the cardboard shipping boxes then for what’s inside. I also love using sheets of bark from my fireplace wood in and around my garden plants. Tree bark adds nutrients, cuts down on weed growth, and is a good insulator for tender plants. Grass clippings or shredded leaves make a nice winter mulch, but cut up leaves soon after they fall to the ground before insects and small animals take shelter. Rake only the leaves you need to, leaving a goodly amount for insects to find winter cover.


 Spring flowering bulbs are usually classified by four basic characteristics: bloom time (early, mid, and late spring), height, bloom form, and color. Depending on your garden aesthetic, one or more of these characteristics will help determine what bulbs are right for you.
 Bulb growers offer mixes based on color, bloom time, and compatible forms. You can also create your own mix by ordering a selection of bulbs and mixing them together. Mixes are often an economical way to have both a variety, and a mix of more expensive bulbs and more common ones. If you have never had any bulbs this is a good way to get started and feel confident in your abilities to grow bulbs.
 Bulbs can be included as part of a cutting garden as well. Consider using a portion of a flower bed or veggie bed as a way of having lots of spring blooms to bring inside. Sale bags of tulips are a good bet for this, since you will be removing or lifting the bulbs after they bloom.
 Crocuses
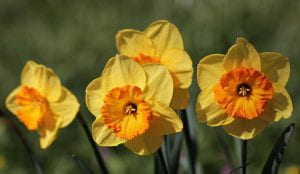
  Daffodils are a great group of bulbs to begin with. They come in a range of colors from the bright cheery yellow we all know, to soft pinks, stripes, vibrant oranges, greens, and brilliant whites. Large outward facing blossoms are a standard but there are small clusters with contrasting petals and double blossoms as well. In choosing plants think about what other shapes and textures will be a part of the garden. Finding a mix of colors, blossom forms and heights will allow you to mimic other plants in your design and compliment hardscapes. Daffodils will also naturalize well especially in partly shady areas.
 Tulips