Michele Hamill

Increasingly in libraries and archives conservation there is a need for practical, safe, and efficient repair materials that address diverse collections and priorities, and can be used by a variety of practitioners (conservation staff, interns, and supervised students and volunteers). Pre-coated repair materials can fill some of this need with their versatility, convenience, and ease of use. Pre-coated repair materials (usually Japanese tissue coated with an adhesive and then dried) supplement traditional conservation mending techniques like wet wheat starch paste applied to tissue. At the point of use, the adhesive on the pre-coated tissue is reactivated with water, solvent, a combination of water and solvent, or heat. A low amount of water, or no water at all, make them very useful in a variety of treatment scenarios with sensitive media, coated papers, easily stained papers, and in prepping collections for digitization, in production projects, and off-site work. There is time and effort in preparing the pre-coated tissues, but once made, they can last a long time which adds to their convenience.
The conservation community is highly interested in these pre-coated materials and how they may benefit their collections, as evidenced by the over 150 conservators, technicians, and students who have taken this workshop. I was interested to learn how these pre-coated materials may be used with Cornell Library’s paper and photograph collections, particularly modern archives collections (often with brittle paper and modern media), iron gall ink documents, architectural drawings, newspapers, and resin-coated photographs. The workshop was a great learning experience which increased my knowledge and familiarity with these repair materials and techniques.
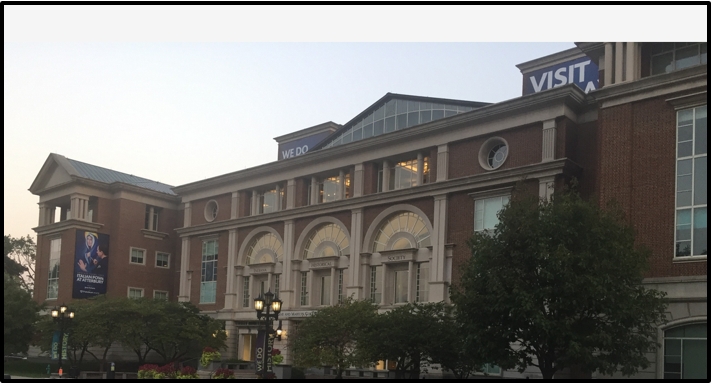
The beautiful Indiana Historical Society served as host for this recent workshop on the use and creation of pre-coated repair materials, sponsored by FAIC.
The workshop was organized by IHS book conservator Kathy Lechuga, with assistance during the workshop by IHS conservators Stephanie Gowler and Ramona Duncan-Hines. The IHS conservators did an outstanding job preparing the vast amount of materials for the workshop and generously opening their lab for our use.
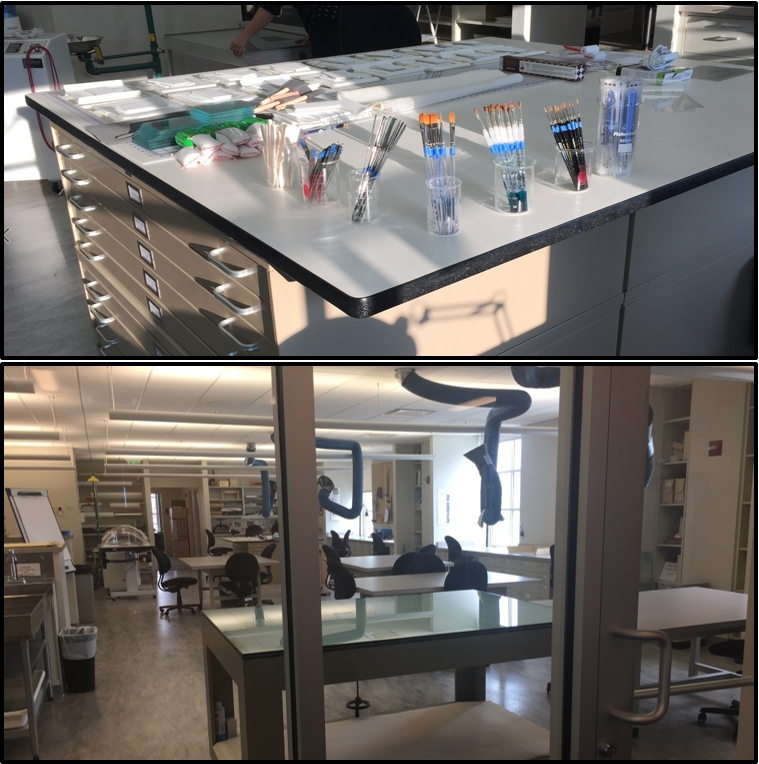
The IHS was a fantastic site for a workshop with convenient lecture facilities and their wonderfully outfitted conservation lab, large enough to accommodate 18 conservators working there over 3 days.
The workshop instructor, Sarah Reidell, Head of Conservation at University of Pennsylvania Libraries, has deep expertise in the subject of pre-coated repair materials and her website is a great resource with a bibliography and photo galleries of previous workshops. Sarah was an outstanding instructor, knowledgeable, enthusiastic, and encouraging. Encouragement played a key role in the workshop as the techniques and materials involved were many, and skill levels and prior experience were diverse. Using a combination of informative lectures, instructor-led demonstrations, and group discussions, Sarah presented information on a variety of adhesives and techniques to apply them successfully to tissue, and then how to reactivate the pre-coated tissue for use on a wide variety of collection materials.

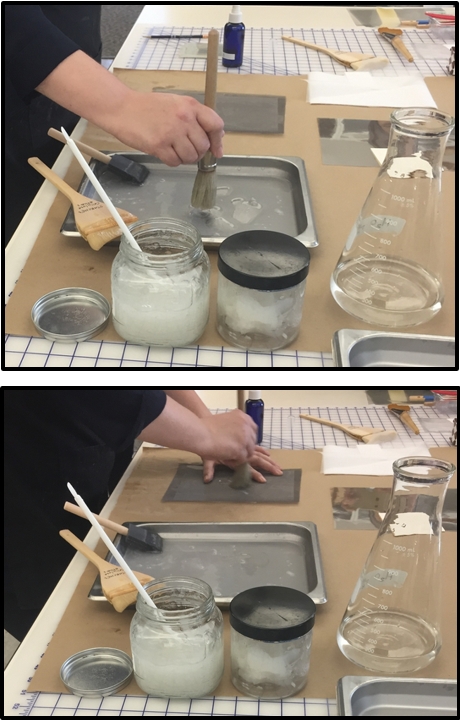
Sarah is shown here demonstrating preparing pre-coated tissue using a mix of wheat starch paste and methyl cellulose.

One of the best parts of the workshop was being guided by Sarah to experiment, critique, engage with other participants, and move outside your usual pattern when approaching repair, in a supportive, collegial environment.
The advantages of pre-coated repair materials are many and include versatility, increased choice (type of paper, adhesive, reactivation method), more control, customization, ease, speed, portability, consistency, and production. Disadvantages can include “hand” (your skill level) in making and using the tissues, possible solvent sensitivity of conservator and object, and inadequate reactivation which could lead to adhesive failure. Through the workshop, we learned many techniques for applying the adhesive(s) onto very thin Japanese paper and reactivation methods to optimize adhesion success.
The first afternoon of the workshop was spent making tissues with starch and cellulose ether adhesives. These are easier to make than the acrylics so we were able to hone our application techniques (drop, brush, screen) and application direction (left to right, Union Jack) and then adding the tissue (top edge laid down first, or bias drop—my favorite), or applying the adhesive directly to the tissue (Tricky! A light hand and mindfulness help a lot). For me, applying a layer of adhesive to the polyester and then dropping the tissue onto the adhesive created a nice adhesive layer, without roughing up the paper fibers which can happen with the brush-through method. We experimented with applying the adhesives to the polyester support in a variety of ways (Hake or synthetic brushes (easier to clean!), rollers, foam brushes, and stipple brushes). Helpful tips include humidifying thicker papers in advance and adding a spritz of water to the applied adhesive layer to encourage capillary action. But resist the urge to “fix” the tissue (a strong inclination in a conservator!) once it is down. Practice and patience are key.

Sarah is seen here showing the “top edge down first” method of dropping very thin Japanese tissue onto adhesive. Her preference (and mine as I practiced) is to drop the tissue on the bias, center first.
The adhesives covered in the workshop included wheat starch paste (the staple adhesive of many conservation labs), cellulose ethers (like methyl cellulose), proteins (including gelatin and isinglass) and synthetic adhesives (including those used to prepare your own heat-set tissues). Great tip: Soak wheat starch paste in water (in whatever proportion your lab uses) for 20 minutes prior to cooking. This soaking promotes swelling of the starch granules which makes for a shorter cook time (since they are already swelled) and a velvety smooth paste.

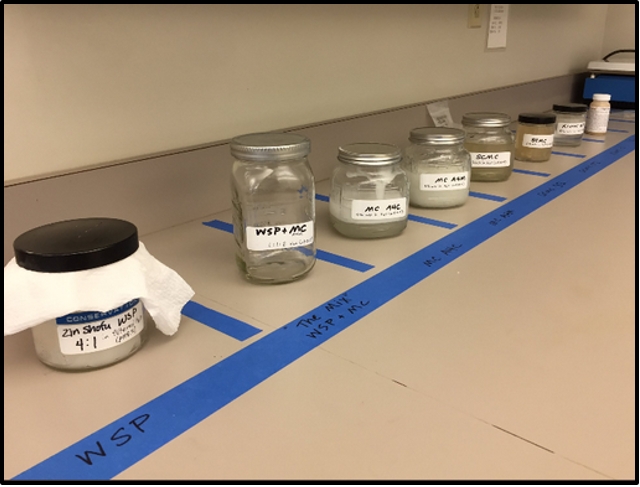
Included in the outstanding workshop handouts were detailed descriptions of the adhesives (shown here taped to the wall near the adhesive) noting concentration, common preparation, application and reactivation methods.
The application techniques included drop, brush, foaming, screen, and squeegee. The self-leveling effects of paste and cellulose ethers eased many a tissue that was a bit wrinkled during application but dried into useful sheets. Here, Sarah is foaming adhesive with a stiff brush through a screen to create a light adhesive layer.

Throughout the workshop Sarah created visual and descriptive summaries of observations and critiques. The “vertical tideline” illustrated how water evaporates from the coated tissue, creating the adhesive film layer.
The practical information shared during the workshop was really helpful—like keeping dedicated brushes for this purpose; prewetting brushes to aid cleanup; preparing the tissues over a darker surface (like Kraft paper) helps visibility during the coating; which polyester (regular or silicone coated) would allow the prepared tissue to release (hint: use silicone release polyester for the acrylics OR peel them off of regular polyester when almost dry, otherwise they will be stuck); tips to avoid contaminating adhesive stock (chop clean mat board scraps into disposable sticks or get a cheap bag of craft sticks); labeling techniques (the future usefulness of the pre-coated papers depends on good labeling including date, adhesive, concentration, and paper type, and application technique); move and dry the newly made tissues flat (or the adhesive will pool down to one edge); smaller sheets are easier to make (yes, yes, they are!); and how to store the prepared tissue (use the creation polyester as a support for thin tissues; and label folders by adhesive and paper type).
The second day of the workshop was spent working with the acrylic adhesives. The advantage of acrylic adhesives is they can be reactivated with solvent or heat. Concern of heat applied to collection materials is mitigated by keeping the temperature controlled with a rheostat and using small tips (no home irons here!) on the tool to deliver the necessary activation heat over only the affected area, limiting heat exposure to the surrounding area. Weighting the treated area allows the reheated adhesive to cool and become solid which helps secure the mend. My comfort zone is very much in starch, protein, and cellulose ether adhesives so I really valued this opportunity to work with a variety of synthetic adhesives. Sarah’s bibliography (on her website) includes some great articles describing synthetic adhesives. While there are some commercially available heat set tissues, there is a distinct advantage to creating your own tissue which allows for full control over the type of adhesive, type and weight of paper, and tone.
Pre-coated repair materials can be prepared on a variety of weights of Japanese tissue. Very thin Japanese tissue (like tengujo, Berlin tissue, or RK-00) have the advantage of translucency so text or image is still visible through the repair. For convenience in the workshop we used untoned Tengujo tissue (5 g/m2) but the tissue can be toned with acrylics in advance to better match the item being treated. The thinness of the tissue helps mitigate one of the disadvantages of pre-coated materials –that you can’t tear a feathered edge but instead have to cut, score, or prick the tissue. Thin tissues don’t have the undesirable hard edge of straight-cut, thicker repair tissue and are visually unobtrusive.
The white tengujo tissue is visible on this example but would be less obvious if toned.
The needs of the object to be stabilized determine which pre-coated tissue may work. There is no one solution to fit every problem. Instead the workshop gave us options that could be part of the solution while factoring the extent and degree of conservation concerns; the object’s reaction to water, solvent, or heat; the surface (texture, gloss) of the object; and need of the object to flex, fold or move. The usual steps that may be needed for preparing an item for mending, like surface cleaning, and humidification and flattening, hold for pre-coated repair materials as well. Surface dirt in particular could present a barrier to adhesion.
The third day of the workshop was dedicated to reactivation methods on a variety of sample collection materials—coated paper, brittle paper, newspaper, tracing paper, and photographs. We were encouraged to create tears and add problematic media like marker and ball point pen. Straight tears (whose edges align) respond well to pre-coated repair materials. Scarfed tears (where the edges overlap) may need reinforcement on both sides or additional adhesive fed into the overlap areas. I had some great success with a heat-set adhesive mix used at NARA on several of the practice samples.
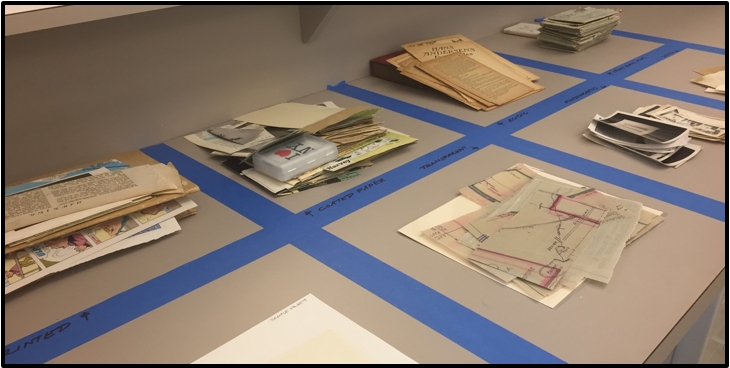
The IHS generously donated deaccessioned envelopes with iron gall ink (which has water sensitivity and so is an ideal candidate for pre-coated repair tissue) as practice samples. There were also lots of lignin-containing papers, waxy tracing papers, coated paper, parchment, and photographs to experiment with.
I left the workshop excited about the possibilities for using pre-coated repair materials for the paper and photograph collections at Cornell Library. So far, we’ve prepped toned pre-coated repair tissue for a large collection of iron gall ink documents and a newspaper project. Thanks to Sarah, Kathy, Stephanie, Ramona, and all the workshop participants for a great experience.
