by Shawn Bower
The Cloud Services team in CIT maintains docker images for common pieces of software like apache, java, tomcat, etc. One of these images that we maintain is Cornellized Jenkins images. This image contains Jenkins with the oracle client and Cornell OID baked in. One of the easiest way to get up and running in AWS with this Jenkins instance is to use Elastic Beanstalk which will manage the infrastructure components. Using Elastic Beanstalk you don’t have to worry about patching as it will manage the underlying OS of your ec2 instances. The Cloud Services team releases patched version of Jenkins image on a weekly basis. If you want to stay current the you just need to kick off a new deploy in Elastic Beanstalk. Let’s walk through the process of getting this image running on Elastic Beanstalk!
A.) Save Docker Hub credentials to S3
INFO:
Read about using private Docker repos with Elastic Beanstalk.
We need to make our DTR credentials available to Elastic Beanstalk, so automated deployments can pull the image from the private repository.
- Create an S3 bucket to hold Docker assets for your organization— we use
cu-DEPT-docker - Login to Docker
docker login dtr.cucloud.net - Upload the local credentials file
~/.docker/config.jsonto the S3 bucketcu-DEPT-docker/.dockercfgUnfortunately, Elastic Beanstalk uses an older version of this file named
.dockercfg.jsonThe formats are slightly different. You can read about the differences here.For now, you’ll need to manually create
.dockercfg& upload it to the S3 bucketcu-DEPT-docker/.dockercfg
B.) Create IAM Policy to Read The S3 Bucket
- Select Identity and Access Management for the AWS management console

- Select Policies

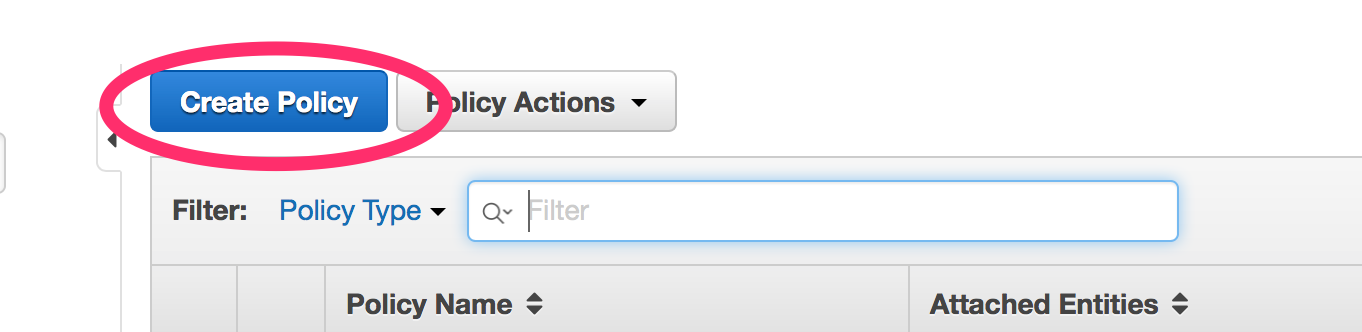
- Select “Create Policy”
- Select “Create Your Own Policy”
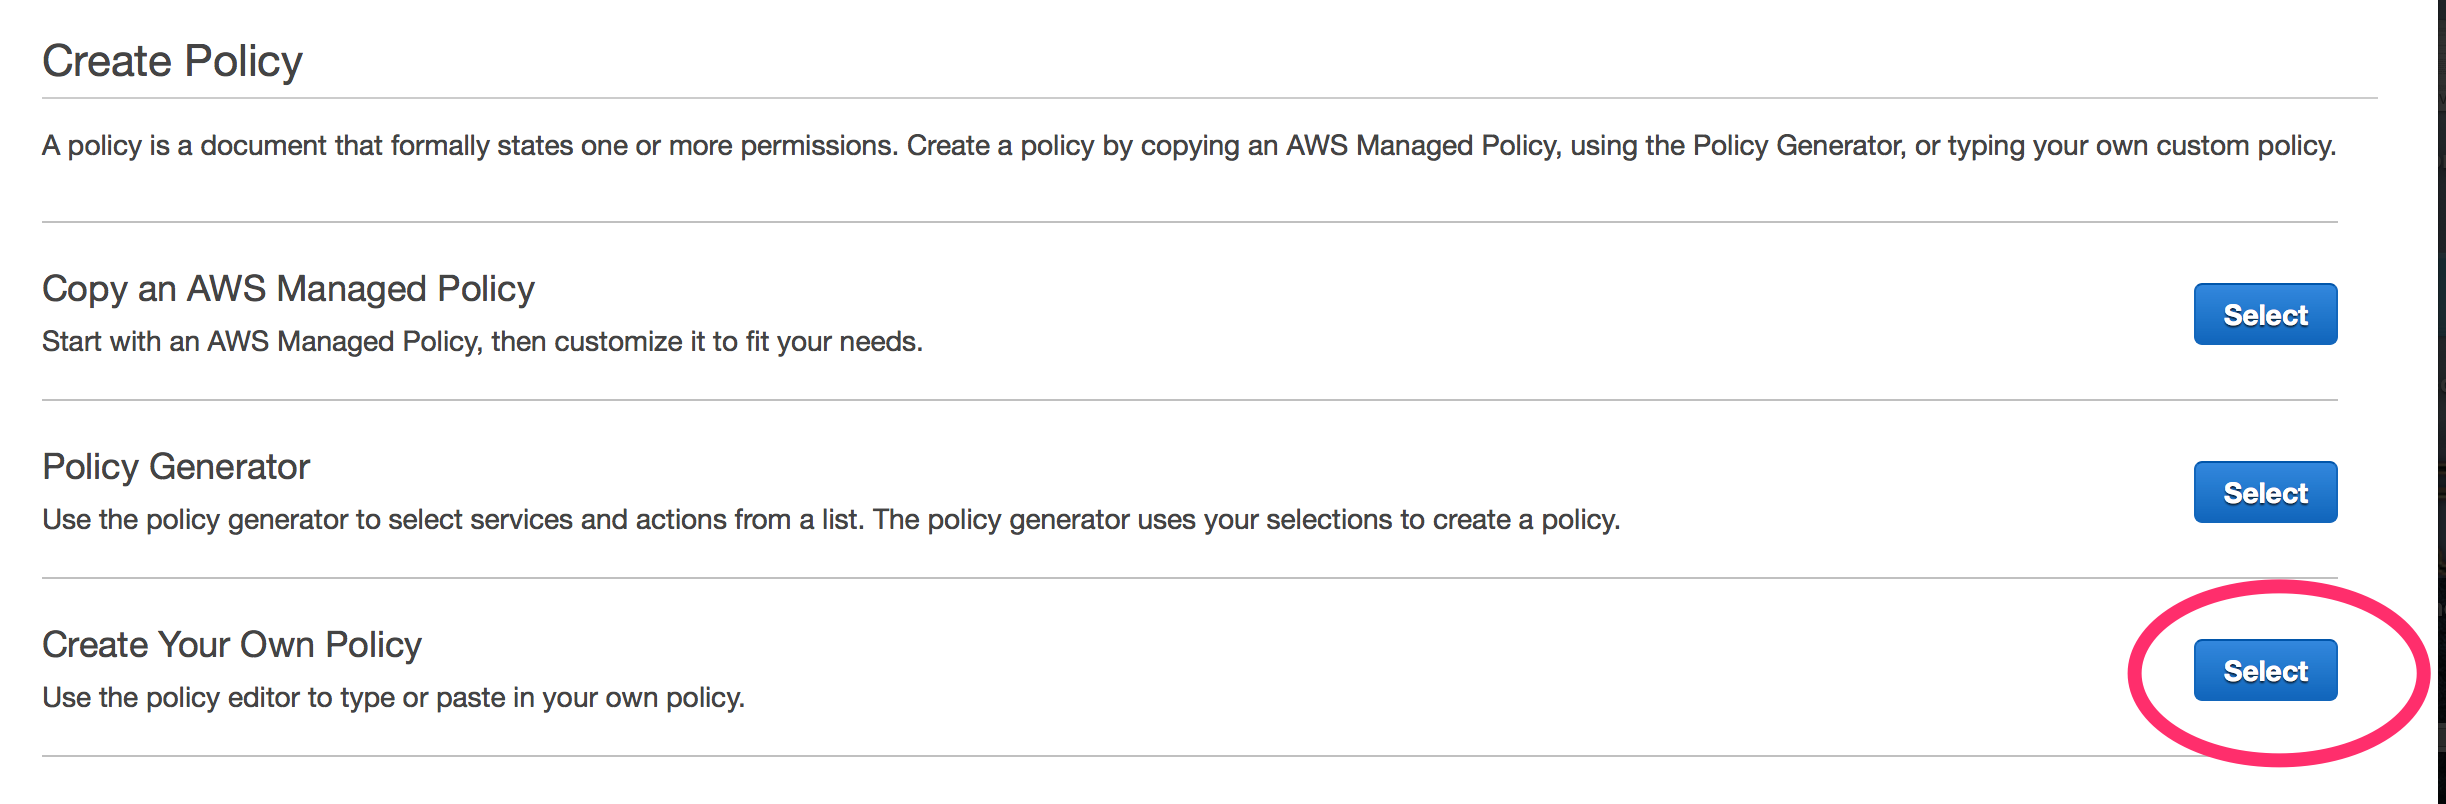
- Create a policy name “DockerCFGReadOnly,” see the example policy provided.

Below is an example Policy for reading from a S3 bucket.
{
    "Version": "2012-10-17",
    "Statement": [
        {
            "Sid": "Stmt1466096728000",
            "Effect": "Allow",
            "Action": [
                "s3:ListBucket"
            ],
            "Resource": [
                "arn:aws:s3:::cu-DEPT-dockercfg"
            ]
        },
        {
            "Sid": "Stmt1466096728001",
            "Effect": "Allow",
            "Action": [
                "s3:GetObject",
                "s3:HeadObject",
                "s3:ListBucket"
            ],
            "Resource": [
                "arn:aws:s3:::cu-DEPT-dockercfg/.dockercfg"
            ]
        }
    ]
}
C.) Setup the Elastic Beanstalk environment
- Create a Dockerrun.aws.json fileHere’s an example.
- We will also need to do some setup to instance using .ebextenstions. Create a folder called “.ebextensions” and inside that folder create a file called “instance.config” Add the following to the file:
- Finally create a zip file with the Dockerrun.aws.json file and the .ebextenstions folder.
zip -r jenkins-stalk.zip Dockerrun.aws.json .ebextensions/
{
  "AWSEBDockerrunVersion": "1",
  "Image": {
    "Name": "dtr.cucloud.net/cs/jenkins:latest"
 },
 "Ports": [
   {
     "ContainerPort": "8080"
   }
 ],
 "Authentication": {
   "Bucket": "cu-DEPT-dockercfg",
   "Key": ".dockercfg"
 },
 "Volumes": [
   {
     "HostDirectory": "/var/jenkins_home",
     "ContainerDirectory": "/var/jenkins_home"
   },
   {
     "HostDirectory": "/var/run/docker.sock",
     "ContainerDirectory": "/var/run/docker.sock"
   }
 ]
}
The Authentication section refers to the Docker Hub credentials that were saved to S3.
The Image section refers to the Docker image that was pushed to Docker Hub.
container_commands:
 01-jenkins-user:
 command: useradd -u 1000 jenkins || echo 'User already exist!'
 02-jenkins-user-groups:
 command: usermod -aG docker jenkins
 03-jenkins-home:
 command: mkdir /var/jenkins_home || echo 'Directory already exist!'
 04-changeperm:
 command: chown jenkins:jenkins /var/jenkins_home
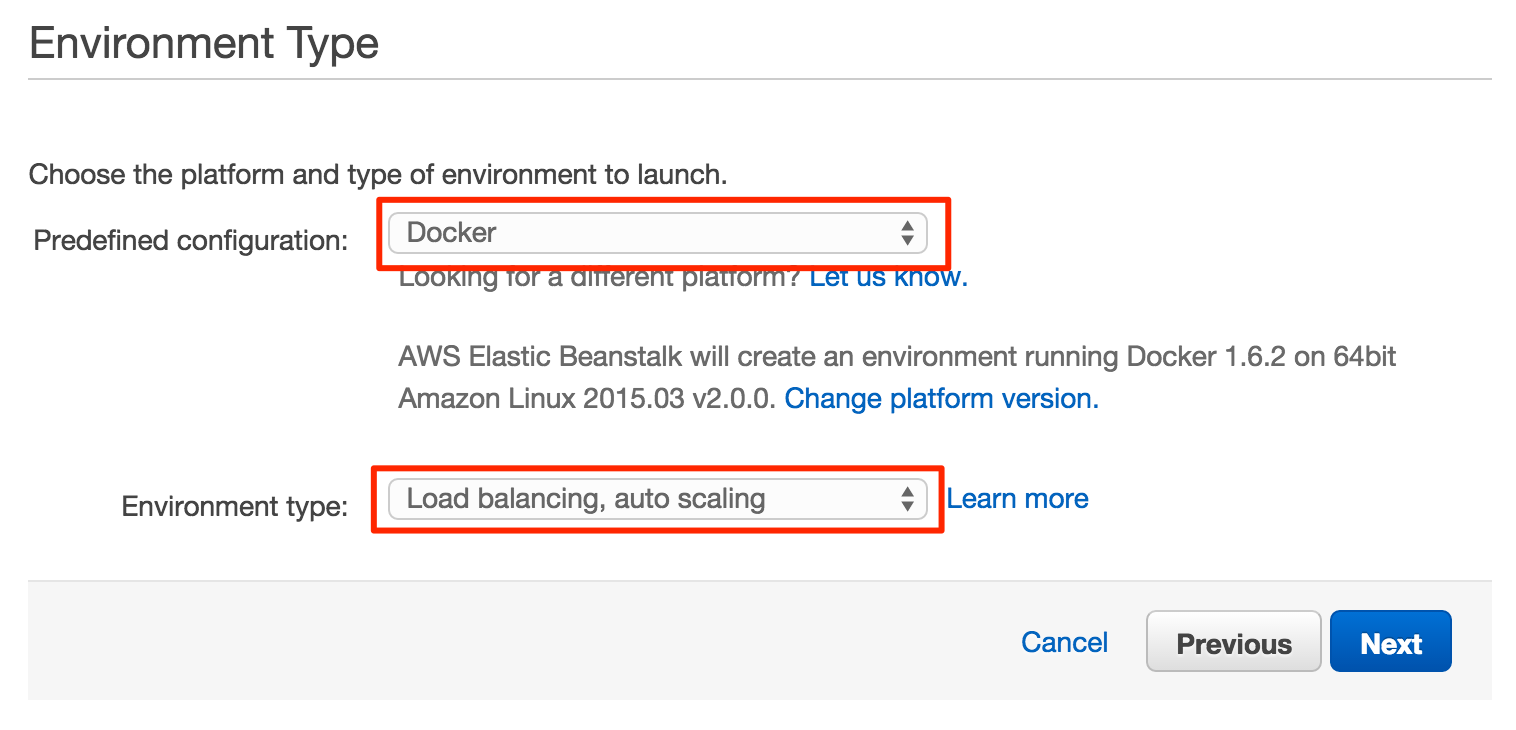
D.) Setup Web Server Environment
- Choose Docker & Load balancing, autoscaling
- Select your local zip file that we created earlier ( jenkins-stalk.zip ) as the “Source” for the application version section

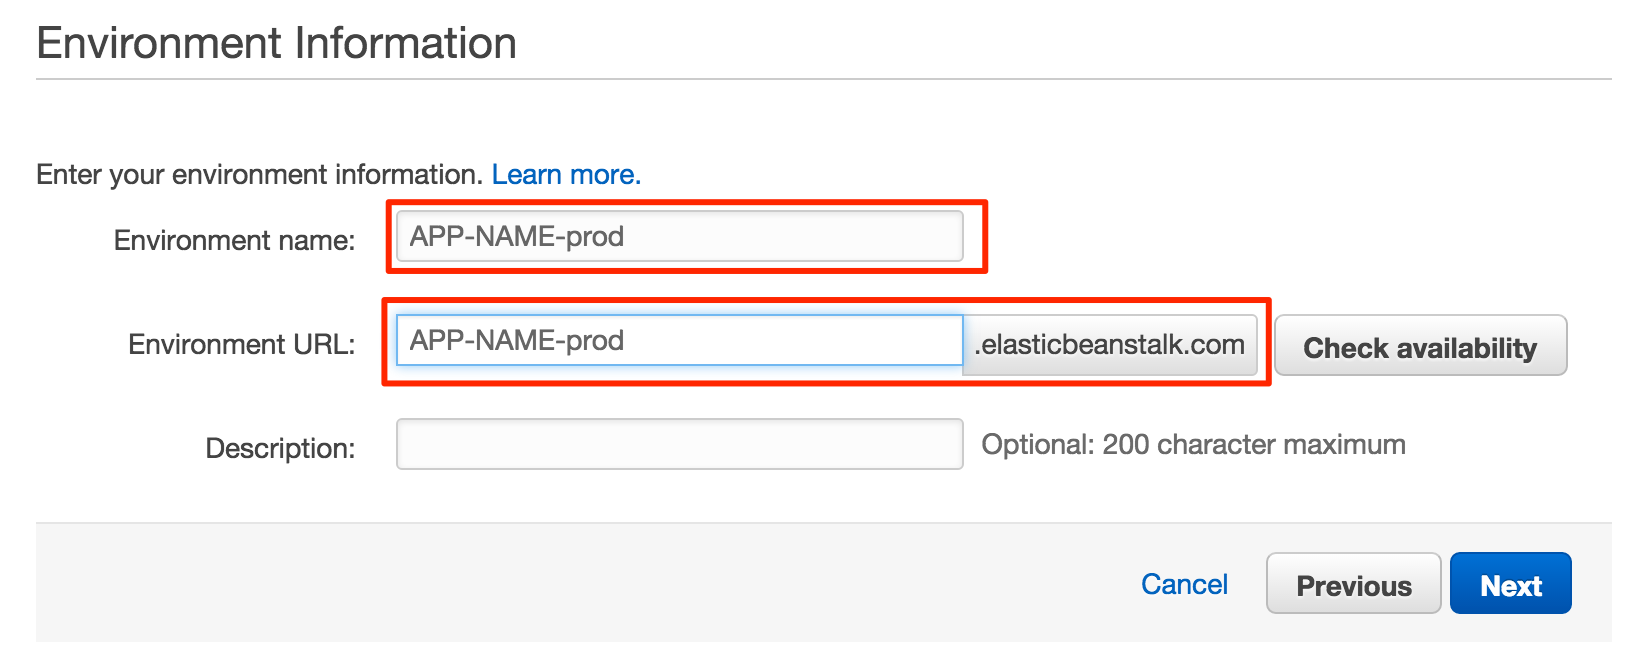
- Set the appropriate environment name, for example you could use jenkins-prod
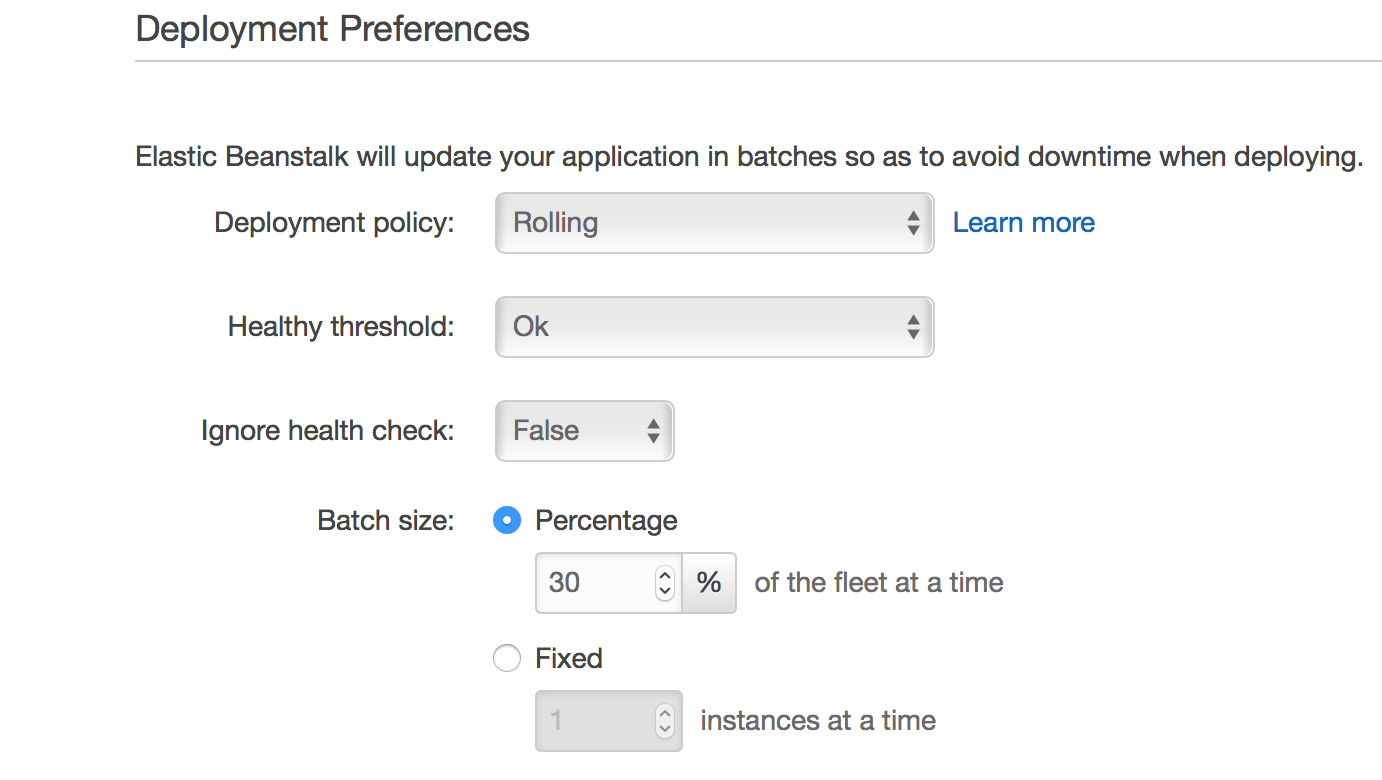
- Complete the configuration details
NOTE: There are several options beyond the scope of this article.
We typically configure the following:
- Complete the Elastic Beanstalk wizard and launch. If you are working with a standard Cornell VPC configuration, make sure the ELB is in the two public subnets while the EC2 instances are in the private subnets.
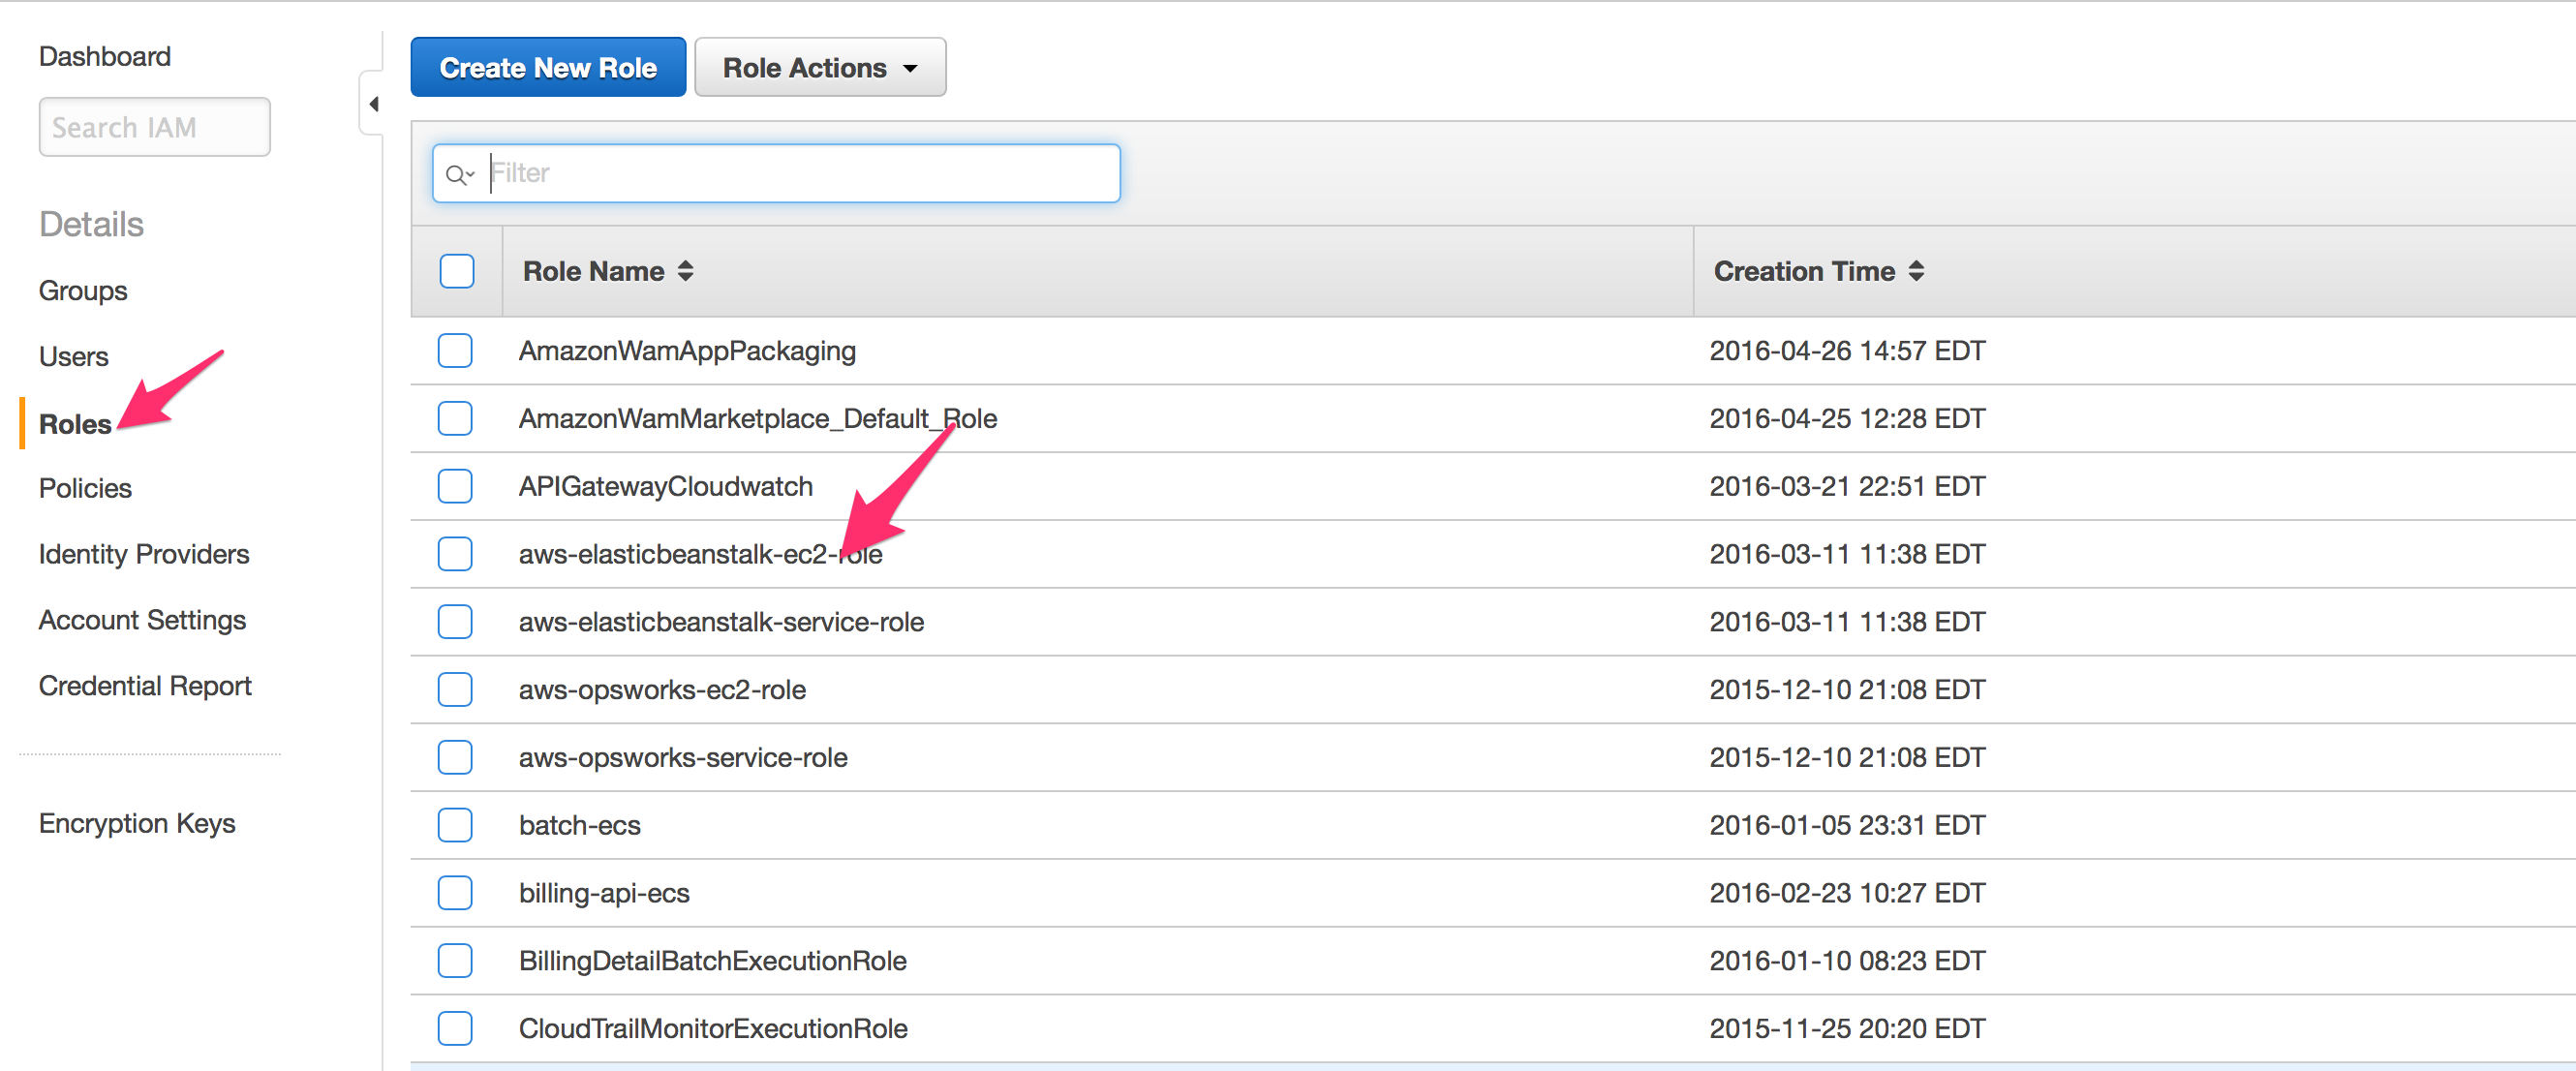
- Select Identity & Access Management for the AWS management console
- Select “Roles” then select “aws-elasticbeanstalk-ec2-role”
NOTE: You will encounter additional AWS features like security groups etc… These topics are beyond the scope of this article. If presented with a check box for launching inside a VPC you should check this box.

The container will not start properly the first time. Don’t panic.
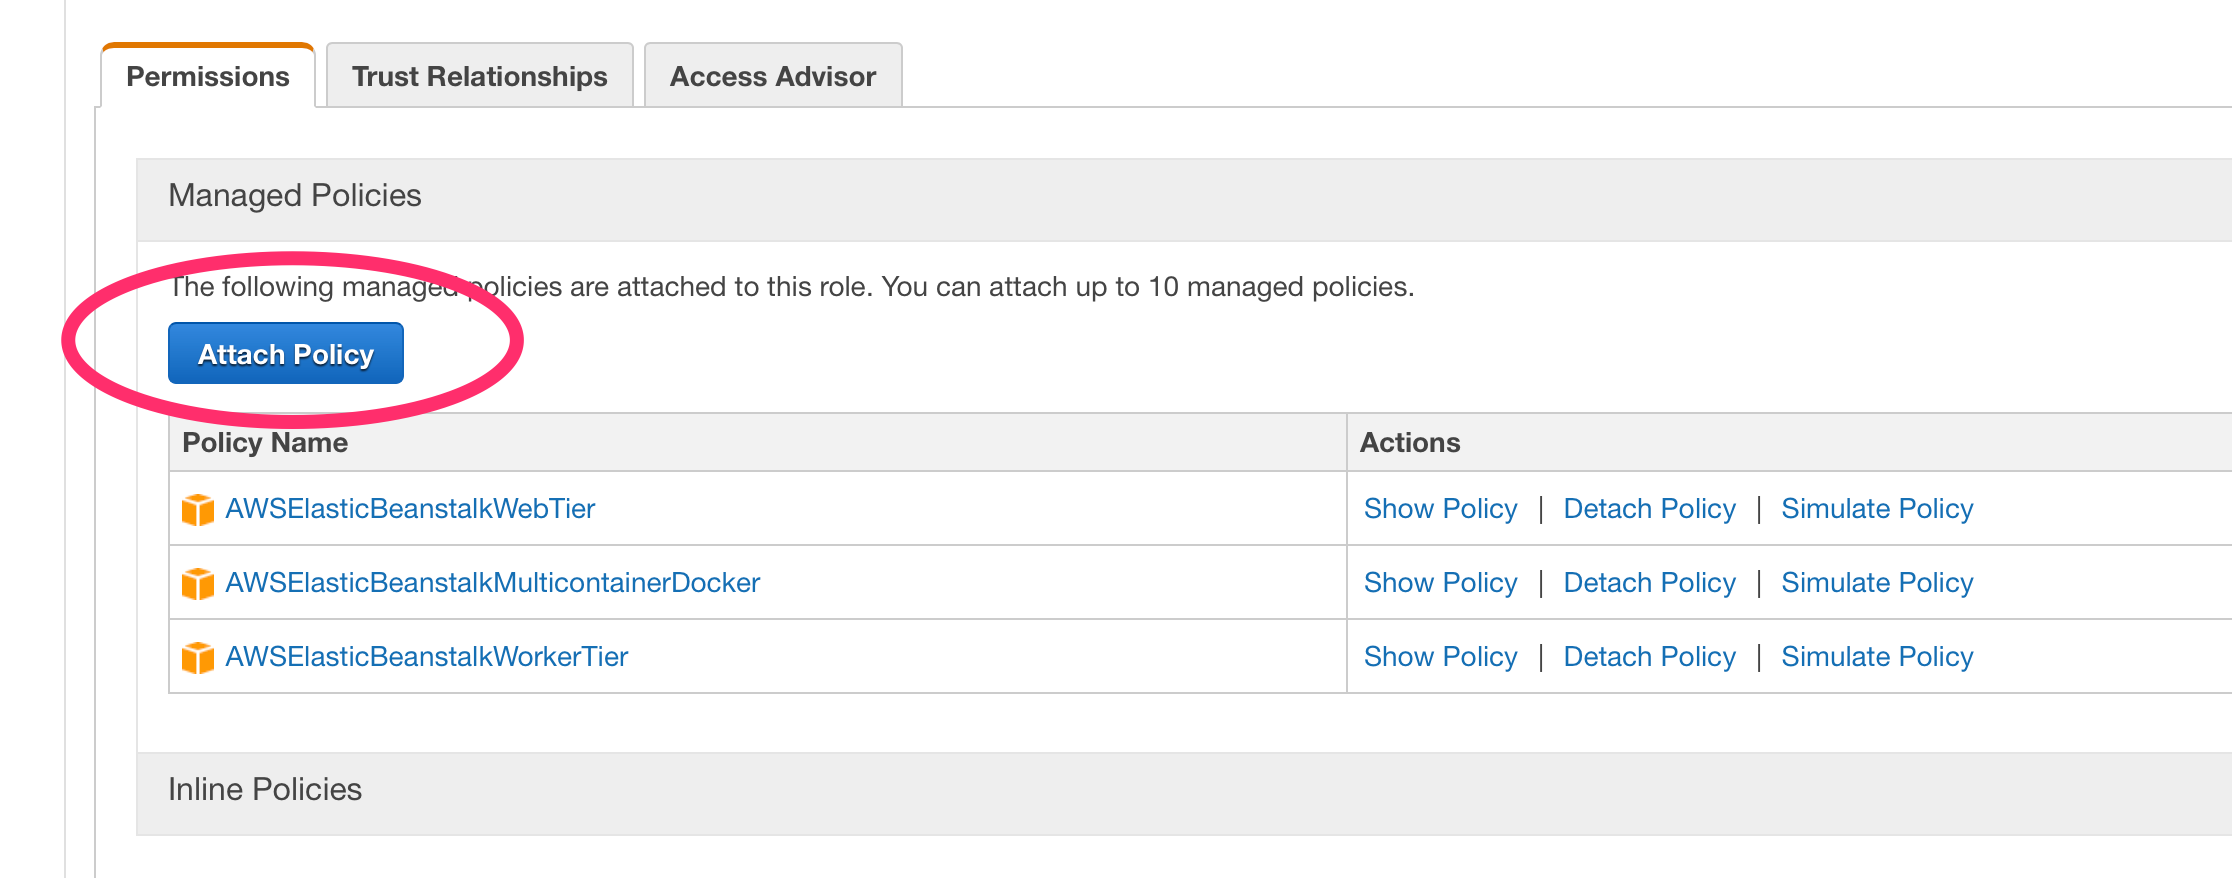
We need to attach the IAM Policy we built earlier to the instance role used by Elastic Beanstalk.
- Attach the “DockerCFGReadOnly” Policy to the role
E.) Re-run the deployment in Elastic Beanstalk. You can just redeploy the current version.
- Now find the URL to your Jenkins environment
- And launch Jenkins

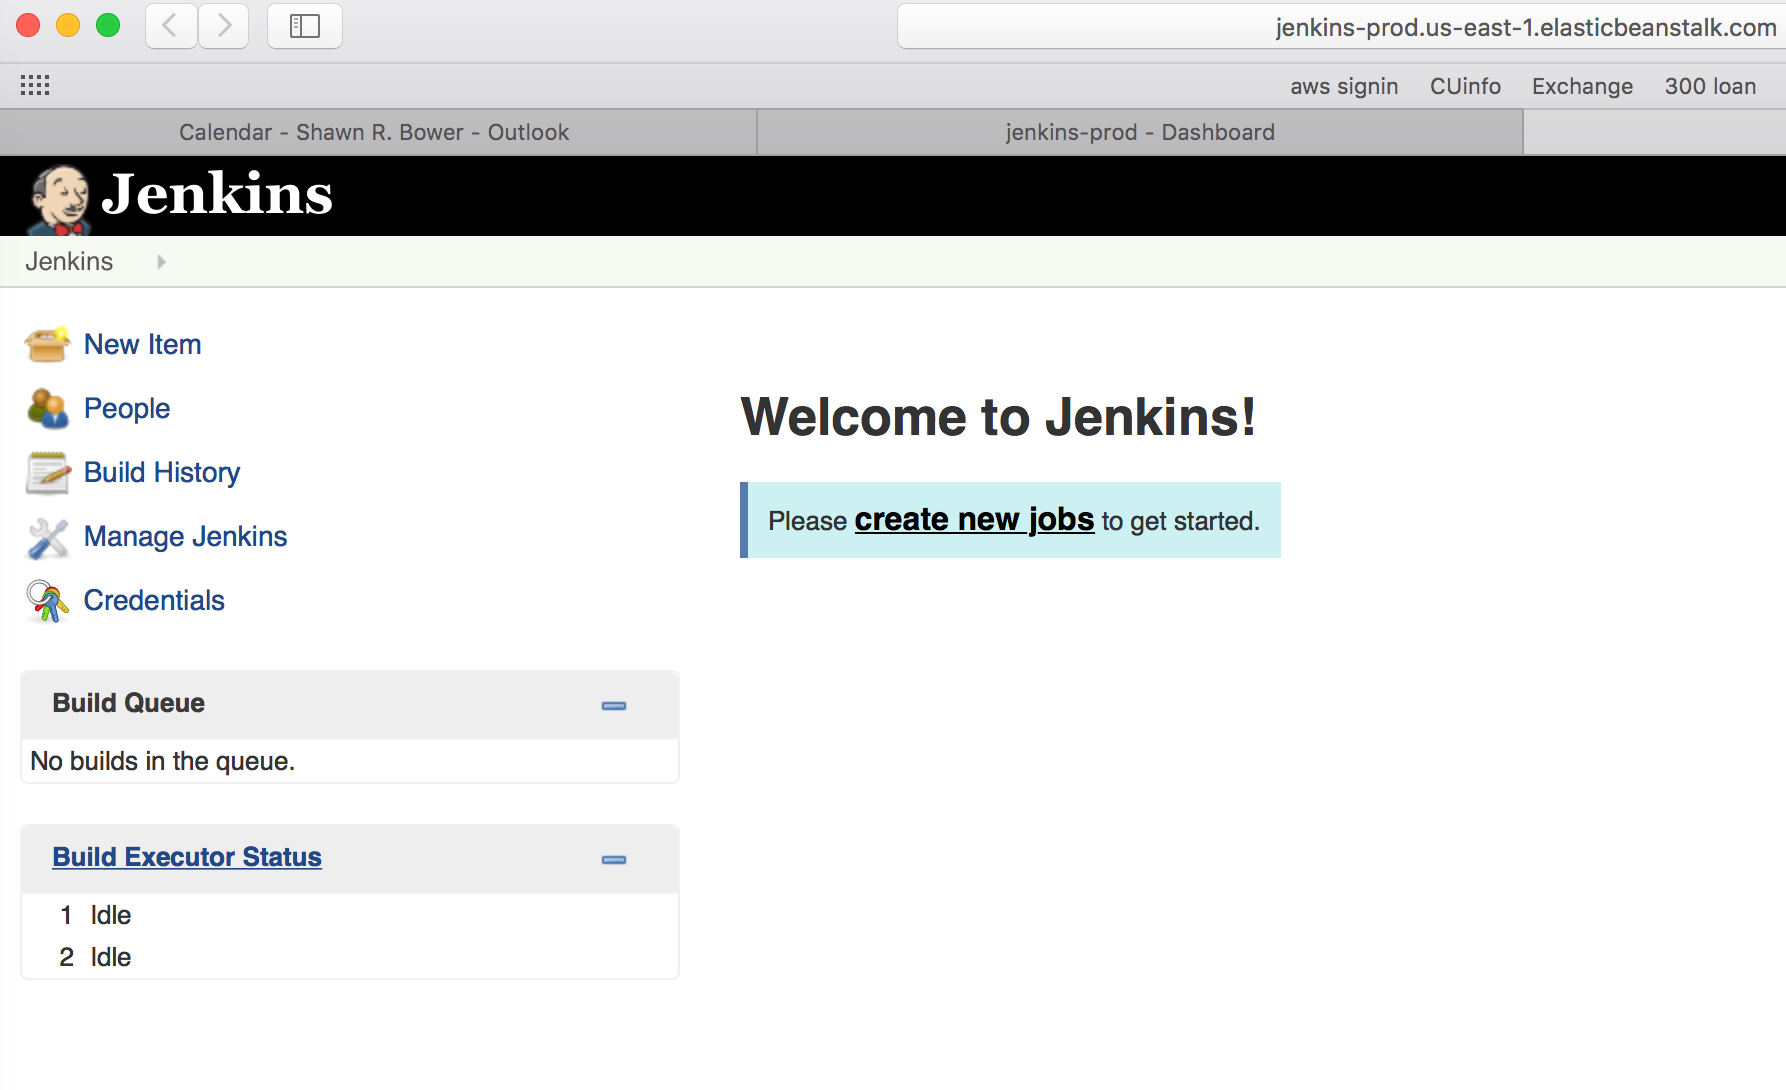
SUCCESS !
F.) (optional) Running docker command inside Jenkins
The Jenkins image comes with docker preinstalled so you can run docker build and deploys from Jenkins. In order to use it we need to make a small tweak to the Elastic Beanstalk Configuration. This is because we are keeping the docker version inside the image patched and on the latest commercially supported release however Elastic Beanstalk currently supports docker 1.9.1. To get things working we need to add an environment variable to use an older docker API. First go to configurations and select the cog icon under Software Configuration.
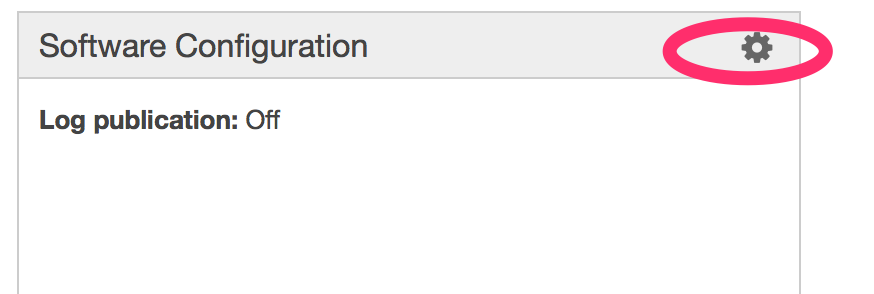
Now we need to add a new environment variable, DOCKER_API_VERSION and set its value to 1.21 .
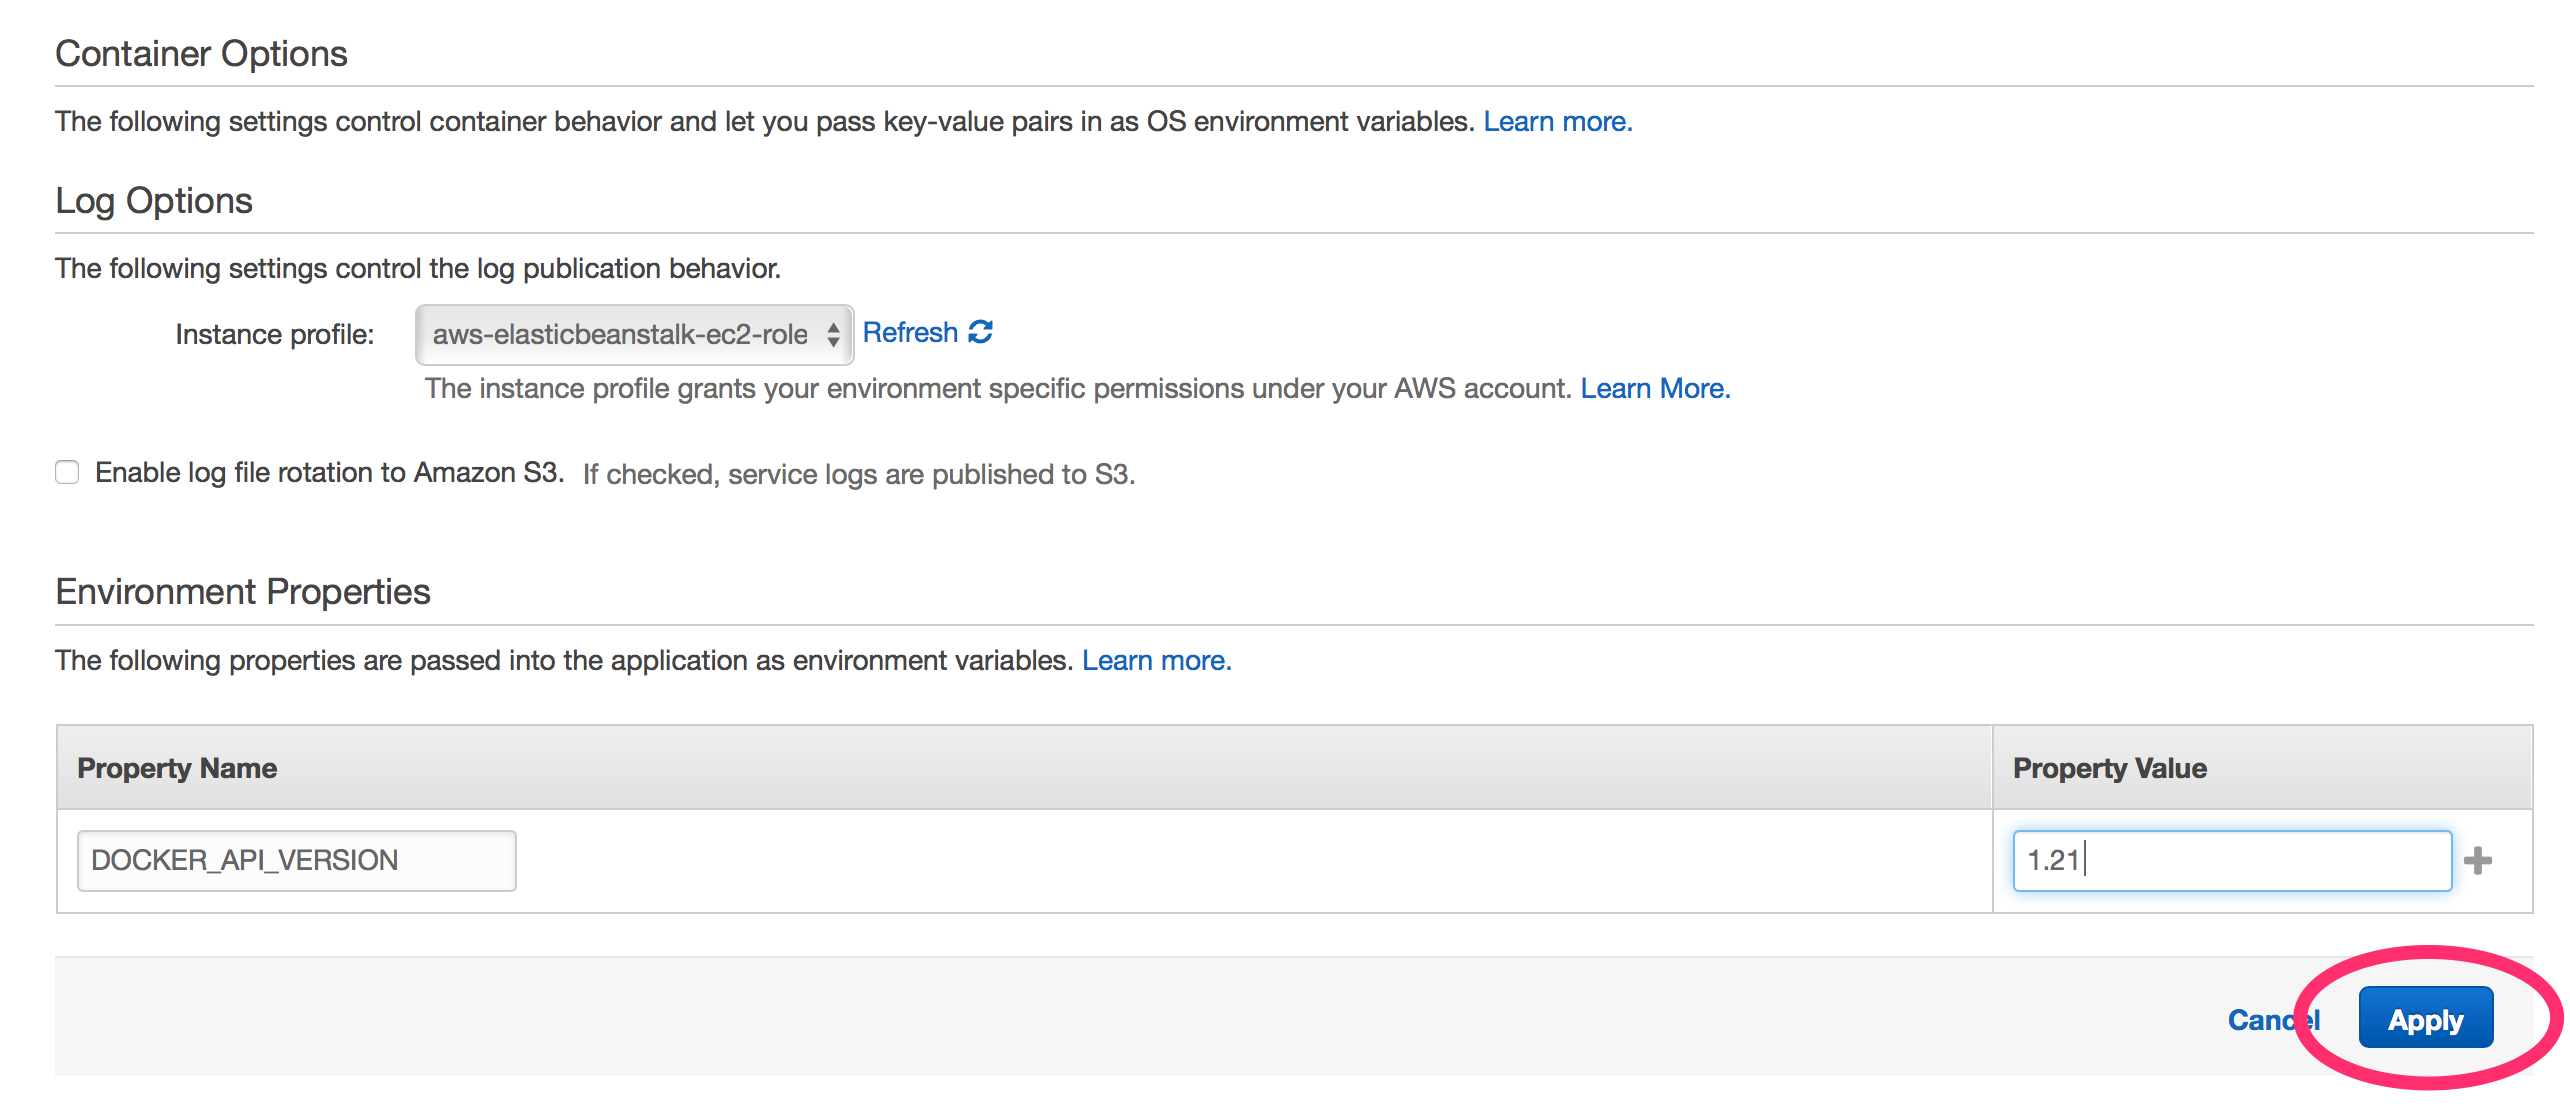
That is it! Now you will be able to use the docker CLI in your Jenkins jobs
Conclusion
Within a few minutes you can have a managed Jenkins environment hosted in AWS.
There are a few changes you may want to consider for this environment.
- Changing the autoscaling group to min 1 and max 1 makes sense since the Jenkins state data is stored on a local volume. Having more than one instance in the group would not be useful.
- Also considering the state data, including job configuration, is stored on a local volume you will want to make sure to backup the EBS volume for this instances. You could also look into a NAS solution such as Elastic File Service to store state for Jenkins, this would require a modification to /var/jenkins_home path.
- It is strongly encouraged that an HTTP SSL listener is used for the Elastic Load Balancer(ELB) and that the HTTP listener is turned off, to avoid sending credentials in plain text.
The code used in this blog is available at: https://github.com/CU-CloudCollab/jenkins-stalk, Please free to use and enhance it.
If you have any questions or issues please contact the Cloud Services team at cloud-support@cornell.edu