Tag Archives: soil quality

Creating a Rain Garden

Do you want a garden that’s easy to install, looks good year-round, requires little maintenance, and helps prevent water pollution? Rain gardens are shallow depressions designed to soak up water and support trees, shrubs, and flowers that tolerate both wet and dry conditions. Often located near gutter downspouts or places where water puddles, rain gardens can also be landscaped into gentle slopes or run curbside along streets.

Giant hyssops, switchgrass, and goldenrod are some of the species growing in this rain garden at Cornell Plantations in Ithaca, planted next to its parking lot to absorb and clean polluted storm-water run off. Photo

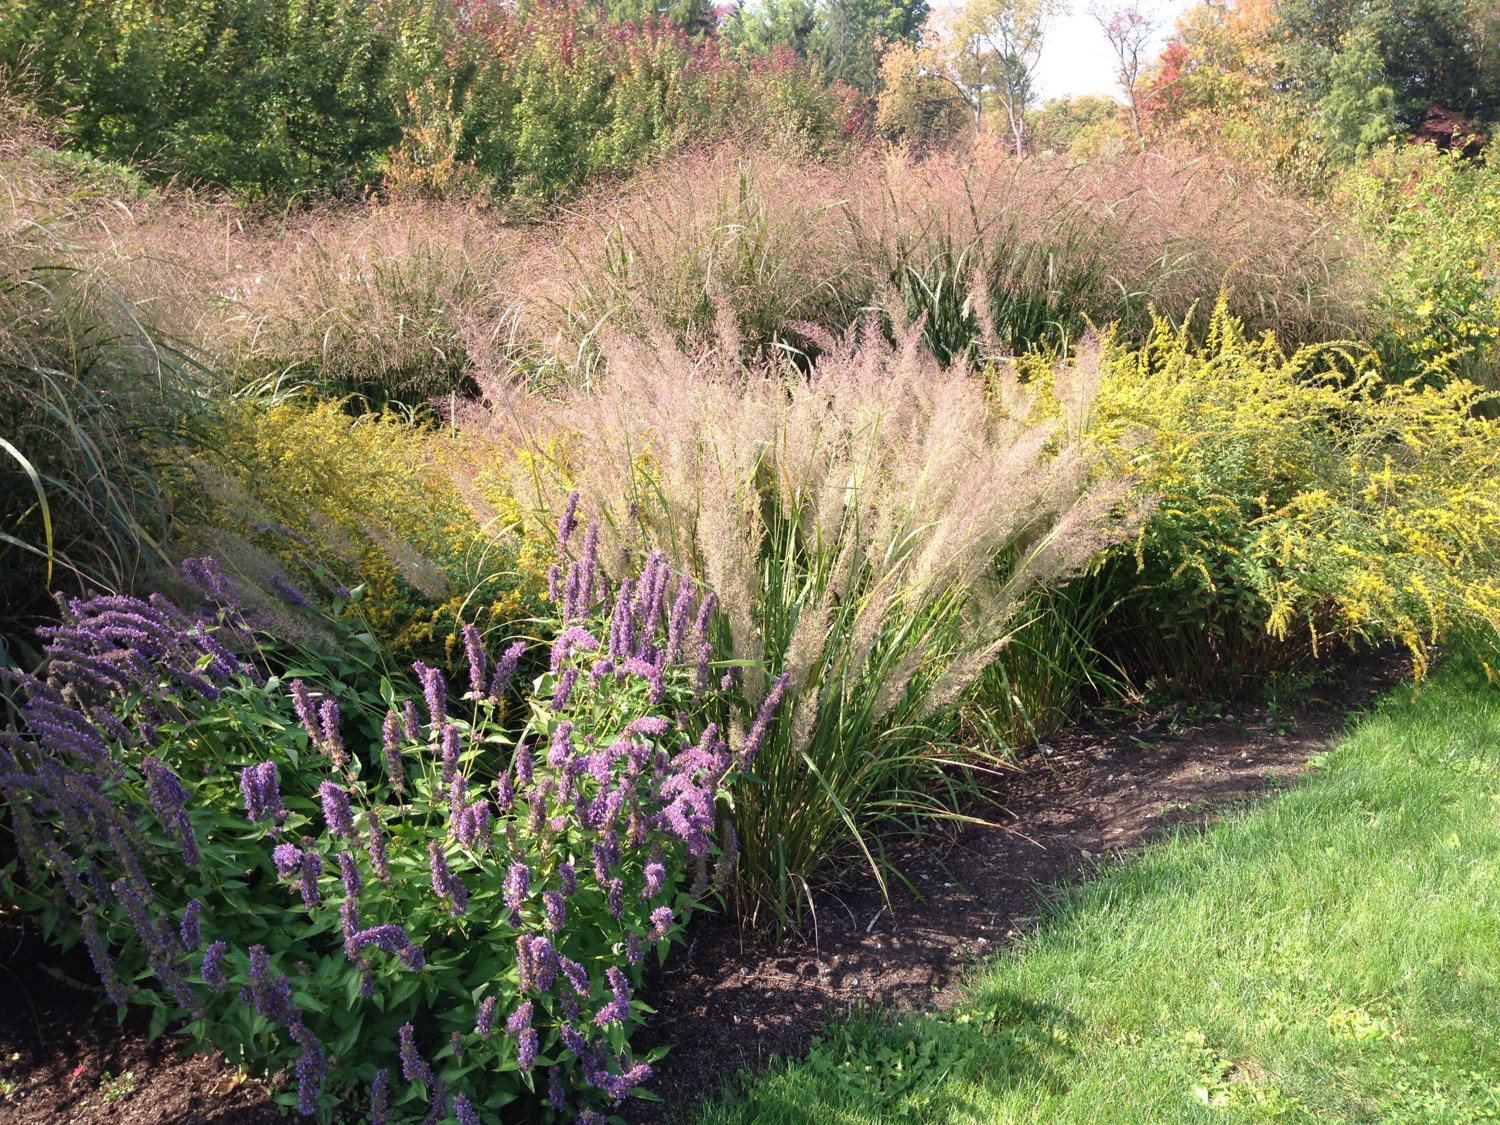
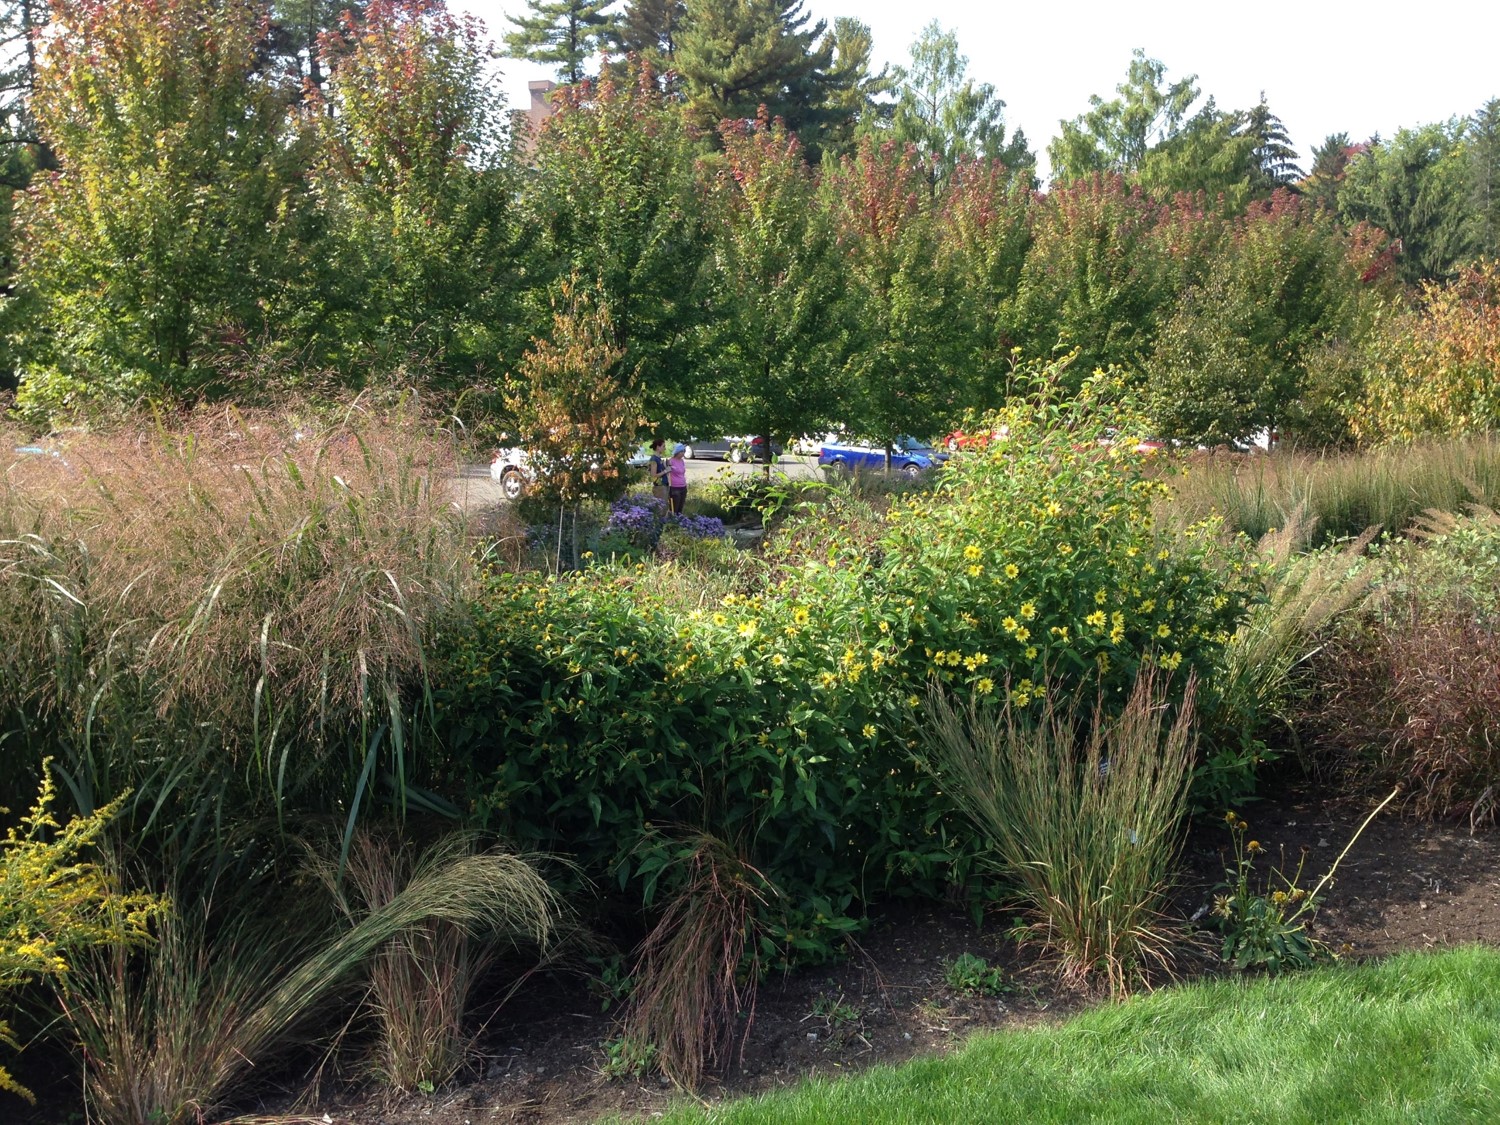
Giant hyssops, switchgrass, and goldenrod grow in this rain garden at Cornell Plantations in Ithaca, planted next to a parking lot to absorb and clean storm-water runoff. Photo © Robin Simmen.

By absorbing the rain falling on your land, a rain garden can help reduce the storm-water runoff that pollutes our beaches, harbors, and estuaries. People sometimes confuse rain and water gardens. A rain garden is not a pond and won’t breed mosquitoes, which require 10 to 14 days in standing water to develop from eggs into adults.

The next time it rains, observe the direction of water runoff and where it collects on your property. Your roof may be directing most of the rain falling on it into gutters and downspouts feeding into a storm drain; if so, consider diverting this lost rainwater to irrigate a rain garden via underground piping, or construct a surface swale to channel this water to the garden. If your land slopes gently, you can create shallow terraces (one foot deep or less) for your rain garden or dig out a scallop-shaped bed for it in the hill.

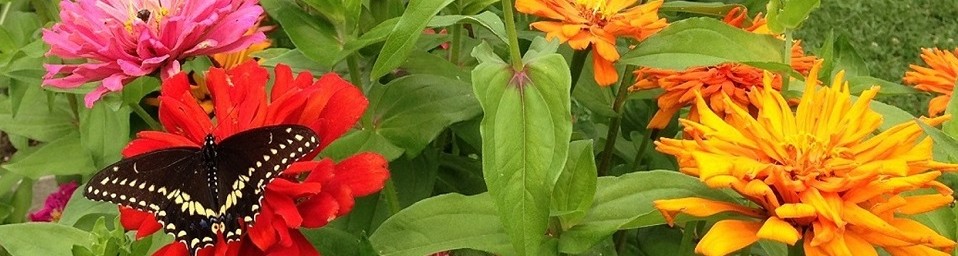
The best plants for rain gardens are happy with a “drought and drench” lifestyle. Native plants are highly recommended because they are uniquely adapted to local weather fluctuations. Also, they require little or no fertilizer, are excellent food sources for pollinators, and provide habitat for birds, insects, and butterflies. Once established, their deep roots increase the water-holding capacity of the soil, hold it together, and prevent erosion. Water a rain garden as needed for the first year or so after planting. By the third year, you’ll never need to water it again!

For information on how to evaluate and amend your soil for a rain garden, do a percolation test to see how quickly water is absorbed, decide the dimensions of a rain garden, and prepare and plant the site, read the CCE Suffolk fact sheet on Creating a Rain Garden, and its companion  Native Plants for Long Island Rain Gardens.

Robin Simmen is a former Community Horticulture Specialist for CCE Suffolk. She can be reached at rlsimmen@gmail.com.

Are you damaging your vegetable garden soil?

The rototiller is a popular tool used by home gardeners to control weeds, incorporate fertilizer and lime, and loosen up the soil for planting. While valuable for some purposes, it is important to recognize that rototilling does have a dark side: Earthworms and soil microbes, important for good soil health, are damaged by it. And organic matter in the soil is broken down and lost.

Farmers have learned about the negative impacts of rototillers and other tillage tools they regularly use. Today many are adopting “reduced tillage” practices to protect their soil. Cornell Cooperative Extension agriculture staff are working with Long Island farmers to help them change these practices successfully.

Since I work with farmers and CCE agriculture staff, I understand the importance of good soil health. So I decided to implement what I learned at work in my home vegetable garden, pictured below. I am excited about how my garden soil has improved. Its organic matter has increased, there are a lot more earthworms, and the soil is very friable, which makes it easy to dig holes for transplanting.

Adding a mulch cover of shredded leaves and grass from my yard and reduced rototilling has led to healthier soil and plants in my garden. Photo by Meg McGrath.

Doing less rototilling and using a mulch of plant materials from my yard created healthier soil in my vegetable garden. Photo © Meg McGrath.

Here is what I do now to protect soil health. First, I rototill only where I am directly seeding, which is currently just peas. I used to have my husband till the whole garden each spring with our big hand rototiller. Now we use a small rototiller to prepare our rows for the peas, tilling only the soil where I plant seeds and not disturbing the walkways between these rows.

Second, I cover the vegetable garden with shredded leaves and fresh grass clippings from the rest of the yard. This provides excellent weed control, so I don’t need to use the rototiller for controlling weeds. And this free mulch is a good source of organic matter that earthworms digest and move into the soil. I have a bagging, mulching lawn mower for collecting material for this ground cover. I just rake the mulch out of the way when I plant. I use a chipper-shredder to turn last year’s dead flower stalks and ornamental grasses into straw mulch to place around the base of the vegetable plants.

Third, I use a trowel or shovel to dig holes for transplanting, depending on seedling size. Often I put homemade compost and/or a little granular fertilizer in the hole, and mix this into the soil with a scratcher. Not turning over an entire row of soil when I transplant helps preserve the soil’s organic matter and improves its water retention, which is great for soil microbes and my vegetables.

Dr. Meg McGrath is an Associate Professor at Cornell University’s Long Island Horticulture Research and Extension Center in Riverhead, New York.

Sample Soil Now for Healthier Landscapes Next Year

Spring is by far the busiest time for gardeners. Between selecting plants, starting seeds, and preparing beds, we often forget about what’s basic: the soil. Suddenly remembering, in April gardeners furiously submit handfuls of soil to our Horticulture Diagnostic Lab for testing, expecting immediate turnaround, and then realize, “What!? It takes how long for limestone to change the pH of my soil!?”

This is why autumn is the perfect time to start preparing your gardens for the growing season ahead. Submitting soil samples to us now allows you enough time to collect your samples properly, understand the test results, and if you need to make amendments to the soil, time for them to activate before next spring.

Using a soil auger makes collecting samples easy, but a trowel will work just as well.

Using a soil auger, shown above, makes collecting samples easy, but a trowel will work just as well. Photo by Robin Simmen.

Maintaining the proper soil pH is just as important for maximum crop yields as fertilizing, watering, and pest control. The decision to add lime to raise the soil pH and the amount to apply must be based on a soil pH test and the crop species to be grown. Do not guess. Some plants, like rhododendrons, azaleas, and blueberries as well as other members of the Ericaceae family grow best in acid soil (pH 5.0). Most vegetable garden plants grow best in soil with a pH in the 6.2 range. The recommended range for a lawn is between 6.0 and 7.0.

Instructions for taking a soil sample

First determine how many samples to take. Different gardens/beds, lawns, areas with different soil types, places where such amendments as limestone were added, areas with plants having different pH requirements, and good/bad areas should be sampled separately as described below:

  • In gardens or areas planned for new plantings where the soil will be turned under or rototilled, individual samples should be taken from the upper 6 to 8 inches of soil.
  • In established plantings or lawns where the soil won’t be turned under, individual samples should be taken from the upper 3 inches of soil.
  • Each soil sample should be comprised of 5 to 10 individual samples obtained by walking back and forth diagonally across the area to be sampled.
  • Use a trowel to dig a small hole to the desired depth. Remove a slice of soil from the entire side of the hole and place this in a clean plastic container. Repeat this procedure at each of your 5 to 10 random spots, and place the soil from these spots in the same container, discarding any stones, grass, or other debris.
  • Next, remove two 8-ounce cupfuls of the soil in this container and place them in a plastic bag. Secure the bag. This is your soil sample for that area. Mark the outside of the bag with an identification (i.e. #1, #2, or “A”, “B”, or “East”, “West”). Keep the identification simple.
  • Repeat this entire procedure for each additional garden, landscape bed, and/or lawn area you wanted tested.

You can find soil testing submission forms to accompany your samples on our website at http://ccesuffolk.org/agriculture/horticulture-diagnostic-labs. The cost of a soil pH test is $5 per sample; if you submit five or more samples, they cost $3.50 each. Mail or drop off your samples at 423 Griffing Avenue, Riverhead, NY 11901. Our office hours are Monday through Friday 8:30 a.m. to 4:30 p.m.

Sandra Vultgaggio is Horticulture Consultant for CCE Suffolk. She can be reached by email at sib7@cornell.edu or by phone at 631-727-7850 x387.

Buff Up Your Conservation Buffers

Because Long Island is surrounded by water, responsible residents strive to keep pesticides and fertilizers from polluting our coastal and drinking water resources. And as stewards of our land, we need to preserve as much habitat for wildlife as possible. One way to accomplish both goals is to plant garden or conservation buffers. These small pieces of land with permanent vegetation help control pollution while providing undisturbed habitat for wildlife. Examples of buffers include riparian buffers, small wetlands, shallow water areas, herbaceous and woody windbreaks, contour grass strips, living snow fences, and field borders.

Garden buffers like this one at Cornell Plantations in Ithaca can be used to filter polluted run off from parking lots.

Garden buffers like this one at Cornell Plantations in Ithaca can be used to filter polluted storm-water run off from parking lots. Photo © Robin Simmen

Although you may view them primarily as pleasant landscape features, buffers quietly prevent soil erosion, improve soil and water quality, enhance fish and wildlife habitat, reduce flooding, conserve energy, and ultimately conserve biodiversity. By capturing up to 75 percent of flowing sediment and by enhancing infiltration, buffers trap heavy metals. When properly installed and maintained, they can remove up to 50 percent of pesticides and nutrients from polluting coastal waters!

In addition to providing wildlife habitat (increasing the number and diversity of birds and butterflies) and creating corridors for their movement, buffers are attractive, low-maintenance, sustainable alternatives to traditional turf. Water moves more slowly through shrubs and other buffer plantings as compared to turf, thus reducing your irrigation needs. Conservation buffers can also improve your quality of life by reducing noise from the street and odors from garbage.

An added benefit is that buffers help reduce flooding. They also help stabilize streams, enhance biodiversity by providing micro habitats, and decrease and then stabilize water temperature. Fluctuations in water temperatures and warming can be very deleterious to fish and other aquatic creatures important to the stream food chain.

A shallow water area or a small wetland is a place where water depth is usually less than 2 feet with no more than 10 percent of the entire area being over 4 feet deep. These wet areas may be seasonal in nature, such as vernal pools, so you might be tempted to “dry ‘em out or fill ‘em in,” but DON’T DO IT! Not only is it often illegal to do so, but such spots are of particular importance to certain plants and animal species that depend on transient moisture for parts of their life cycles, e.g. reproduction or nesting.

To learn more about how to construct a conservation buffer on your property or how to evaluate your existing landscape, please join me and Joann Gruttadaurio, Senior Extension Associate Emerita, Cornell University, on October 15, 2015, 9:00 a.m. until noon, at the Suffolk County Farm for a hands-on workshop on how to “Buff Up Your Soil and Garden Buffers.” The cost is $30, and preregistration is required. Click here to download the registration form.

Dr. Tamson Yeh is CCE Suffolk Turf Use and Land Management Specialist. She can be reached at tsy3@cornell.edu or 631-727-7850 x240.